


How To Make Perfect Jammy Eggs
/I am pretty sure the term “jammy eggs” is a term that only exists on Instagram. It is used to describe when the yolk of a boiled egg still has a ways to go before becoming the dry, chalky grossness called for in old-school deviled egg recipes, but it holds together much better than a completely runny or raw yolk. There’s a supple, gooey, almost gelatinous look and consistency to the yolks in this in-between zone, and that’s why they end up getting called jammy eggs.
But there is more to the perfect jammy egg (I’ve also seen them sometimes referred to as soft-boiled egg) than getting the texture of the yolk just right. There’s also the look of the egg as a whole when you cut into it. Even if your timing is perfect for cooking the egg to get that jammy yolk consistency, there are still things that can prevent your egg from being picture-perfect, such as a yolk that is completely off to one side, a big air bubble causing the shape to look completely wonky, or a bunch of the egg white getting stuck to the shell when you try to peel it.
I’ve made a lot of eggs for the ‘gram over the past few years. A lot of this is largely thanks to my ongoing partnership with Pete & Gerry’s who have been a wonderful supporter and sponsor of my work. (This blog post is NOT sponsored but I can honestly say their eggs are delicious and gorgeous, and that very lovely people work at the company.) But making eggs for sponsored work or a client shoot means even more pressure to get them to look perfect, which can be stressful for shooting a food preparation where so much can go wrong. So after cooking probably several dozen eggs in this style, I can share all that I have learned to set all the rest of you up for success in your future egg-making ventures too!
Phase 1: Choosing What Eggs to Use for the Best Looking Jammy Eggs
Use good-quality eggs that are fresh from the grocery store. (I have not used eggs directly from the body of a chicken before so can’t attest to the nuances of eggs that fresh.) There is info online about how the shells will be harder to peel off when the eggs are fresher, but I’ll address how to overcome this in Phase 3.
What happens if you skip this tip: You want fresher eggs because the air bubble inside of them will be smaller, resulting in a nicer boiled egg shape. Over time, due to moisture loss within the egg, the air bubble at the wider end of the egg gets bigger. Using an old egg will result in the boiled egg having a big crater in the bottom, because the big air bubble prevents the egg white from fully taking on the shape of the egg shell.
Phase 2: Boiling the eggs
Step 1: Use a safety pin to poke a hole in the wider end of each egg. This allows airflow in and out of the egg and can also help mitigate the impact of the air bubble inside the egg on the shape of the final result. Keep the eggs out on the counter to bring them closer to room temp after this step.
What happens if you skip this tip: Pressure can build up as the contents of the egg get heated in the boiling water. This could cause the egg to crack and some of the white to leak out, ruining your perfect boiled egg shape.
Step 2: Bring a pot of water to boil on high heat. Make sure there’s enough depth to fully submerge the eggs. While you’re waiting, you could also get an ice bath ready for the end.
Step 3: Gently lower the eggs into the boiling water. Set your timer according to the guide below:
6.5 minutes: Fully set whites and runny yolks. Perfect for ramen.
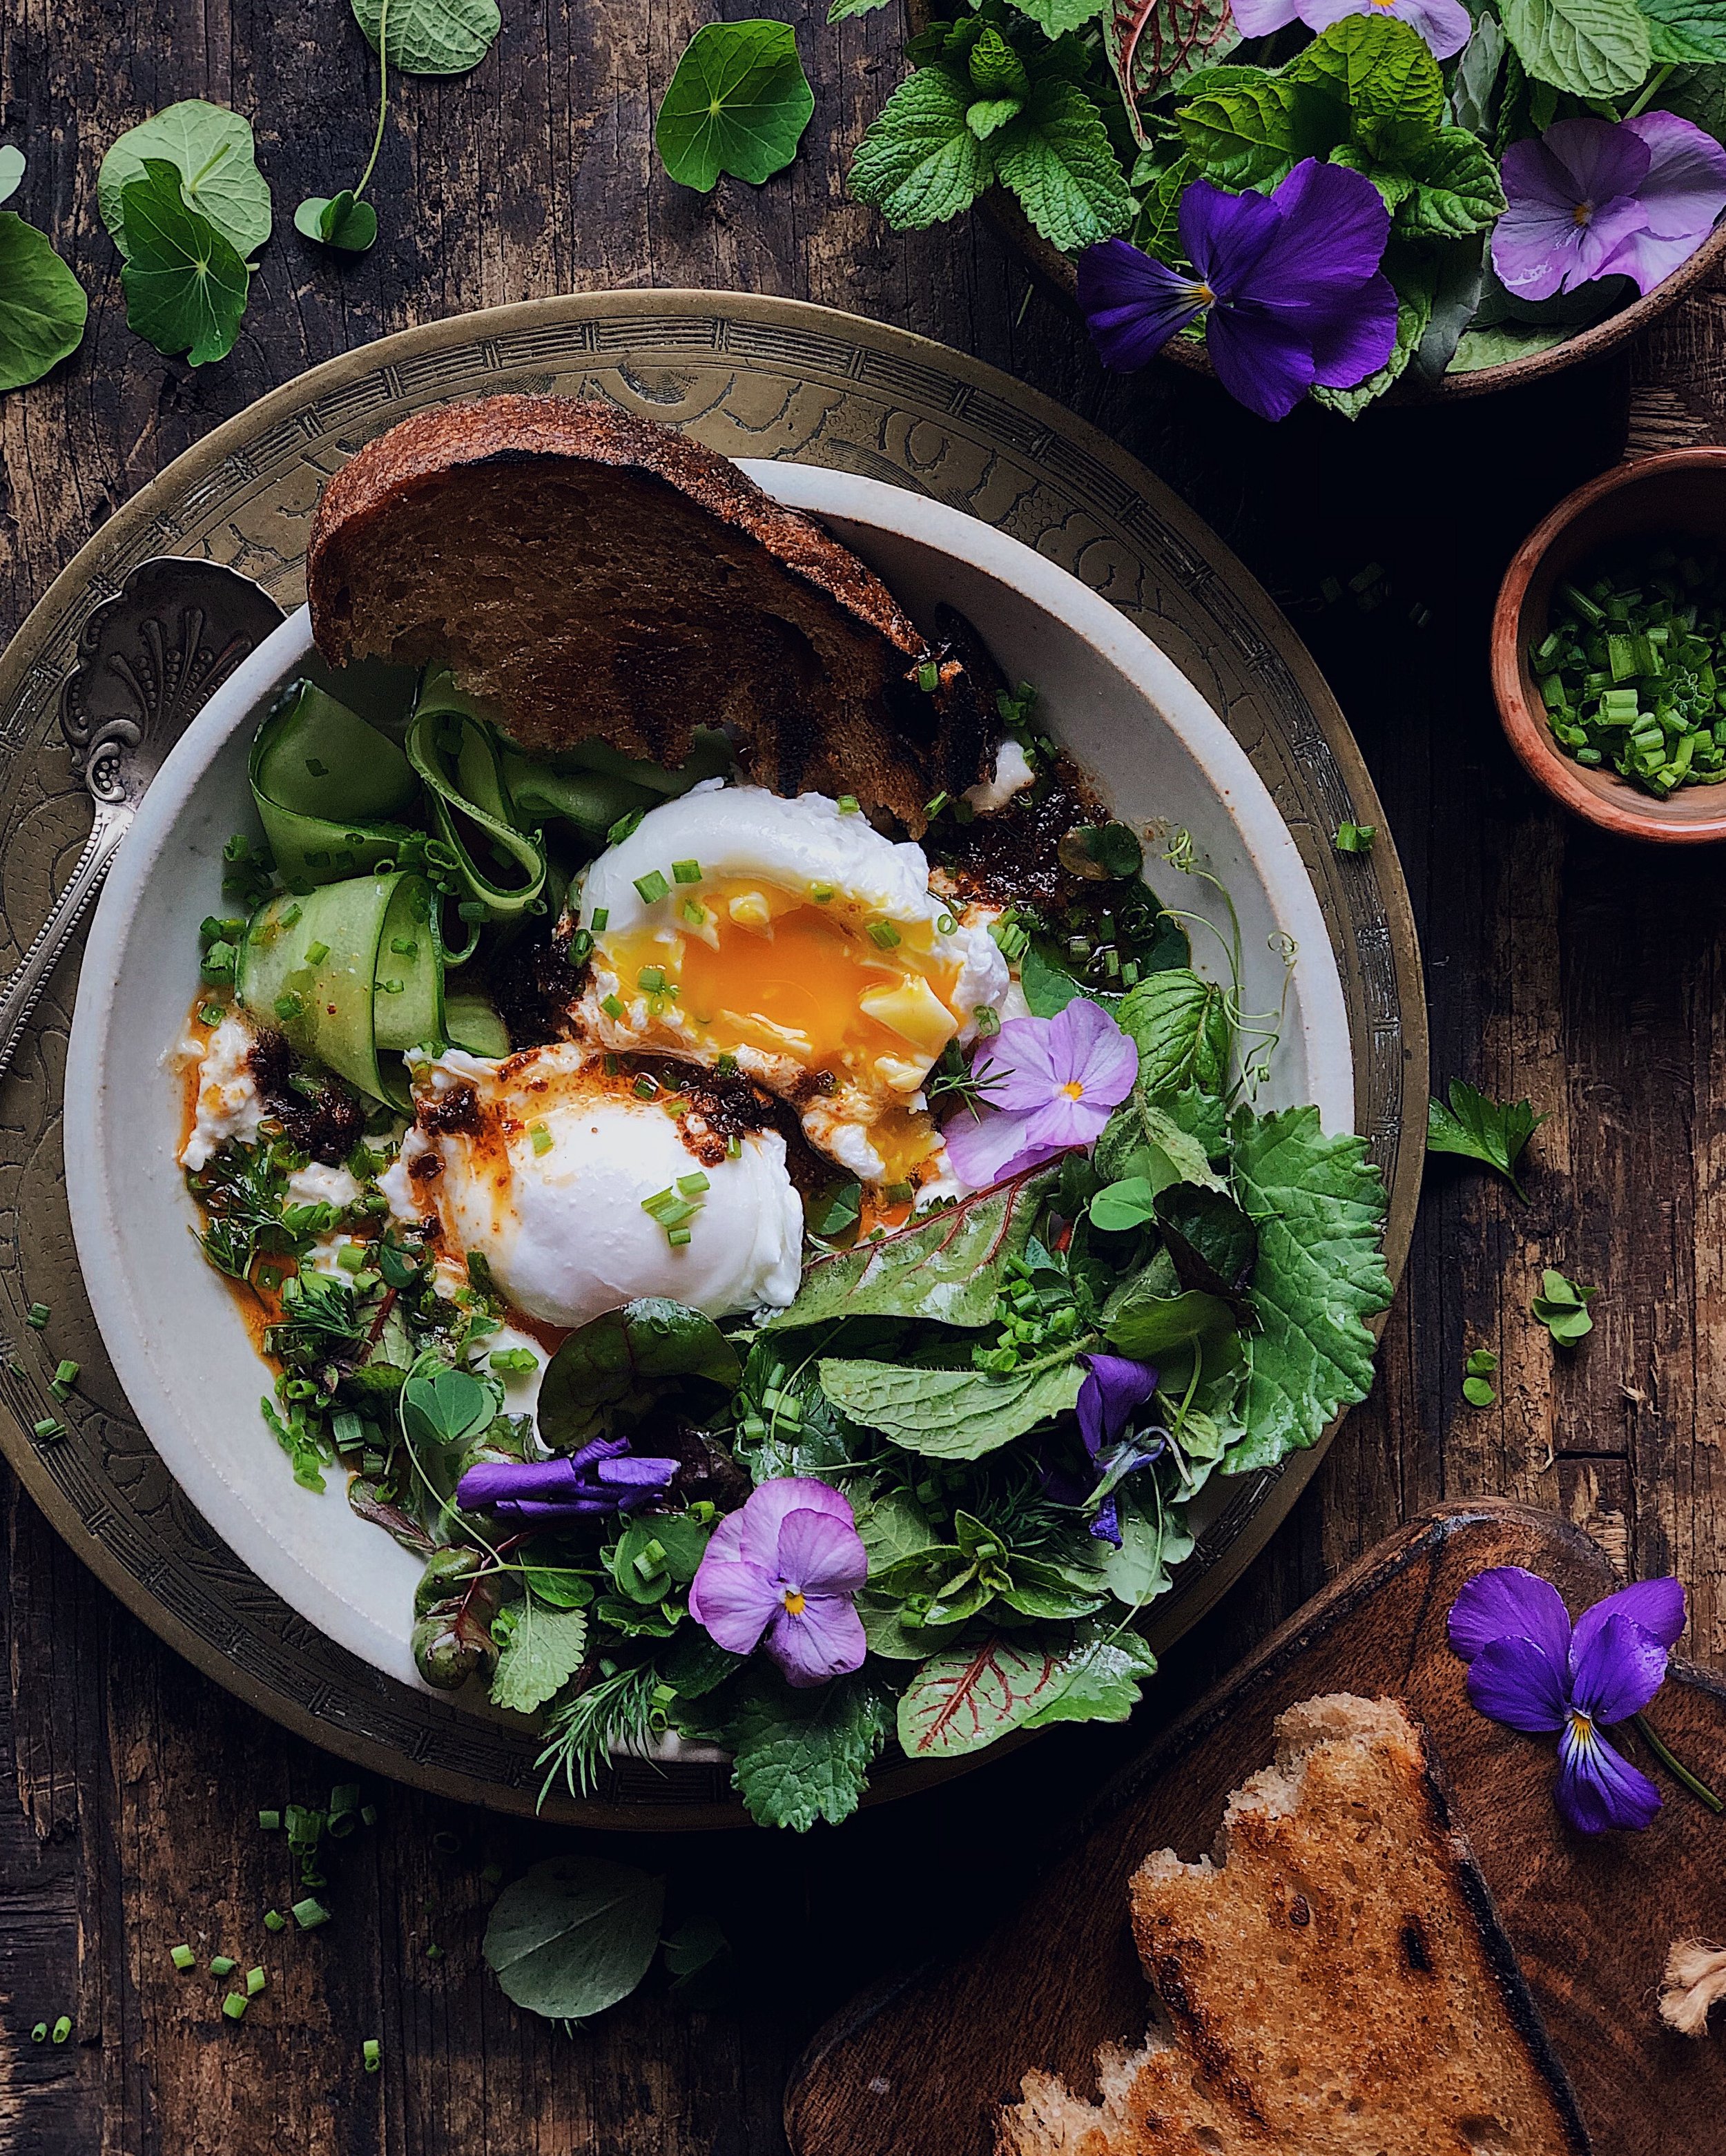
7 minutes: Jammy yolk consistency on the outer parts of the yolk, liquid gold right in the middle
7.5 minutes: Perfect jammy yolk consistency throughout
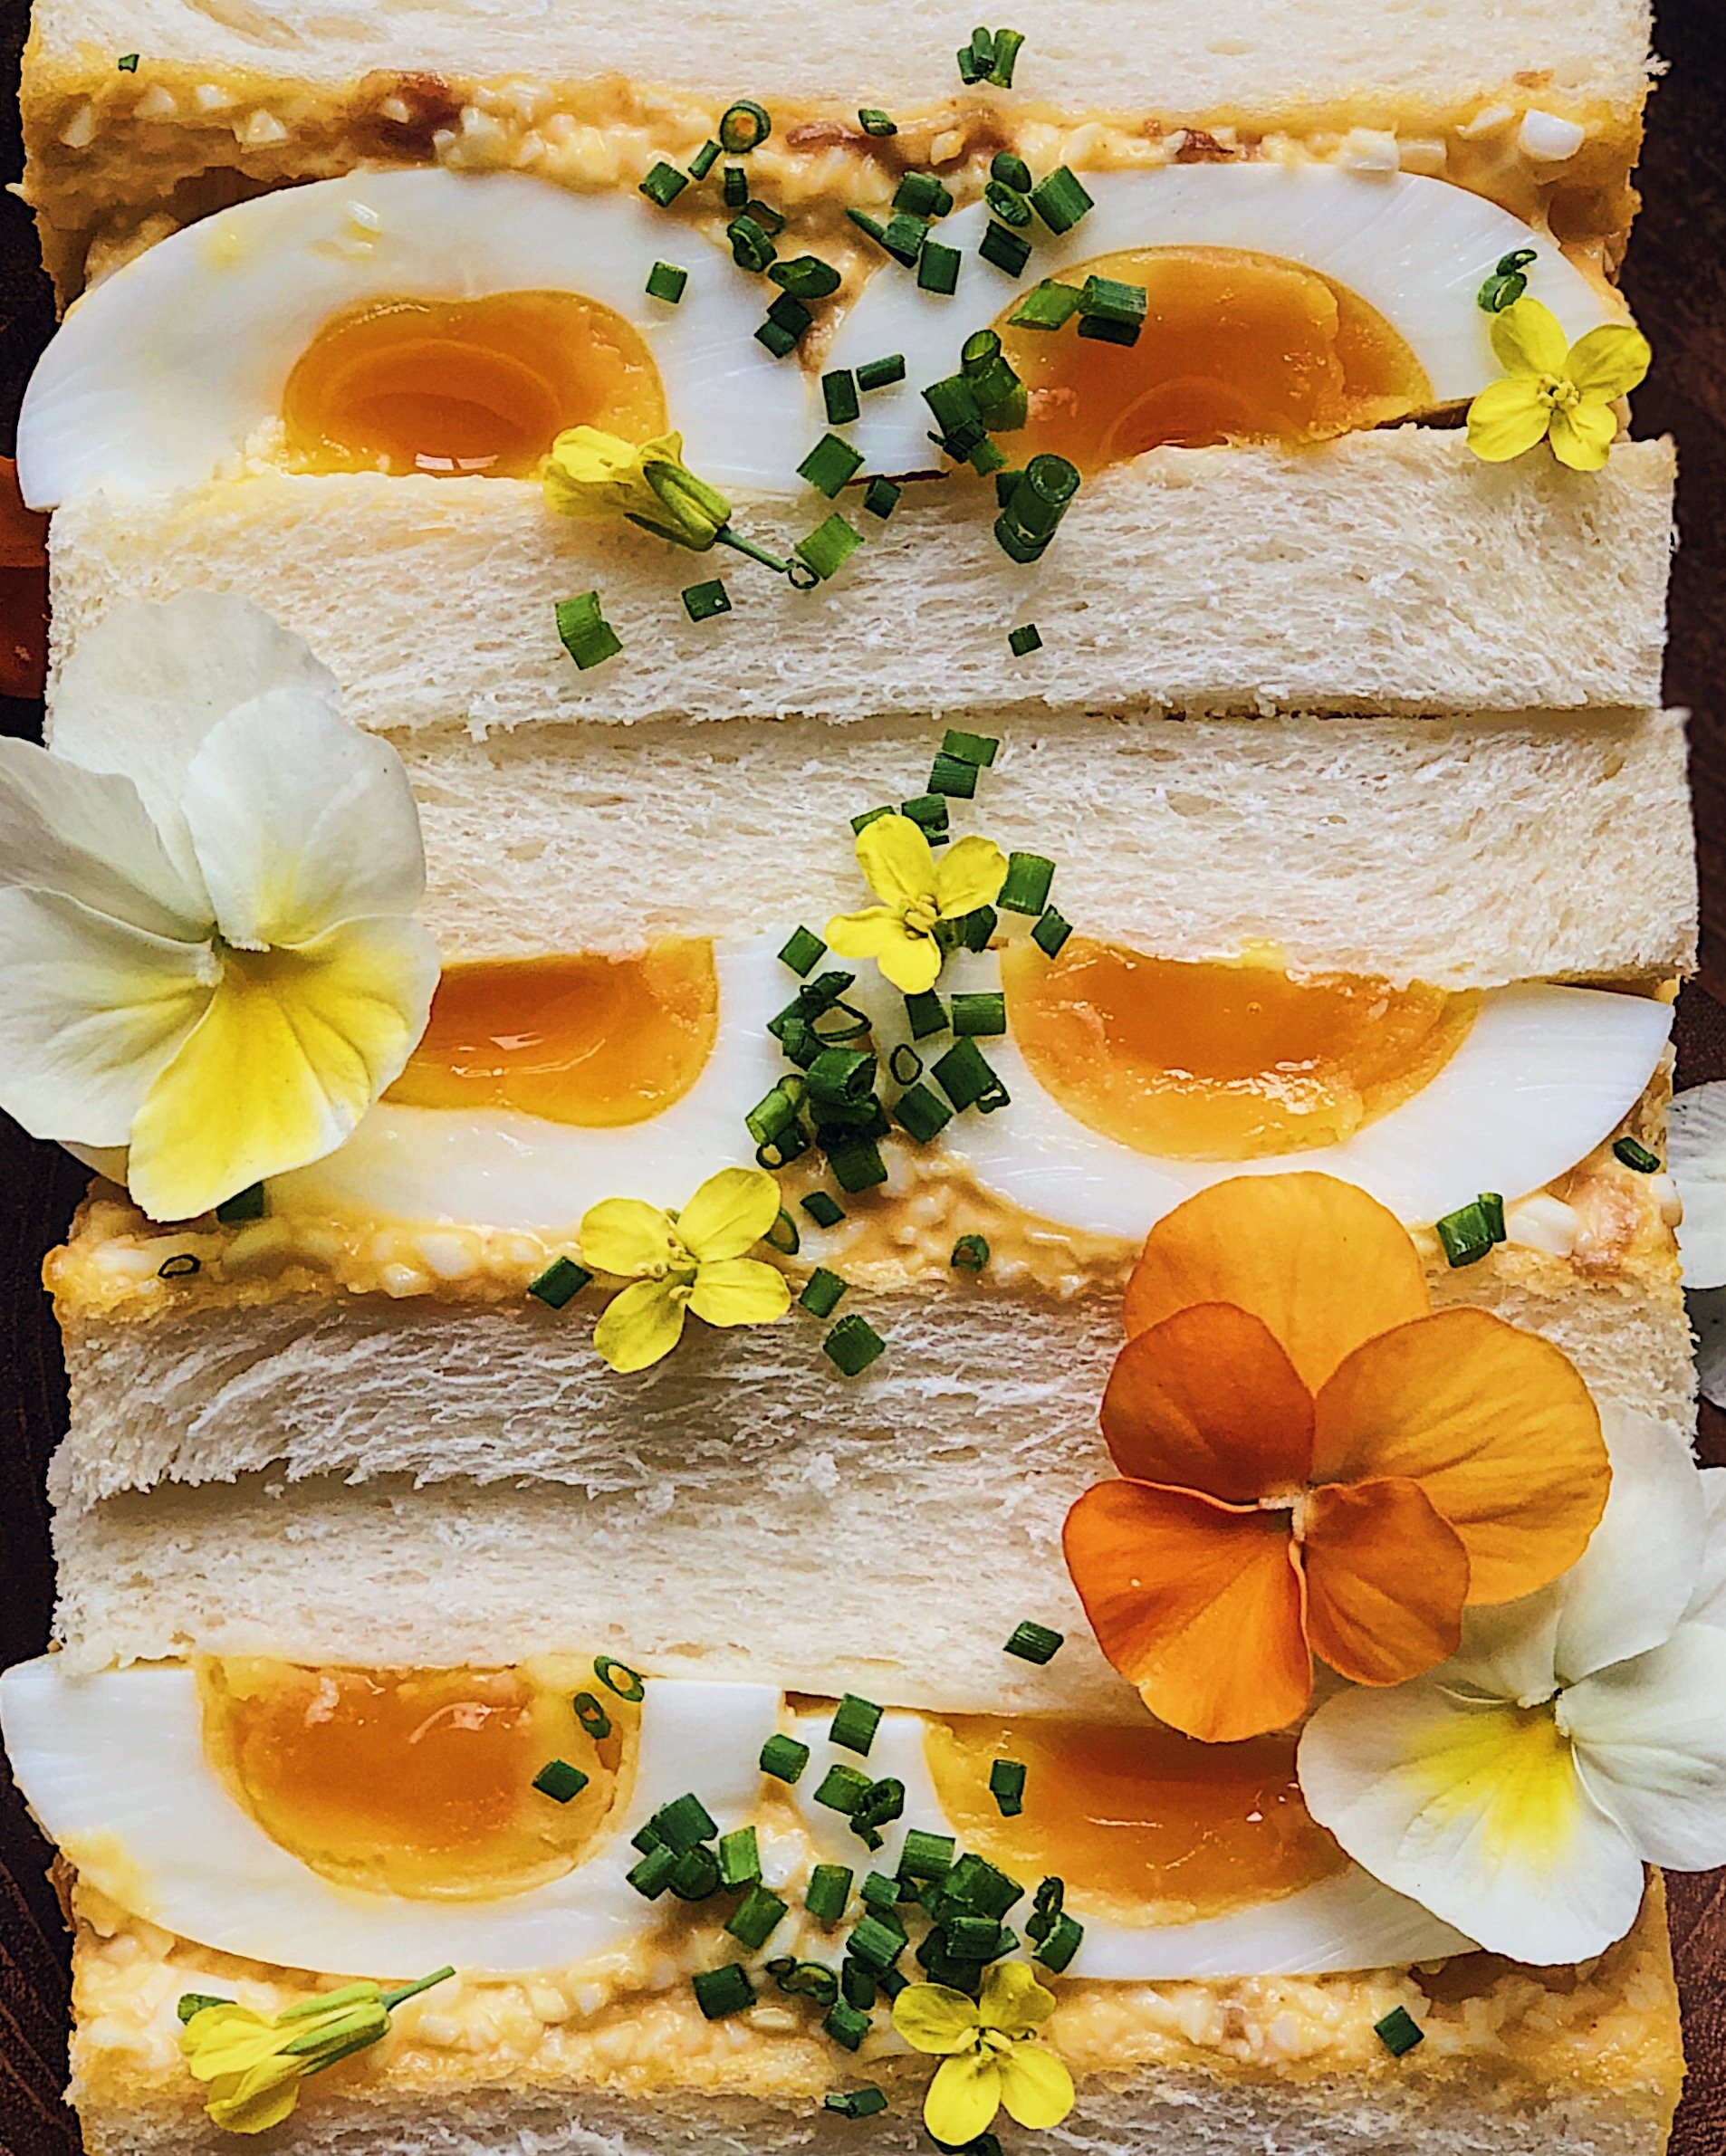
8 minutes: Jammy yolks that aren’t going anywhere. Perfect for tamago sandos like the one shown above.
Step 4: Keep the eggs moving! Use a slotted spoon to continuously spin the eggs around their own axes as well as occasionally lift them out of the water and immediately lower them back in. Do this for the entire cook time. The centrifugal motion will keep the yolk positioned nicely as the egg white cooks, and lifting the egg in and out might help with reducing the impact of that pesky air bubble (if the eggs are relatively fresh).
What happens if you skip this tip: The yolk will settle in the egg before the egg white has had a chance to cook/solidify. When you cut it open, you will find that the yolk is in a weird spot and you have an ugly cross-section.
Credit to Eat With Your Eyes Closed for teaching me about egg yolk centrifuge.
Step 5: When the timer is up immediately transfer the eggs into an ice bath to stop the cooking. Move them around for a bit to really allow the heat to disperse and get the eggs to cool down.
Phase 3: Cooling and Peeling the Eggs
You could cook the eggs perfectly and still end up with ugly eggs if you don’t get this post-production phase right. If you followed Phase 1 correctly and used store-fresh eggs, they can be notoriously hard to peel, resulting in frustration and little bits of egg white (and all your hopes and dreams of a perfect-looking egg) being lost. Patience and cooling time are the keys to doing this phase right.
After your eggs are cool to the touch from resting in the ice bath, gently knock them against each other or a countertop to make little hairline fractures in the shells. I like to grasp the egg and encircle it with my palm when I do this, to help support the egg structure.
Especially concentrate on creating fracture lines at the wider bottom of the shell. Due to that air bubble, it will be easiest to start on this end anyway when you peel.
Place the unpeeled eggs in a bowl of cold water and put them in the fridge. Let them continue to chill for as long as you can, up to overnight! The cold temperature will cause things to shrink inside the shell and water will seep in between the cooked egg and the shell, creating separation.
When it is time to peel, start from that wider end and go gently and slowly, continuing to fracture the shell into little pieces as you go, rather than trying to peel off a big chunk at once.
What happens if you skip these tips: The egg white may stick to the shell!
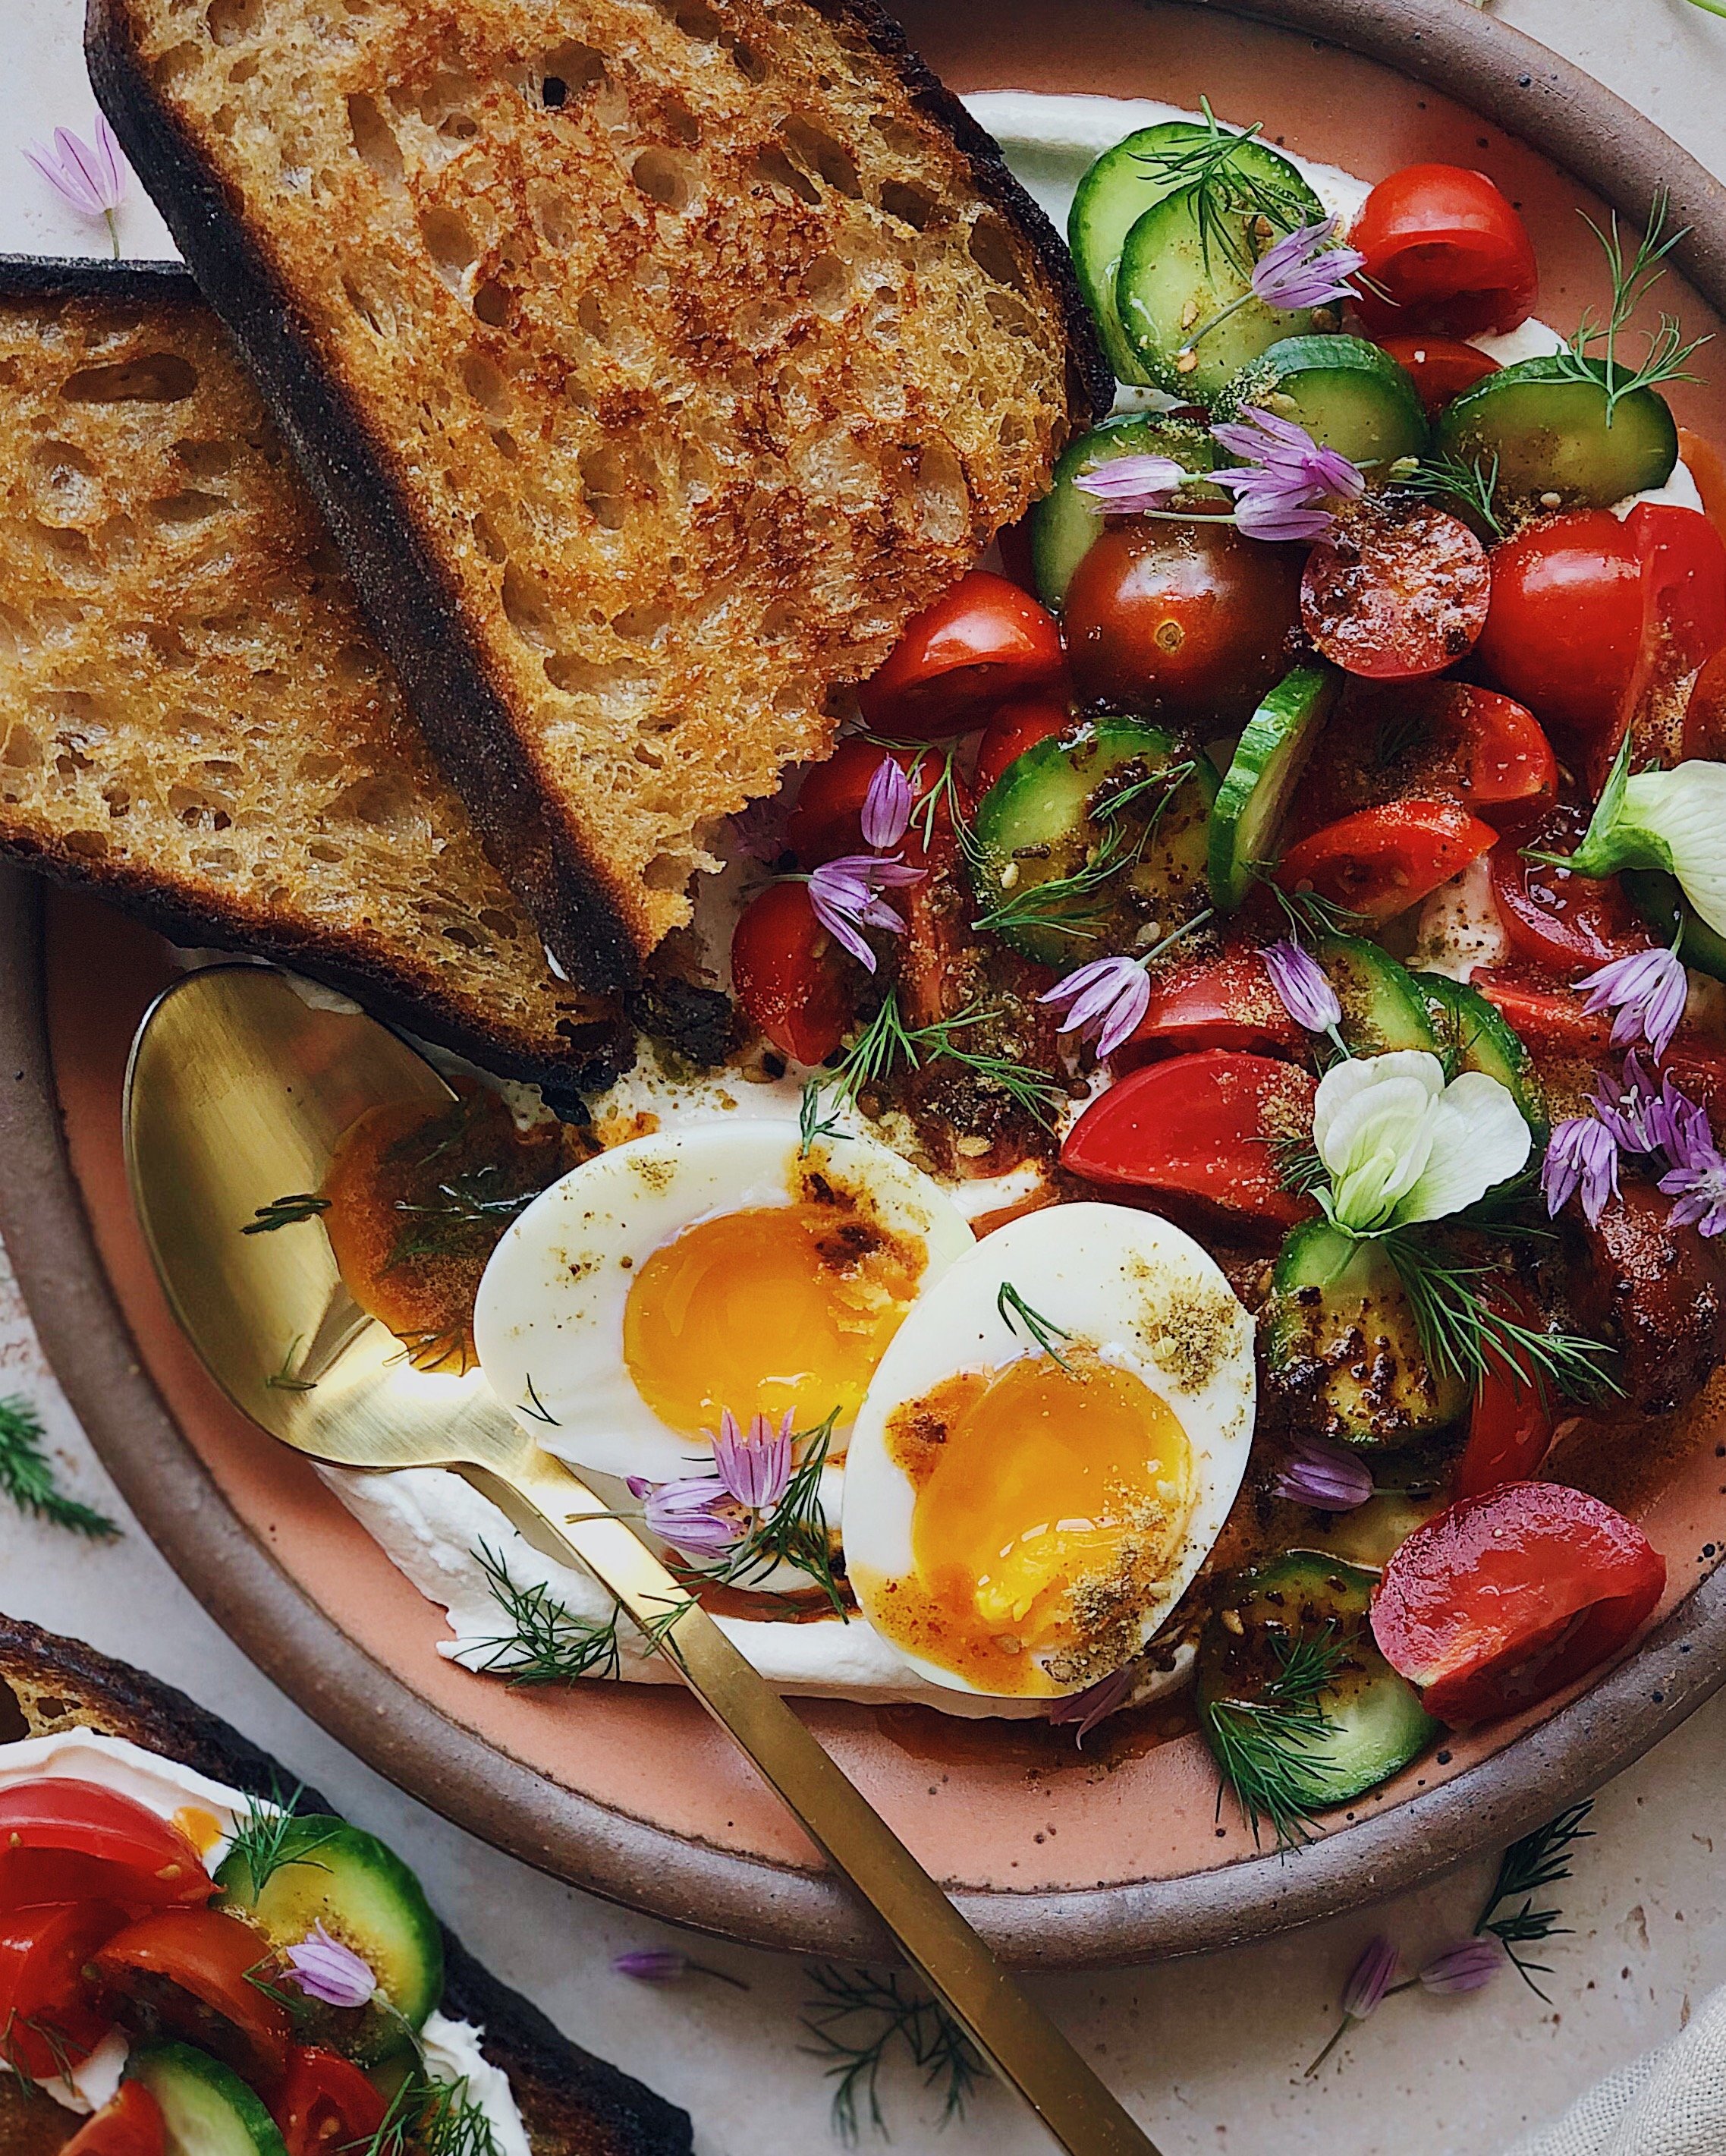
Phase 4: Enjoying the Eggs!
Now you are ready to take photos of your eggs if you so choose, but more importantly, you are ready to eat them! Below is some inspiration for how to incorporate jammy eggs into your meals. I hope you found this blog post helpful, and I wish you eggcellent jammy eggs in your future!


