My Savory Christmas Cookie Box!

I’ve been pondering this idea of an all-savory Christmas “cookie” box all year and I am so excited with how it turned out. The purpose of this blog post is to share a little more detail about each item I included in the box, since I can’t include this much detail or links in an Instagram caption.

Hey, I love Christmas cookies too. But I will always crave and choose savory snacks over something sweet. Christmas cookie boxes are so pretty and festive, and I did not think it was fair that us members of Team Savory do not typically get to celebrate our love for salty, cheesy, and umami-y treats with the same aesthetic charm. (Popcorn tins and mixed nut boxes simply don’t do it for me.) So I made a selection of savory miniature treats that would look just as lovely tucked together in a little box as cookies and candies would.

A couple of disclaimers: I realized afterwards that everything happens to be cheese-flavored because I really, really like cheese, but I do want to mention that I am fully aware that there are other great savory flavors out there that do not involve being made of cheese. Also, I made this as a creative challenge for myself, using leftover items from other baking projects and small-batch versions of recipes; as it contains cheese and meat, it is not meant to be a mailed gift, since everything needs to be refrigerated. However, I think this would be a lovely gift idea for a cheese-loving friend that you are visiting in person, and I hope it inspires you to think outside of the cookie box with your own baking projects for this holiday season.

Here’s a list of what’s in my savory Christmas cookie box

On the left:

  • Savory cookies with sun-dried tomatoes, feta, and za’atar: It took me a while to figure out exactly what a savory cookie would be like. I know there are savory shortbread recipes out there, but I wanted to include at least one “cookie” in my box that really resembled the shape of a nice thick cookie, and with the same satisfying bite. When I took a step back and thought about the process of baking cookies, I realized that drop biscuits were basically a savory version of a cookie! My recipe for these is adapted from a buttermilk drop biscuit recipe, but with tasty mix-ins of feta, sun-dried tomatoes, and za’atar to replace the chocolate chunks, dried fruit, and baking spices that are found in many Christmas cookie recipes. Get the recipe for these savory cookies here.

  • Mini cheese balls: These cheese and walnut balls were inspired by the old school cheese balls covered in nuts that I remember being on grazing boards at my parents’ friends’ holiday parties when I was little. I used to really look forward to these because at my house, the only cheese items we ever had were the green can of parm and Kraft Singles. I made these by combining grated sharp white cheddar, cream cheese, garlic powder, and walnuts in the food processor and then rolling the resulting mixture into 1-inch balls. The ones on the left were rolled in chopped walnuts and the ones on the right were rolled in cheddar cheese powder (like the kind meant for seasoning popcorn). I love how these turned out looking like a visual dupe of the Russian tea cakes that my mom used to make at Christmas time every year.

  • Homemade white cheddar “Cheez-Its” with dill and white pepper: For something bite-sized and light, I made my own Cheez-It crackers, based on this recipe by Don’t Waste the Crumbs. I only made one quarter of the recipe and used sharp white cheddar instead of orange cheddar, and used a bit of white pepper instead of garlic and onion powders. After cutting the crackers out with a scalloped round cookie cutter, I pressed little fronds of dill on them for decoration and poked a bunch of little holes to keep them flat. I thought of these as a savory counterpart to gingersnaps, since both are crisp and have a warming spiced note to them.

On the right:

  • Cheddar gougères: These cheesy choux pastry puffs are a savory version of the same pastry shells used for profiteroles, eclairs, or cream puffs and are just as light as air and fun to eat. These were left over from a commissioned recipe where I filled the gougères with foie gras mousse. You can find the recipe for them here. Baked choux pastry keeps well in the freezer and simply needs to be popped back into the oven for a bit to be defrosted and brought back to life.

  • Country pâté and cheese hand pies: These miniature pies are filled with brie cheese and pâté de campagne, or country pâté. They were inspired by British picnic pies and the meat filling is similar to a terrine or to Spam, so it holds its shape and is perfect for a little hand-held pie. I decorated these with a combination of parsley, dill, and pink peppercorns to give them that festive look. These were also left over from a commissioned recipe, which you can find here.

  • Goat cheese mole “truffles”: To make these, I folded together soft goat cheese and chopped pepitas for a twist on the cheese and nut balls I mentioned above. After chilling the mixture in the fridge to firm up a bit, I rolled it into little balls, and then rolled that in a mixture of unsweetened cocoa powder and this Mexican mole-inspired spice blend to create a savory version of a chocolate truffle. After all, mole is a wonderful example of how chocolate can be savory too!

  • Pie pastry leaves: I had some leftover pie pastry scraps that I shaped into leaves, eggwashed, and baked. These got tucked into the final little space left in the bottom corner of the box.

For extra decorations, I used winter savory (the herb, whose name I thought was very appropriate for this) and bay leaves that I cut into the shape of holly leaves using kitchen shears.

For 2024, I set a challenge for myself to reimagine desserts and other confectionary sweet treats and create savory counterparts that are just as beautifully styled. You can see other examples of my “make it savory” series here. I had such fun with this challenge and I still have more ideas that I didn’t get around to yet, so I will definitely be continuing this series in the new year!

Learning to Crochet in the Round

A couple of months ago, I decided to learn how to crochet. This blog post is about my journey as a beginner and some resources that I found to be incredibly helpful to me for completing my first project.

I had done some very basic crocheting back when I was in college, but being that my brain has very limited storage these days, I felt I had completely deleted any knowledge of how to crochet and was effectively going to need to start as a complete newbie. I’d also never learned how to read or follow a pattern, or how to “crochet in the round” (which I learned means to crochet round and round in a circle) and this time, I wanted to make things that were actually functional.

When I first began this endeavor, I started by looking at a written pattern for something I wanted to make. As someone brand new to reading crochet patterns, it felt as if I was trying to read a secret code! I was completely intimidated. But then I remembered that my old friend Google was always there to help me. I had jumped into things too quickly, but pulling back and getting an understanding of the basics quickly made everything feel much more accessible. These are the things that really helped me get started with making this jute and yarn basket!

Helpful YouTube Videos for Learning to Crochet

How to Read a Basic Crochet Pattern by Crochet with Tiffany

This video walks through the 5 most basic stitches: chain, slip stitch, single crochet, half double crochet, and double crochet. And for each one, the name, abbreviation, symbol, and a video demonstration of how to do the stitch is given in a way that is very easy to follow. After watching this video, I immediately had a clear idea of how to read a beginner pattern that used some combination of these stitches.

Reading Written Patterns by Simply Daisy

This video also walks through common abbreviations of stiches and other abbreviations found in written crochet patterns, and gives clear video demos on how to do each thing. This video included some more advanced information that the previous video did not, so I felt like it was a good follow-up while broadening my knowledge.

Some key things I learned in this video were the terms “front loops only”/”front post” and “back loops only”/”back post”. When you make a crochet stitch, it creates a V shape. When you make a new stitch on top of it, most of the time, you insert your crochet hook under the whole V. But sometimes you only go under one of the sides of the V. That’s what front/back loops are referring to. It will make more sense when you watch the video! (That being said, I realized after completing my first project that I did the entire thing wrong, using the “back loops only” process. Oops! But the project still turned out looking and functioning exactly how I wanted!)

Amigurumi Basics for Beginners by Ollie + Holly

Amigurumi is a term borrowed from Japanese that refers to the art of crocheting mini stuffed creatures. They usually have spherical heads and rounded bodies.

For my first project, I wanted to make a round basket to hold my crochet supplies—super functional and kinda meta! So, I wasn’t planning on making an amigurumi sphere, but I did need to learn how to “crochet in the round”. I found that watching the whole process of how to make a sphere in the video above allowed me to get a feel for what my own rounded project would entail. I found the manner and voice of the person in the video to be slow and pleasant to listen to.

This video also showed me how to make a “magic circle” which is the way you start many projects that are crocheted in the round.

How to Fasten Off by Red Heart Yarn

This is the video I watched to learn the term “fasten off” or tie a knot to end the project and detach it from the ball of yarn. The voiceover sounds a bit robotic but the video helped me clearly understand the step.

More Helpful Links for Learning How to Crochet

I still really like using step-by-step written instructions to learn stuff, rather than having to pause/replay videos. I basically just watched all the above videos once and then referred to written instructions when I needed help for each step of my project. I found the website sarahmaker.com to be easy to follow. Specifically, these links helped me with my project.

At the end of my project, I followed these instructions for an invisible seamless join by Crochet 365 Knit Too for what to do with the very last stitch of my round basket, to get a nice seamless finish. This one is not really a crocheting basic but I am including this here mostly for myself to get back to these instructions in the future!

Starter Kit for Crocheting Newbies

To get started on your first crochet project, you will also need the right tools! The most important things are yarn and needles, of course. Having a whole set of crochet needles in varying sizes is useful if you think you will stick with crocheting multiple projects; this way you will have what you need for any yarn size.

Here is the link to the starter kit that I bought** (affiliate)

At the time of this blog post, the kit is only $7 and it comes with a bunch of crochet needles in different sizes, plus tapestry needles and stitch markers. Honestly this is an incredible deal.

  • Tapestry needles are used to weave your yarn tail into your piece at the end of the project or to stitch crocheted things together; they are like blunt-tipped sewing needles with big eyes for threading yarn through. The ones from this kit feel sturdy enough and come in a cheap but useful little tube with a cap.

  • Stitch markers are for keeping track of a specific stitch and they work just like safety pins but not as sharp; the ones that came with this kit were pretty low-quality but this is the least essential tool in the kit anyway. If you end up hating these, you could use a paper clip or a safety pin.

  • I found the aluminum needles themselves to have a good weight to them and they are comfortable for me to use; in contrast, I found a super lightweight plastic crochet needle in my crafting box from college and did not like the feel of that one at all.

I definitely recommend this kit! I use one of those pink pouches from Glossier to hold everything together (thank you to my friend Taleen for gifting me the pouch).

My First Crocheting Project

And finally, here is the info on my first project.

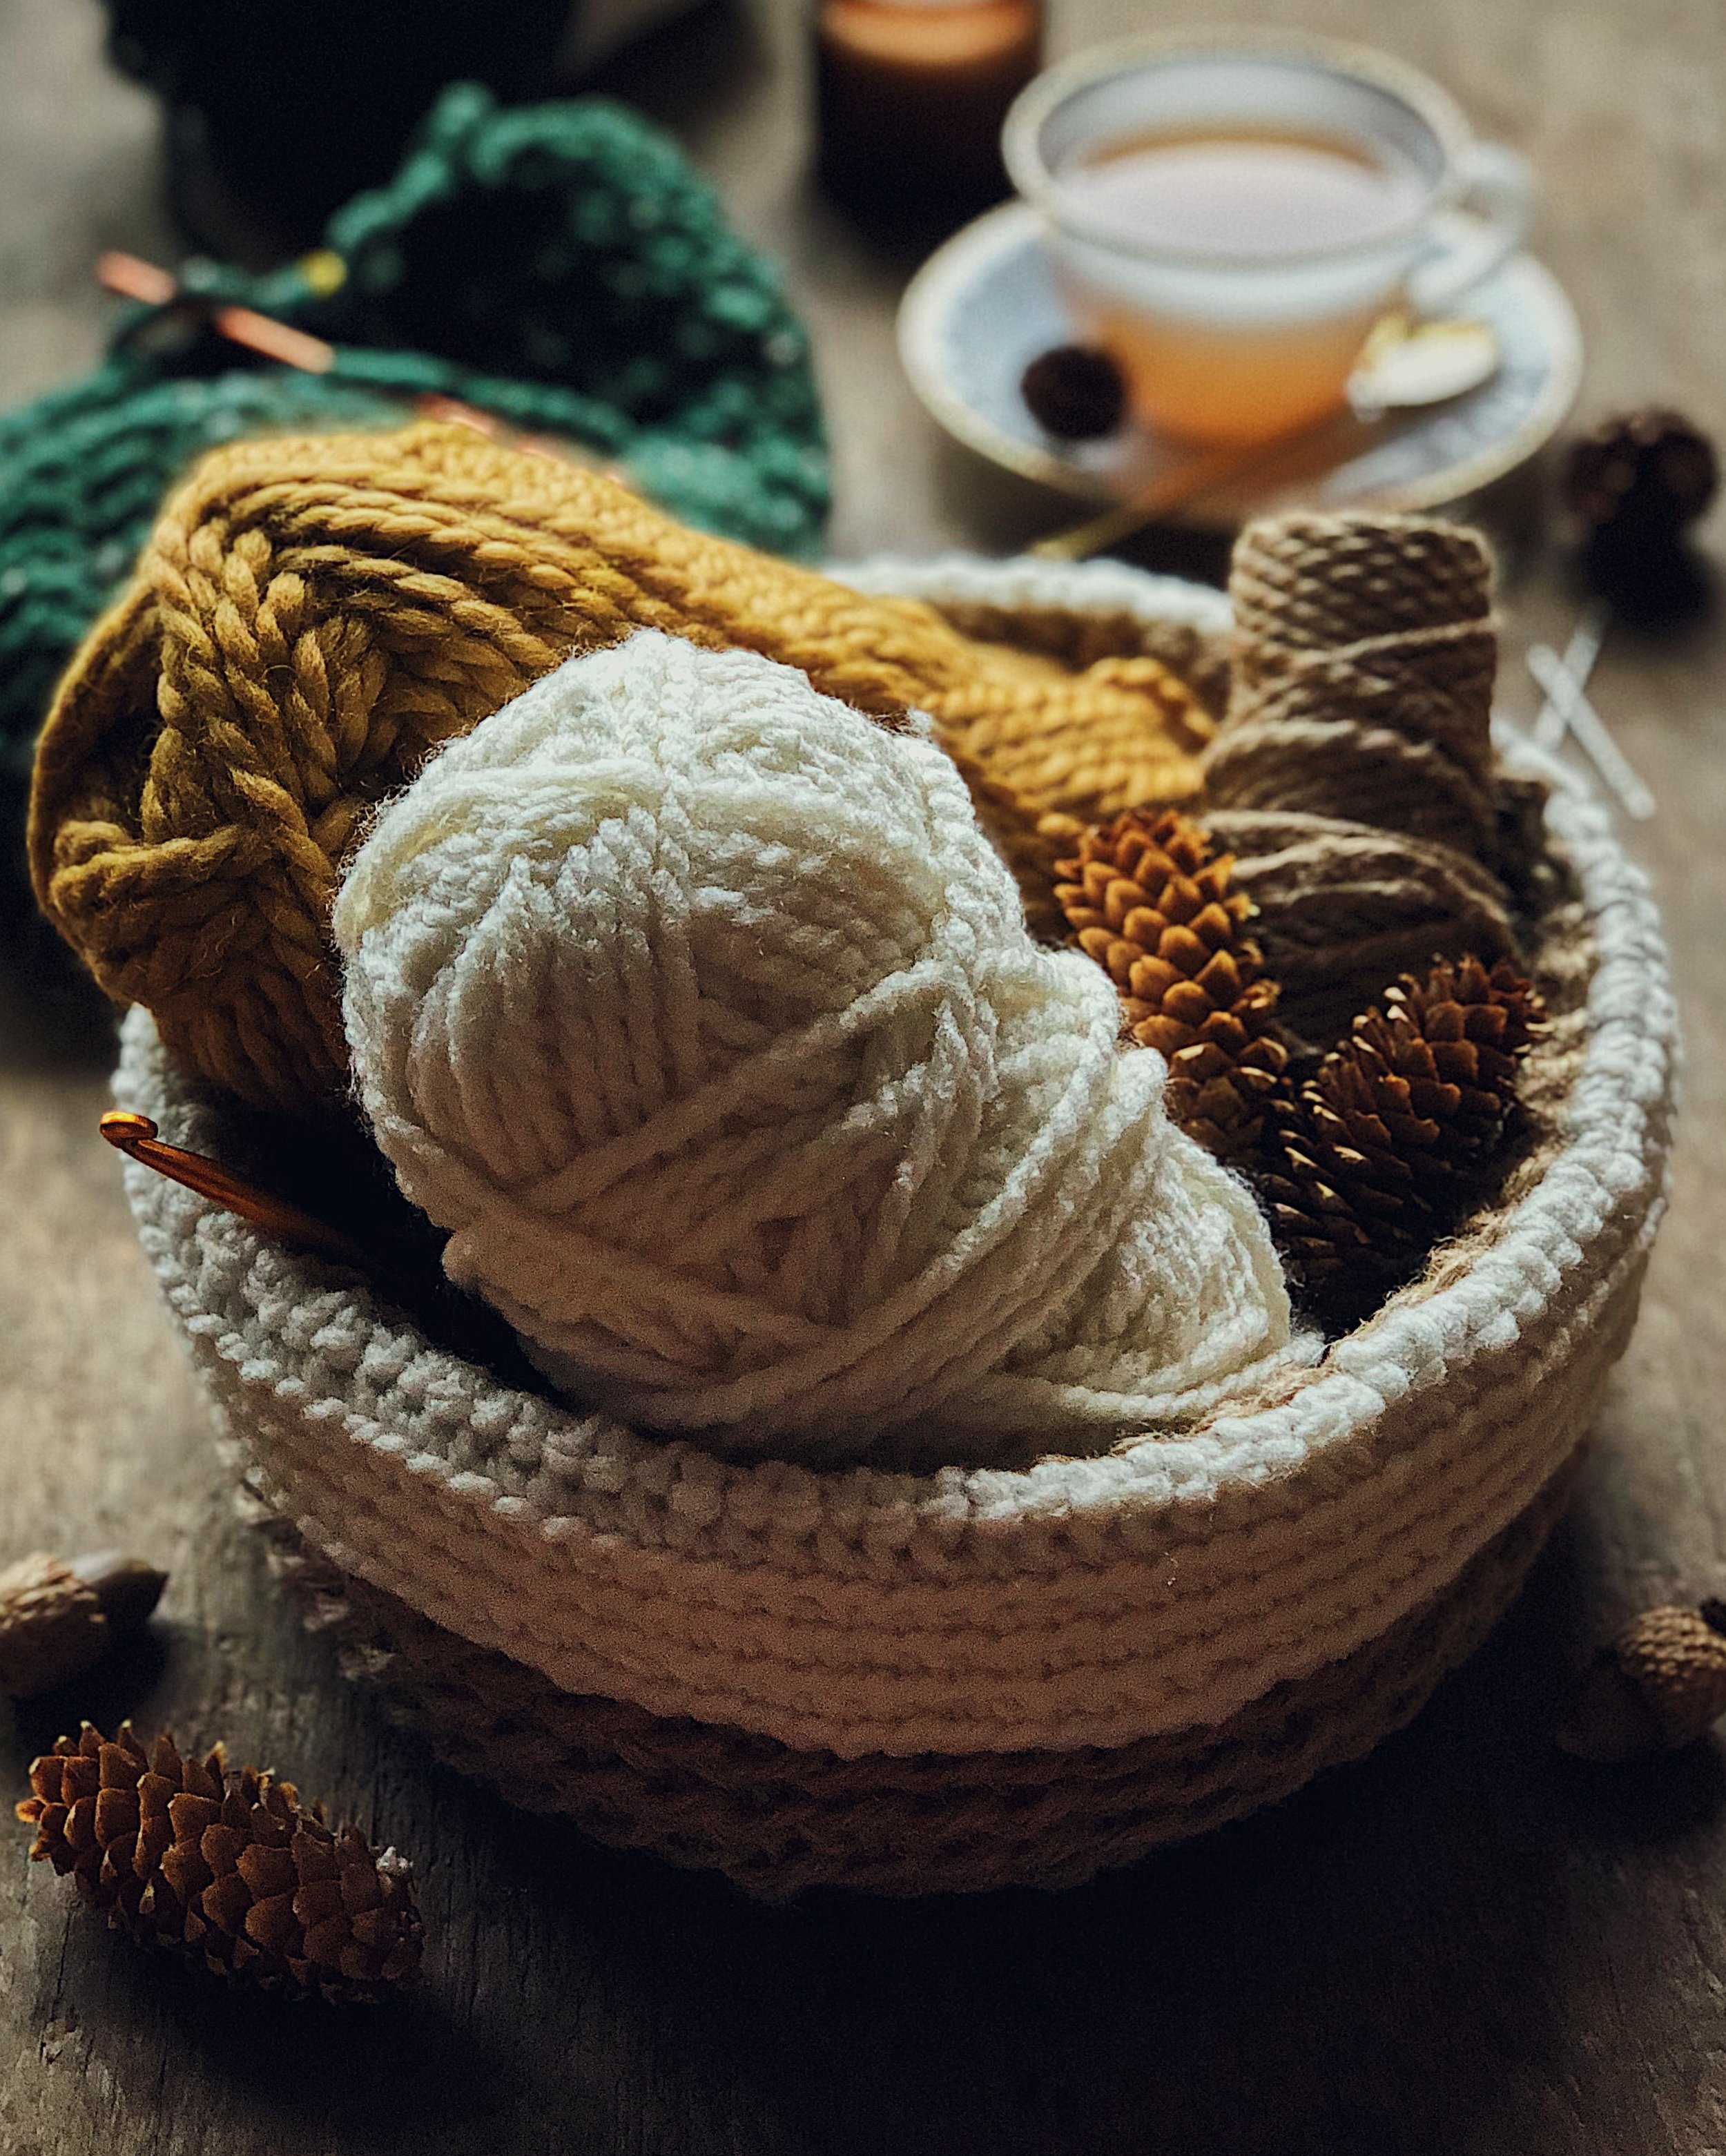
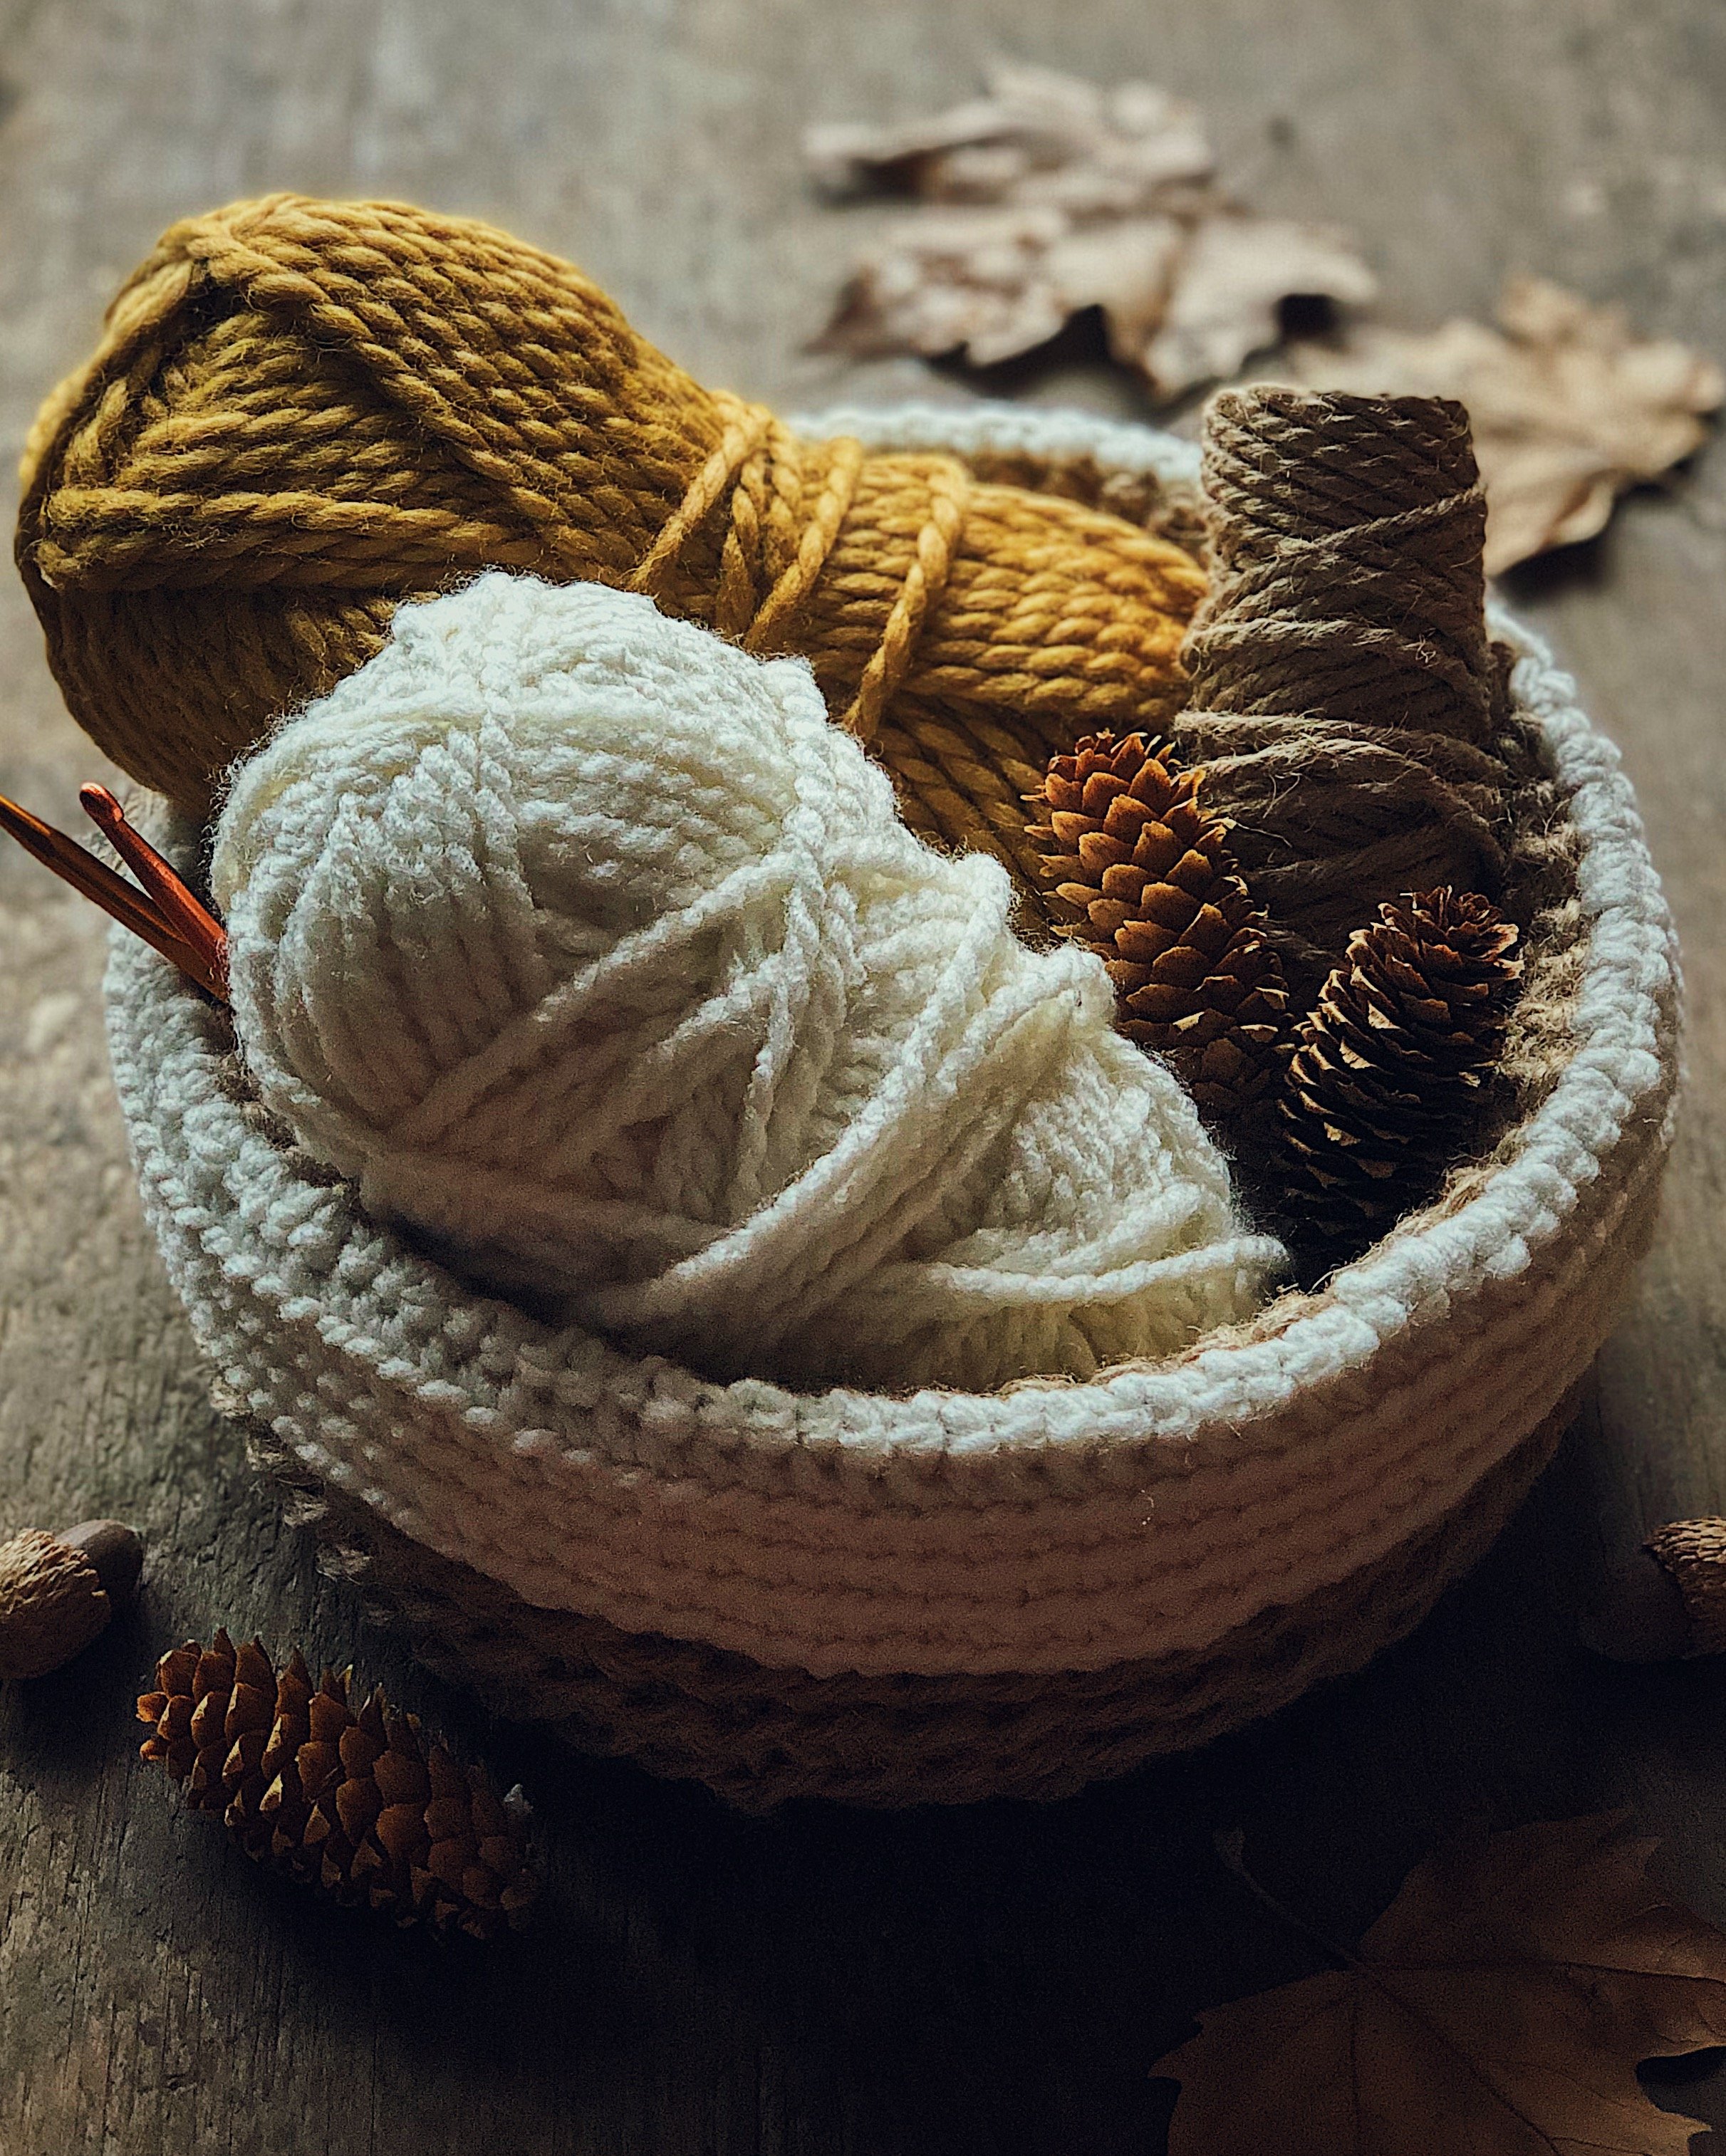
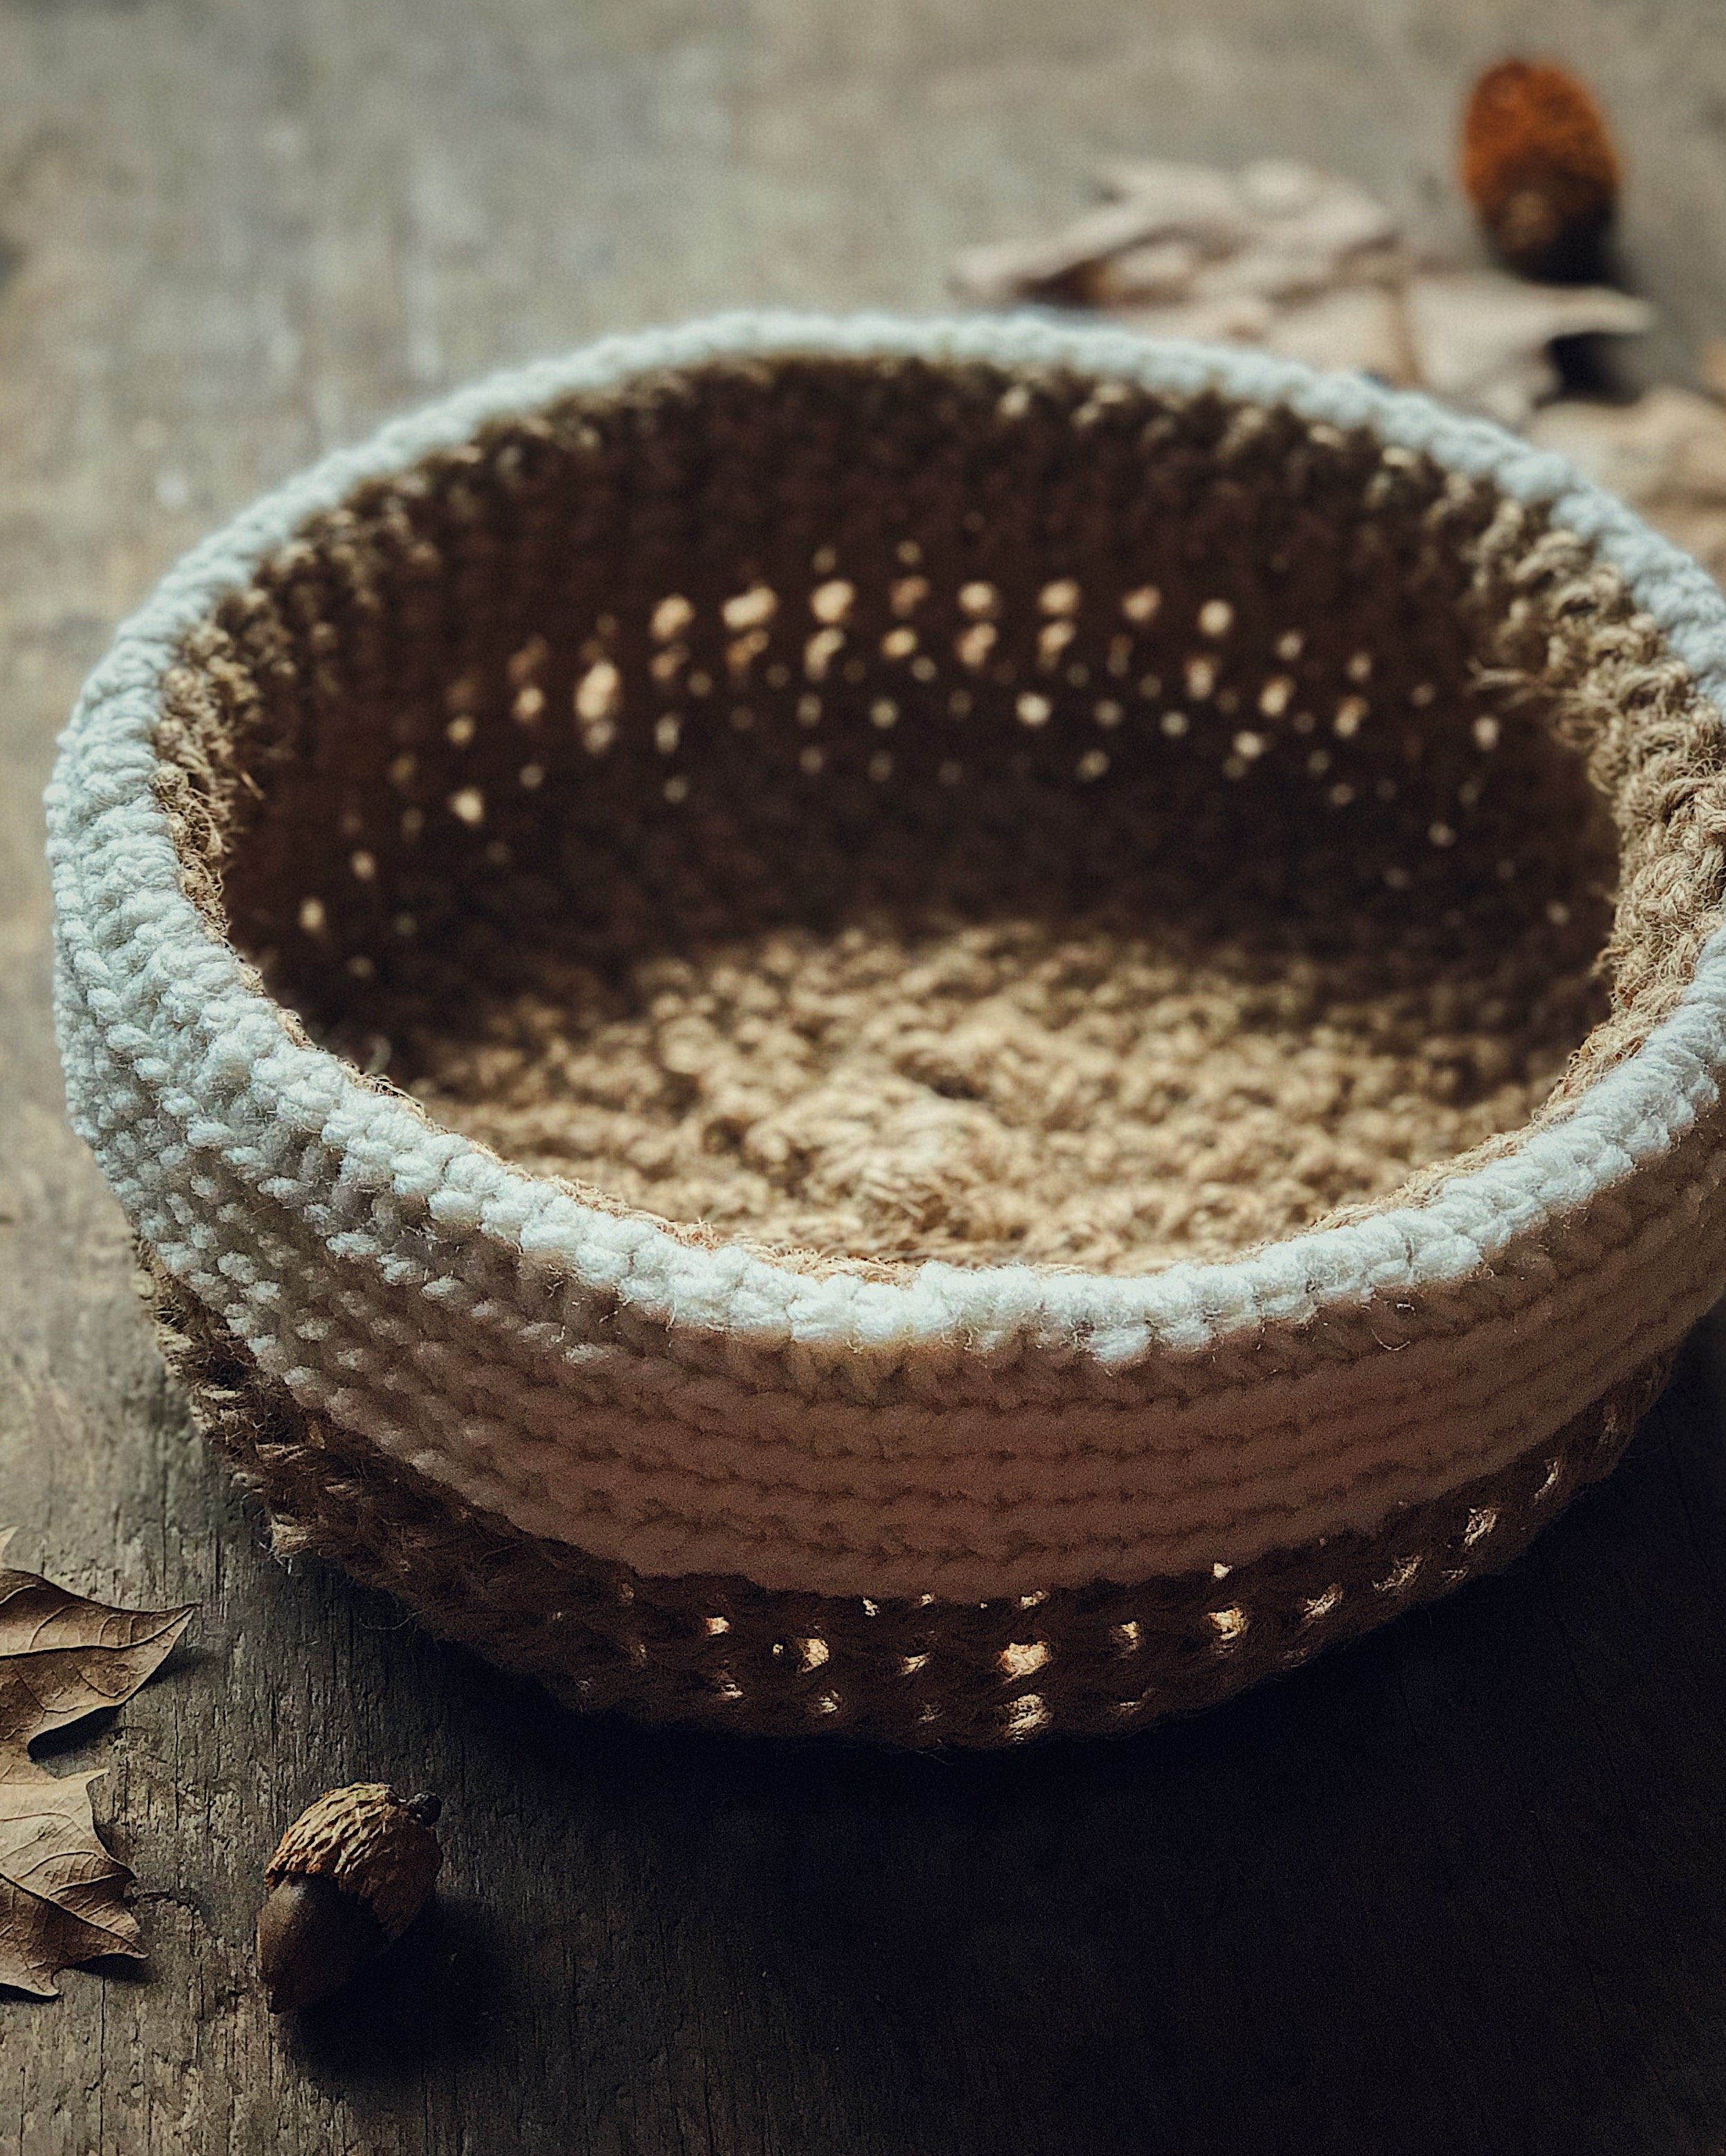
I thought, what better way to start than to make something that I can use to hold all my crocheting supplies? I made this basket by following this pattern from Crochet 365 Knit Too, with some major caveats. The pattern uses two strands at a time to get a bulkier look, but I think that is too complicated for a beginner like me who is just getting used to making the stitches and understanding what they should look like. So for both the jute and yarn sections, I just used materials that were thicker than the ones noted in the pattern, and did everything as a single strand. Also, as I mentioned before, I was not a very good student to all the teaching materials I listed, because I was connecting the stitches completely wrong the whole time! I didn’t even realize until I started learning how to read the pattern for my next project that I was doing all my stitches through the “back loops only” instead of building the stitches wholly on top of one another. So there is pretty much no way I’ll ever be able to exactly replicate this basket again, but I am quite proud of how it turned out.

I think this basket took me about 4–5 sessions that were 1–1.5 hours each. They were just spaced out over a really long time because travel, other projects, and distractions of life really killed my momentum. Also, about halfway through I spilled an overly-sweet mango tea all over it and had to rinse it off, which relaxed the stiffness of the jute and for a while I was really disheartened by that. IMPORTANT LESSON: Don’t let your yarn get caught on the straw of your drink!!!

Anyway, I hope this is helpful to someone out there who wants to learn how to crochet. And even if no one reads down to this point, at least I have this blog post for myself to refer back to when I eventually delete all this information from my brain and want to learn how to crochet all over again.

Regrets About My Kitchen Renovation

I mentioned in my Instagram stories the other day that there were a couple of things I regret about my kitchen renovation 8 years ago. A few people asked for me to share my reflections on the experience, so they don’t make the same mistakes. It’s all super minor things, but I’ve collected my thoughts here in case it is helpful for anyone considering a kitchen remodel.

8C453864-7130-4FFE-96BC-E9CFF405AAAC.jpg

We bought our house back in 2012. When we had started looking at homes the year prior, real estate was pretty reasonably priced in the Bay Area compared to how things are nowadays. Prices started to rise during that year of house hunting, so by the time we managed to nail something down, it was nowhere near perfect and we didn’t have much budget left for renovations. The one thing we knew we HAD to change was the kitchen, which we hated. The footprint of the kitchen was so tiny that there was basically nowhere to stand in it when the oven was open; it certainly couldn’t have fit more than one person actively cooking at once. (“If we didn’t renovate that kitchen, we’d be divorced by now,” we still joke.) We ended up hiring a contractor to knock down the wall that divided the kitchen and dining room, and gut the entire thing.

Things I regret:

  • Not getting electrical outlets installed in the kitchen island. The extra electrical work would have required our contractor to apply for more permits with the city, so we passed on this idea and had our small kitchen island placed on caster wheels instead. Since I use the island as my main work surface for all my prep, it would have been nice to also be able to use small appliances on it.

  • Choosing an overmount sink verses mounting it under the countertop. We opted for a drop-in sink (like this) that has a thin metal lip extending over the countertop to hold it in place. Crumbs sure have a way of getting wedged under this lip when we are trying to wipe down the countertops; very annoying!

  • Not getting an ice maker installed in our freezer. Would have been convenient for all those iced home cafe drinks I made this past year!

  • Inspecting things more carefully each day while the work was in progress. For the most part, we really liked our contractor. He was friendly, communicated well, and made some great suggestions along the way. But there are little missed details (weirdly aligned cabinet legs, crooked light fixture) that we didn’t notice until after the project was over.

Here are some before, during, and after photos, in case you’re curious!

66609_10101946813521903_1612234202_n.jpg
531419_10101767528650223_1988979383_n.jpg
530734_10101802442048493_561334800_n.jpg
480306_10101946813736473_631140447_n.jpg
554944_10101946813696553_358258544_n.jpg