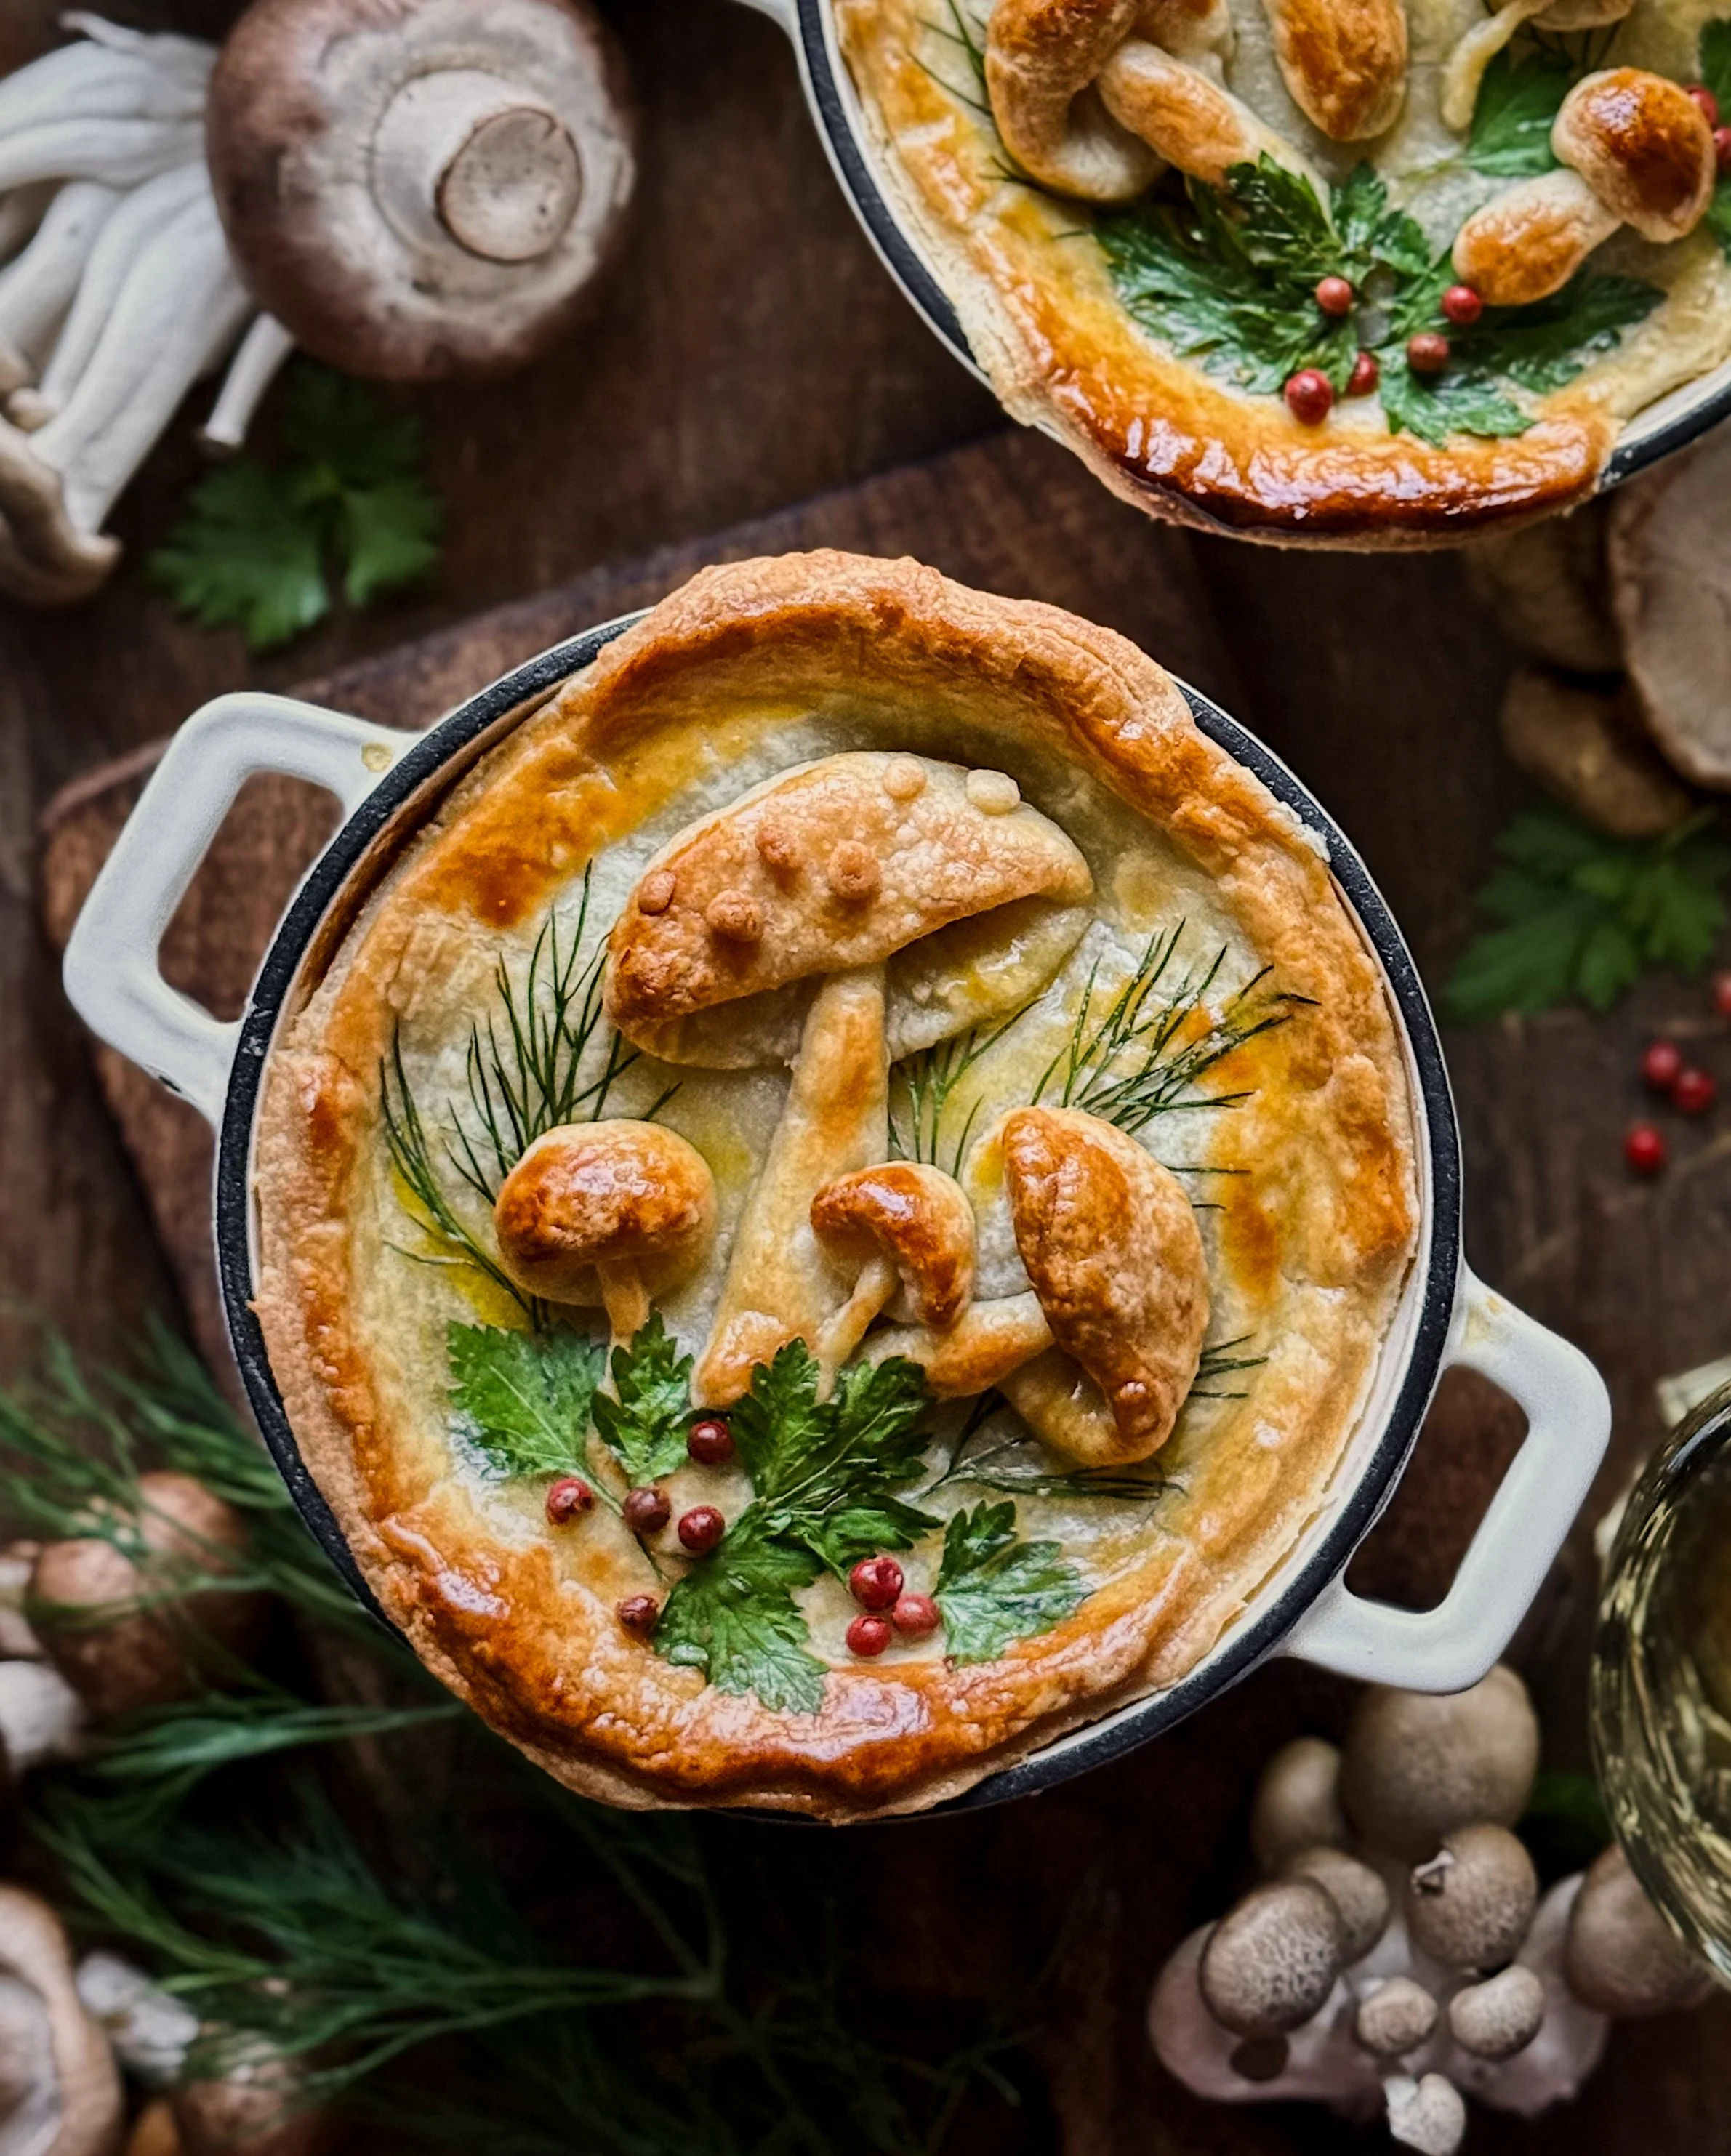
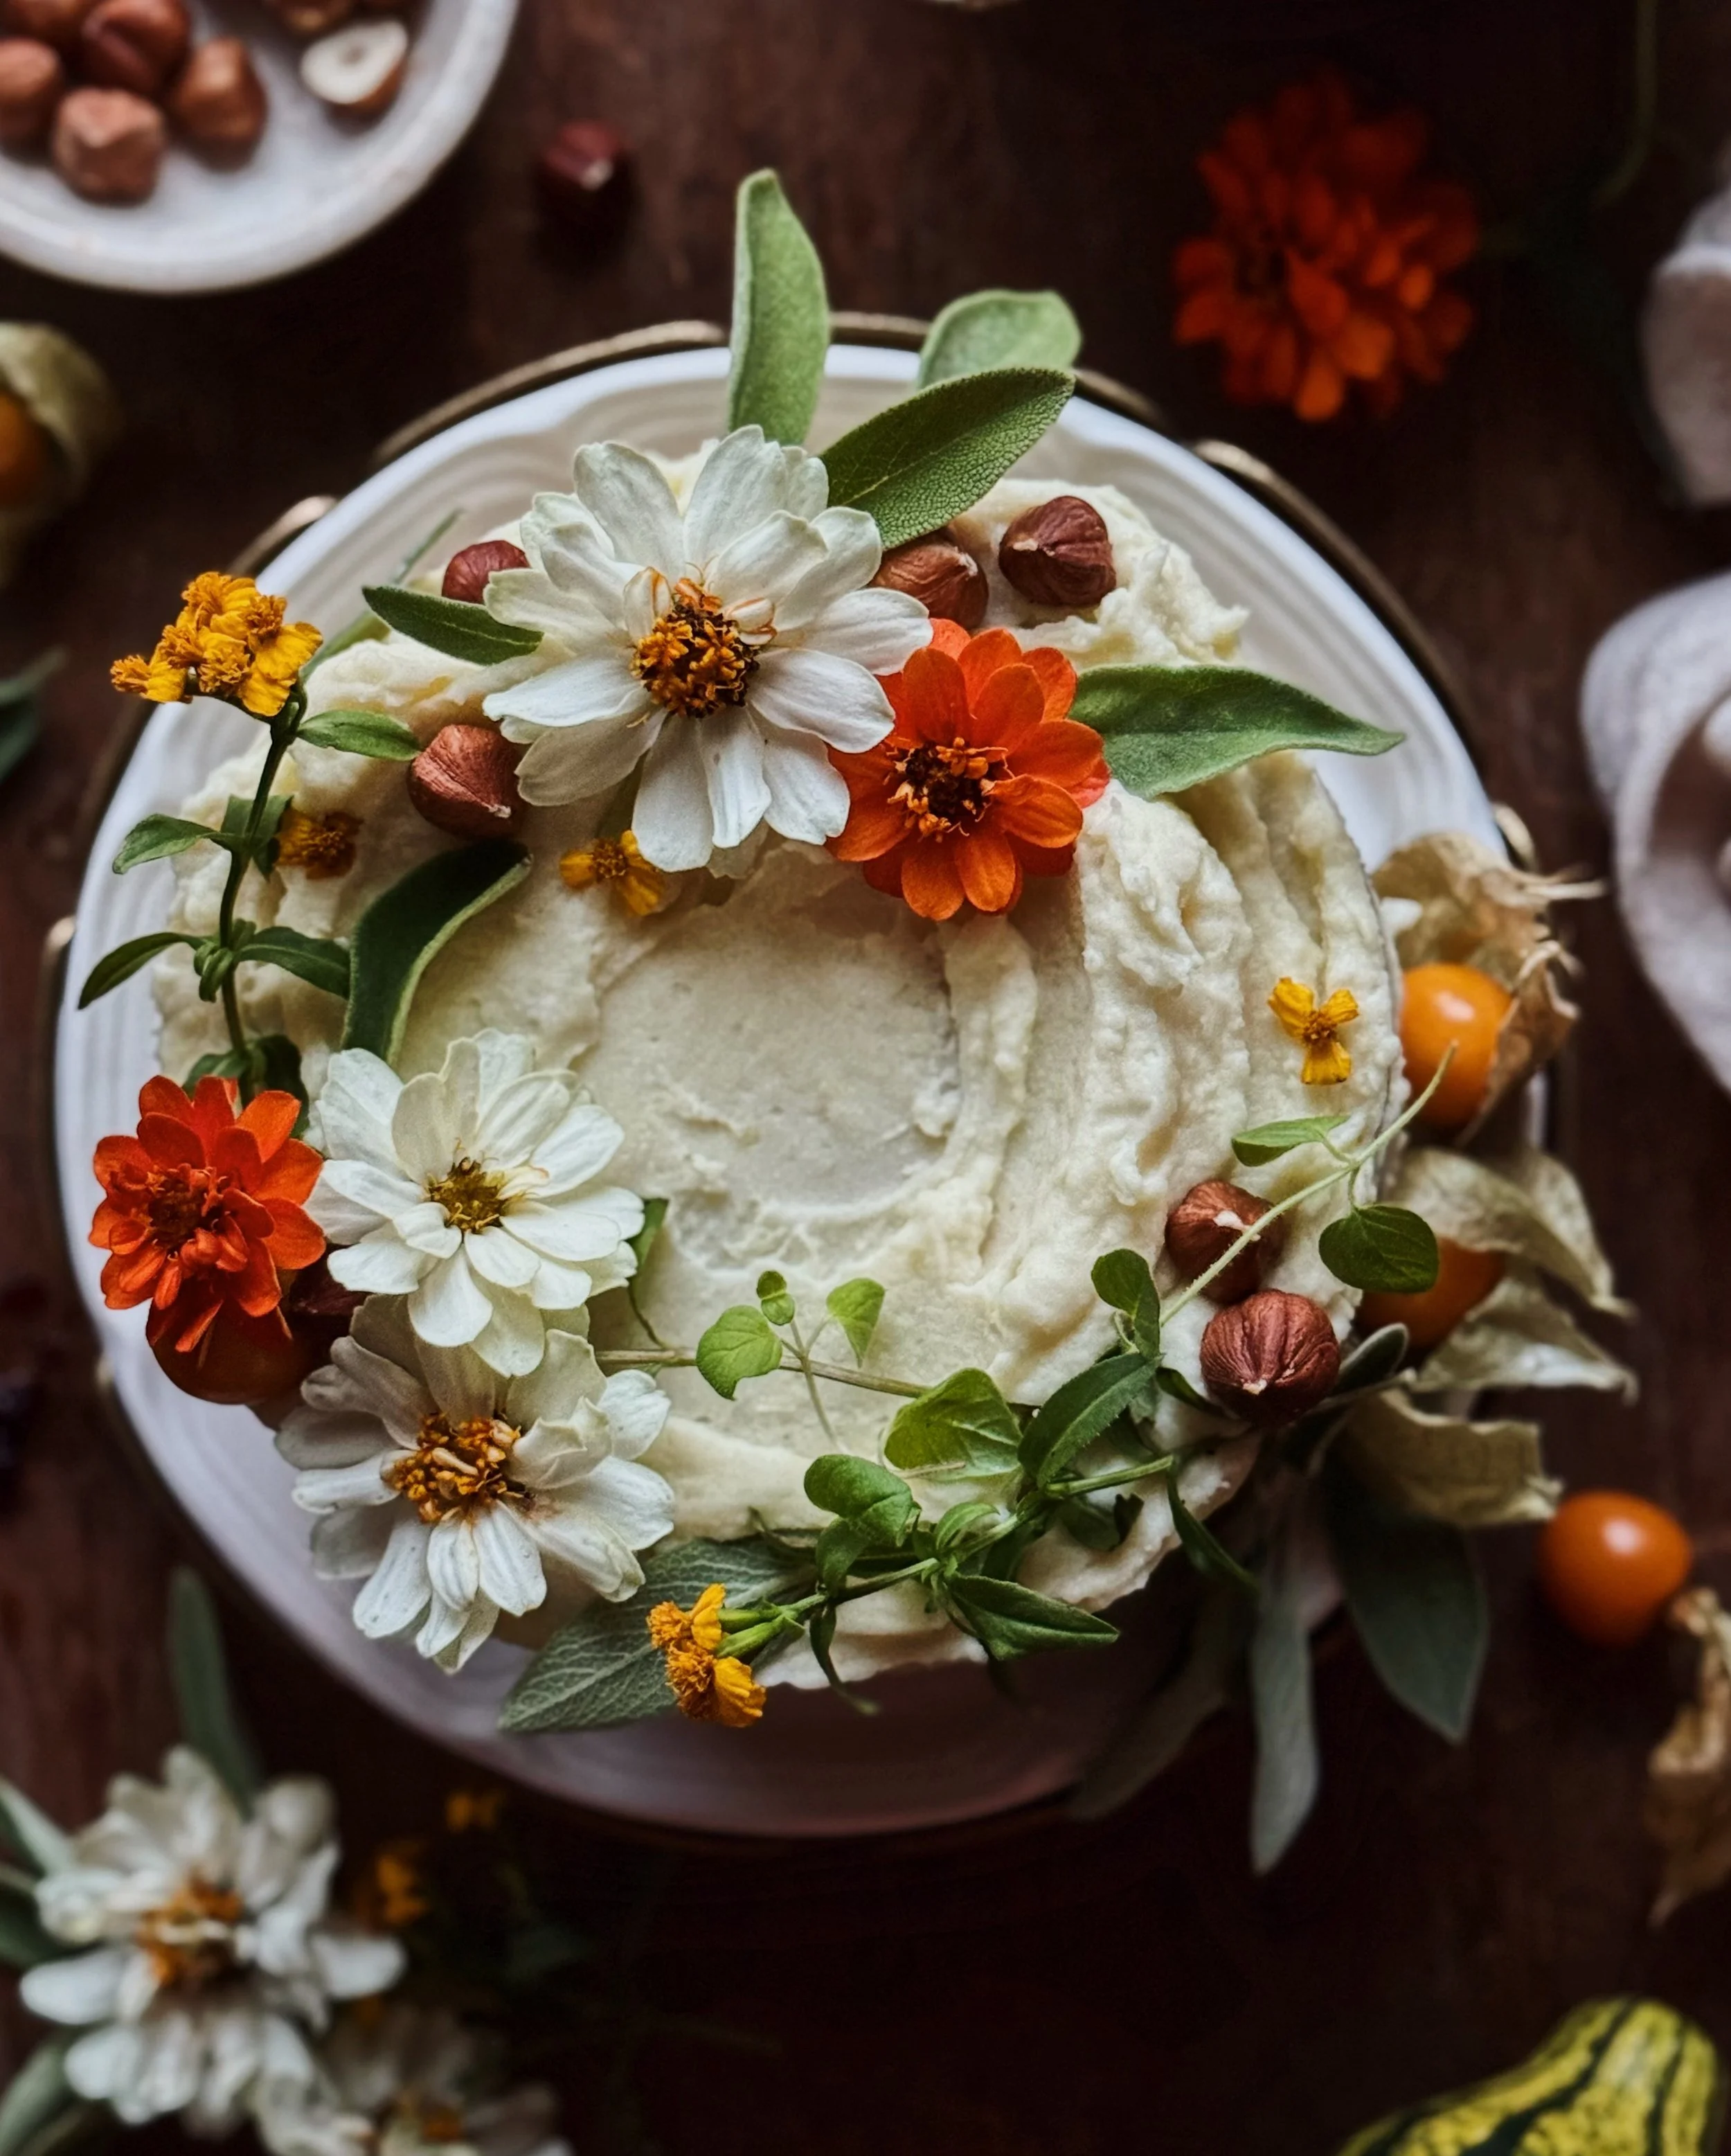
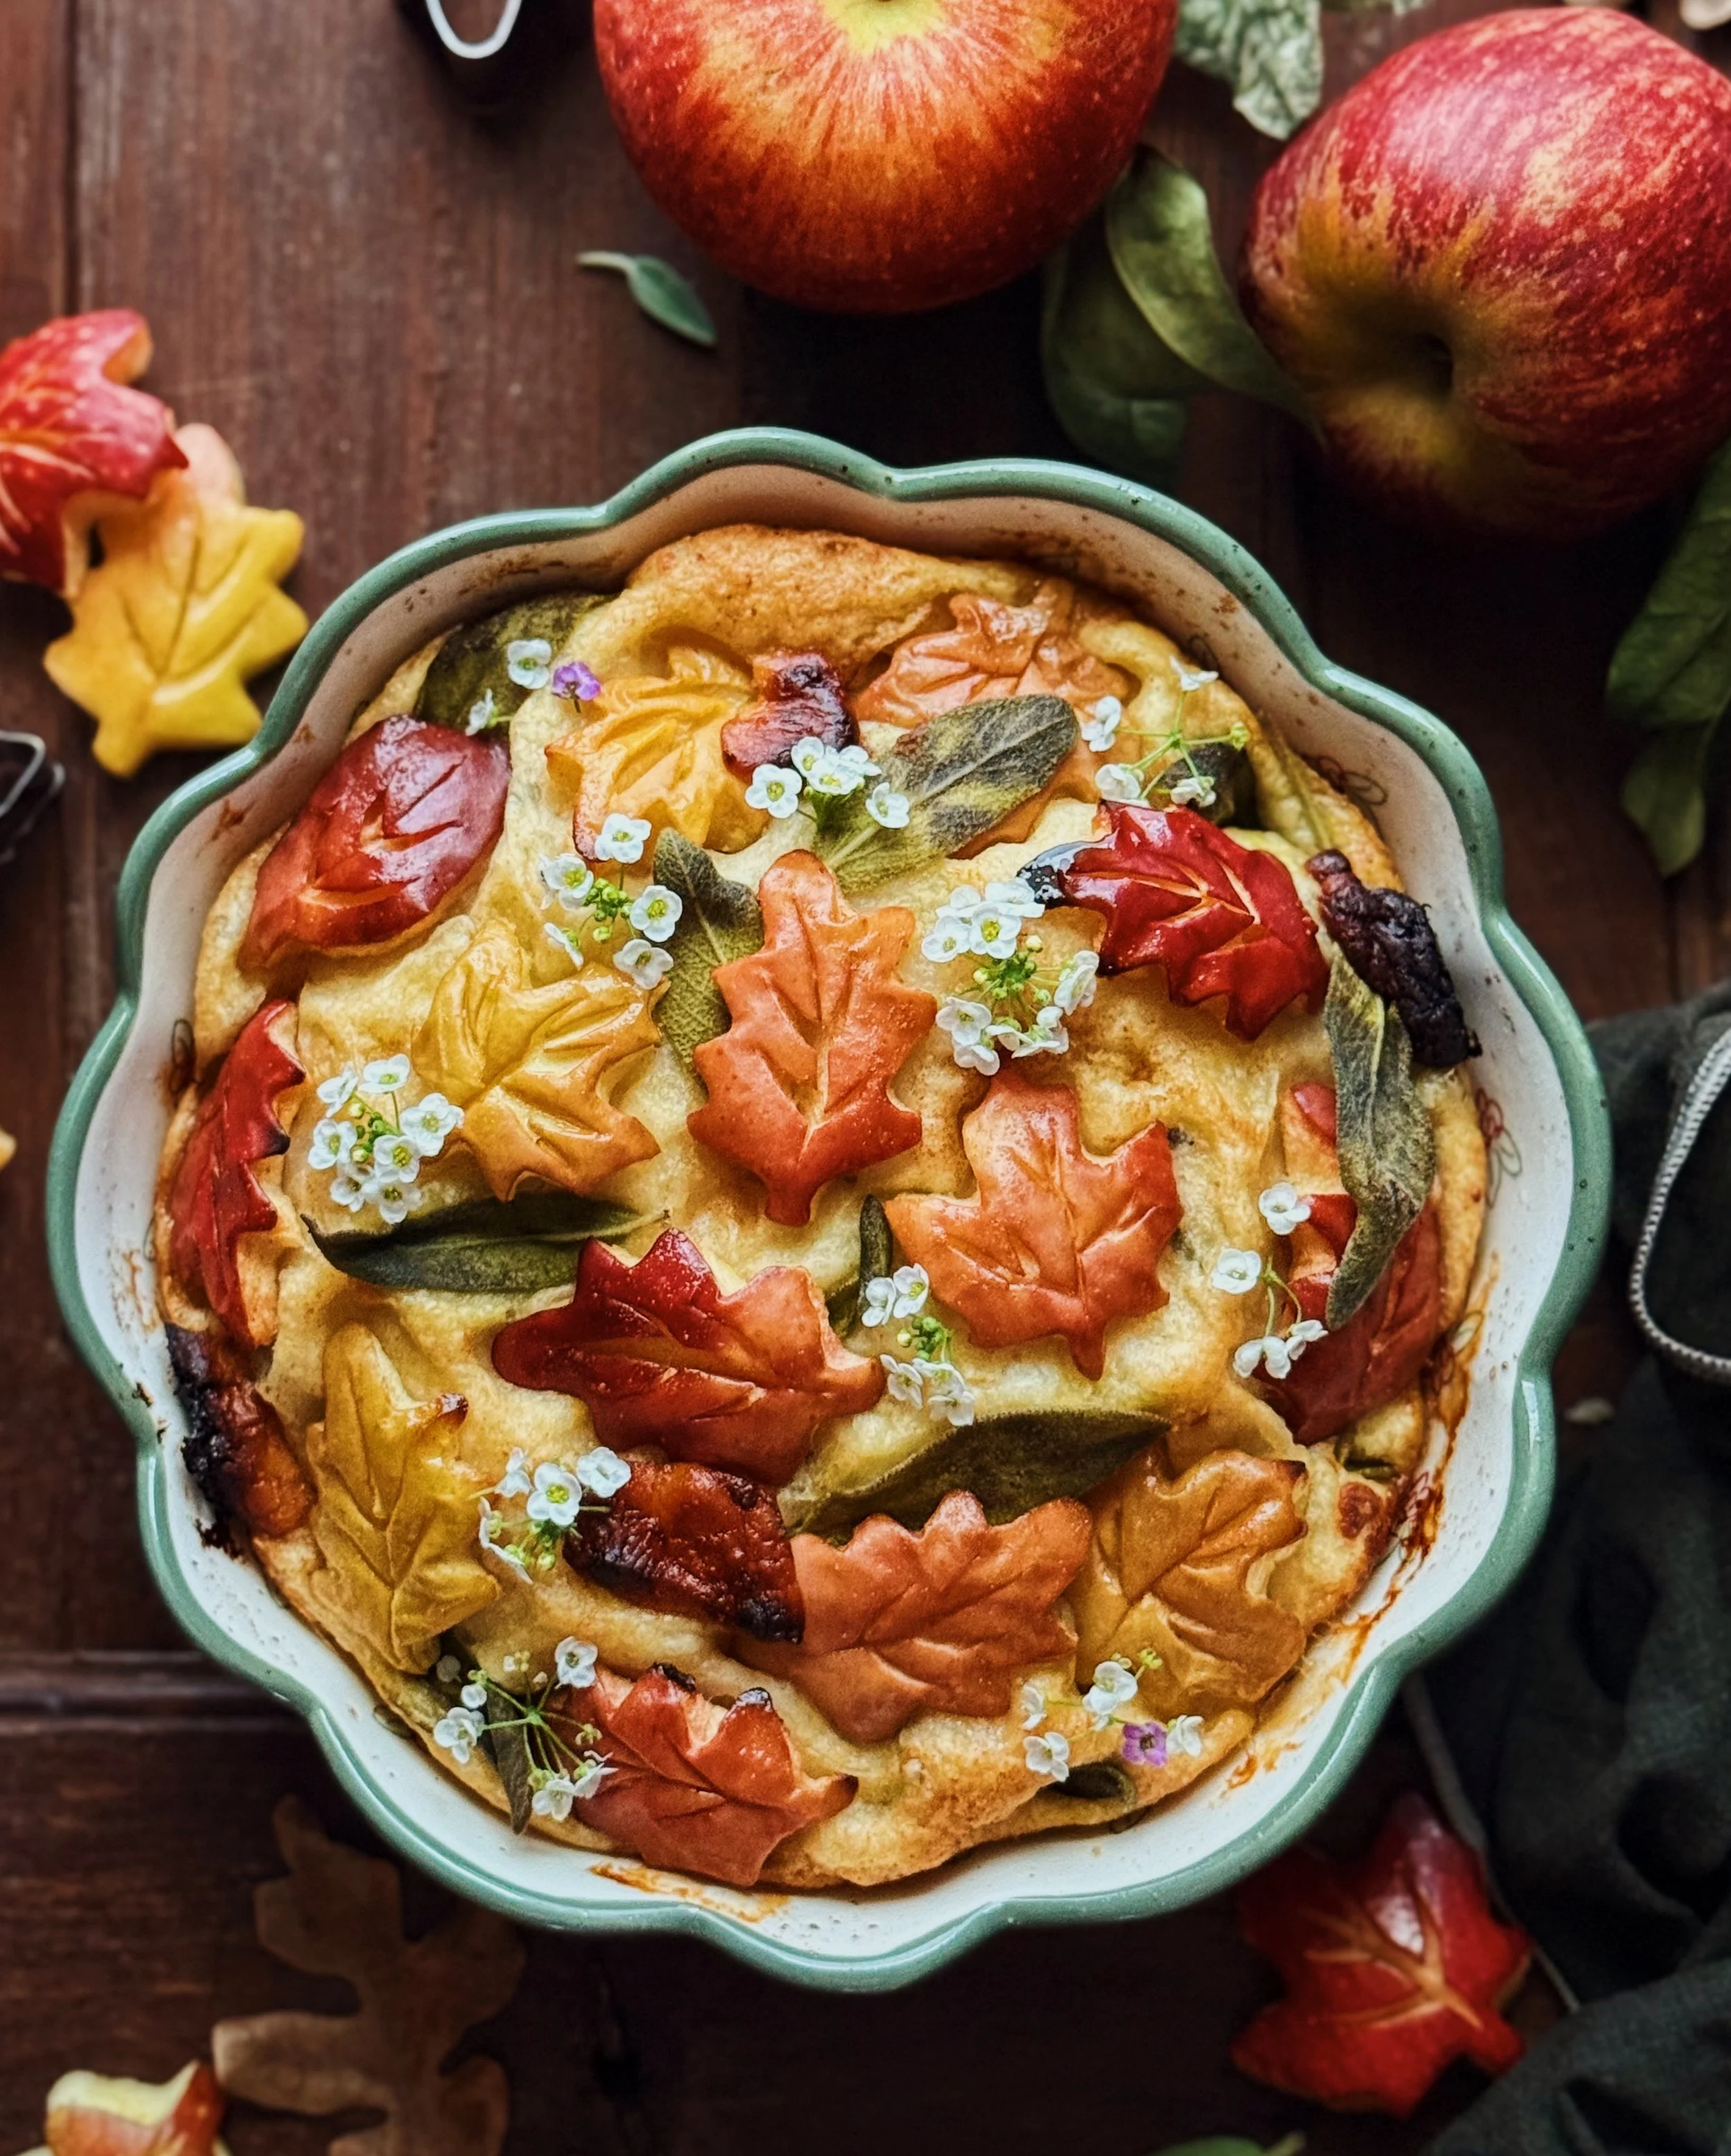
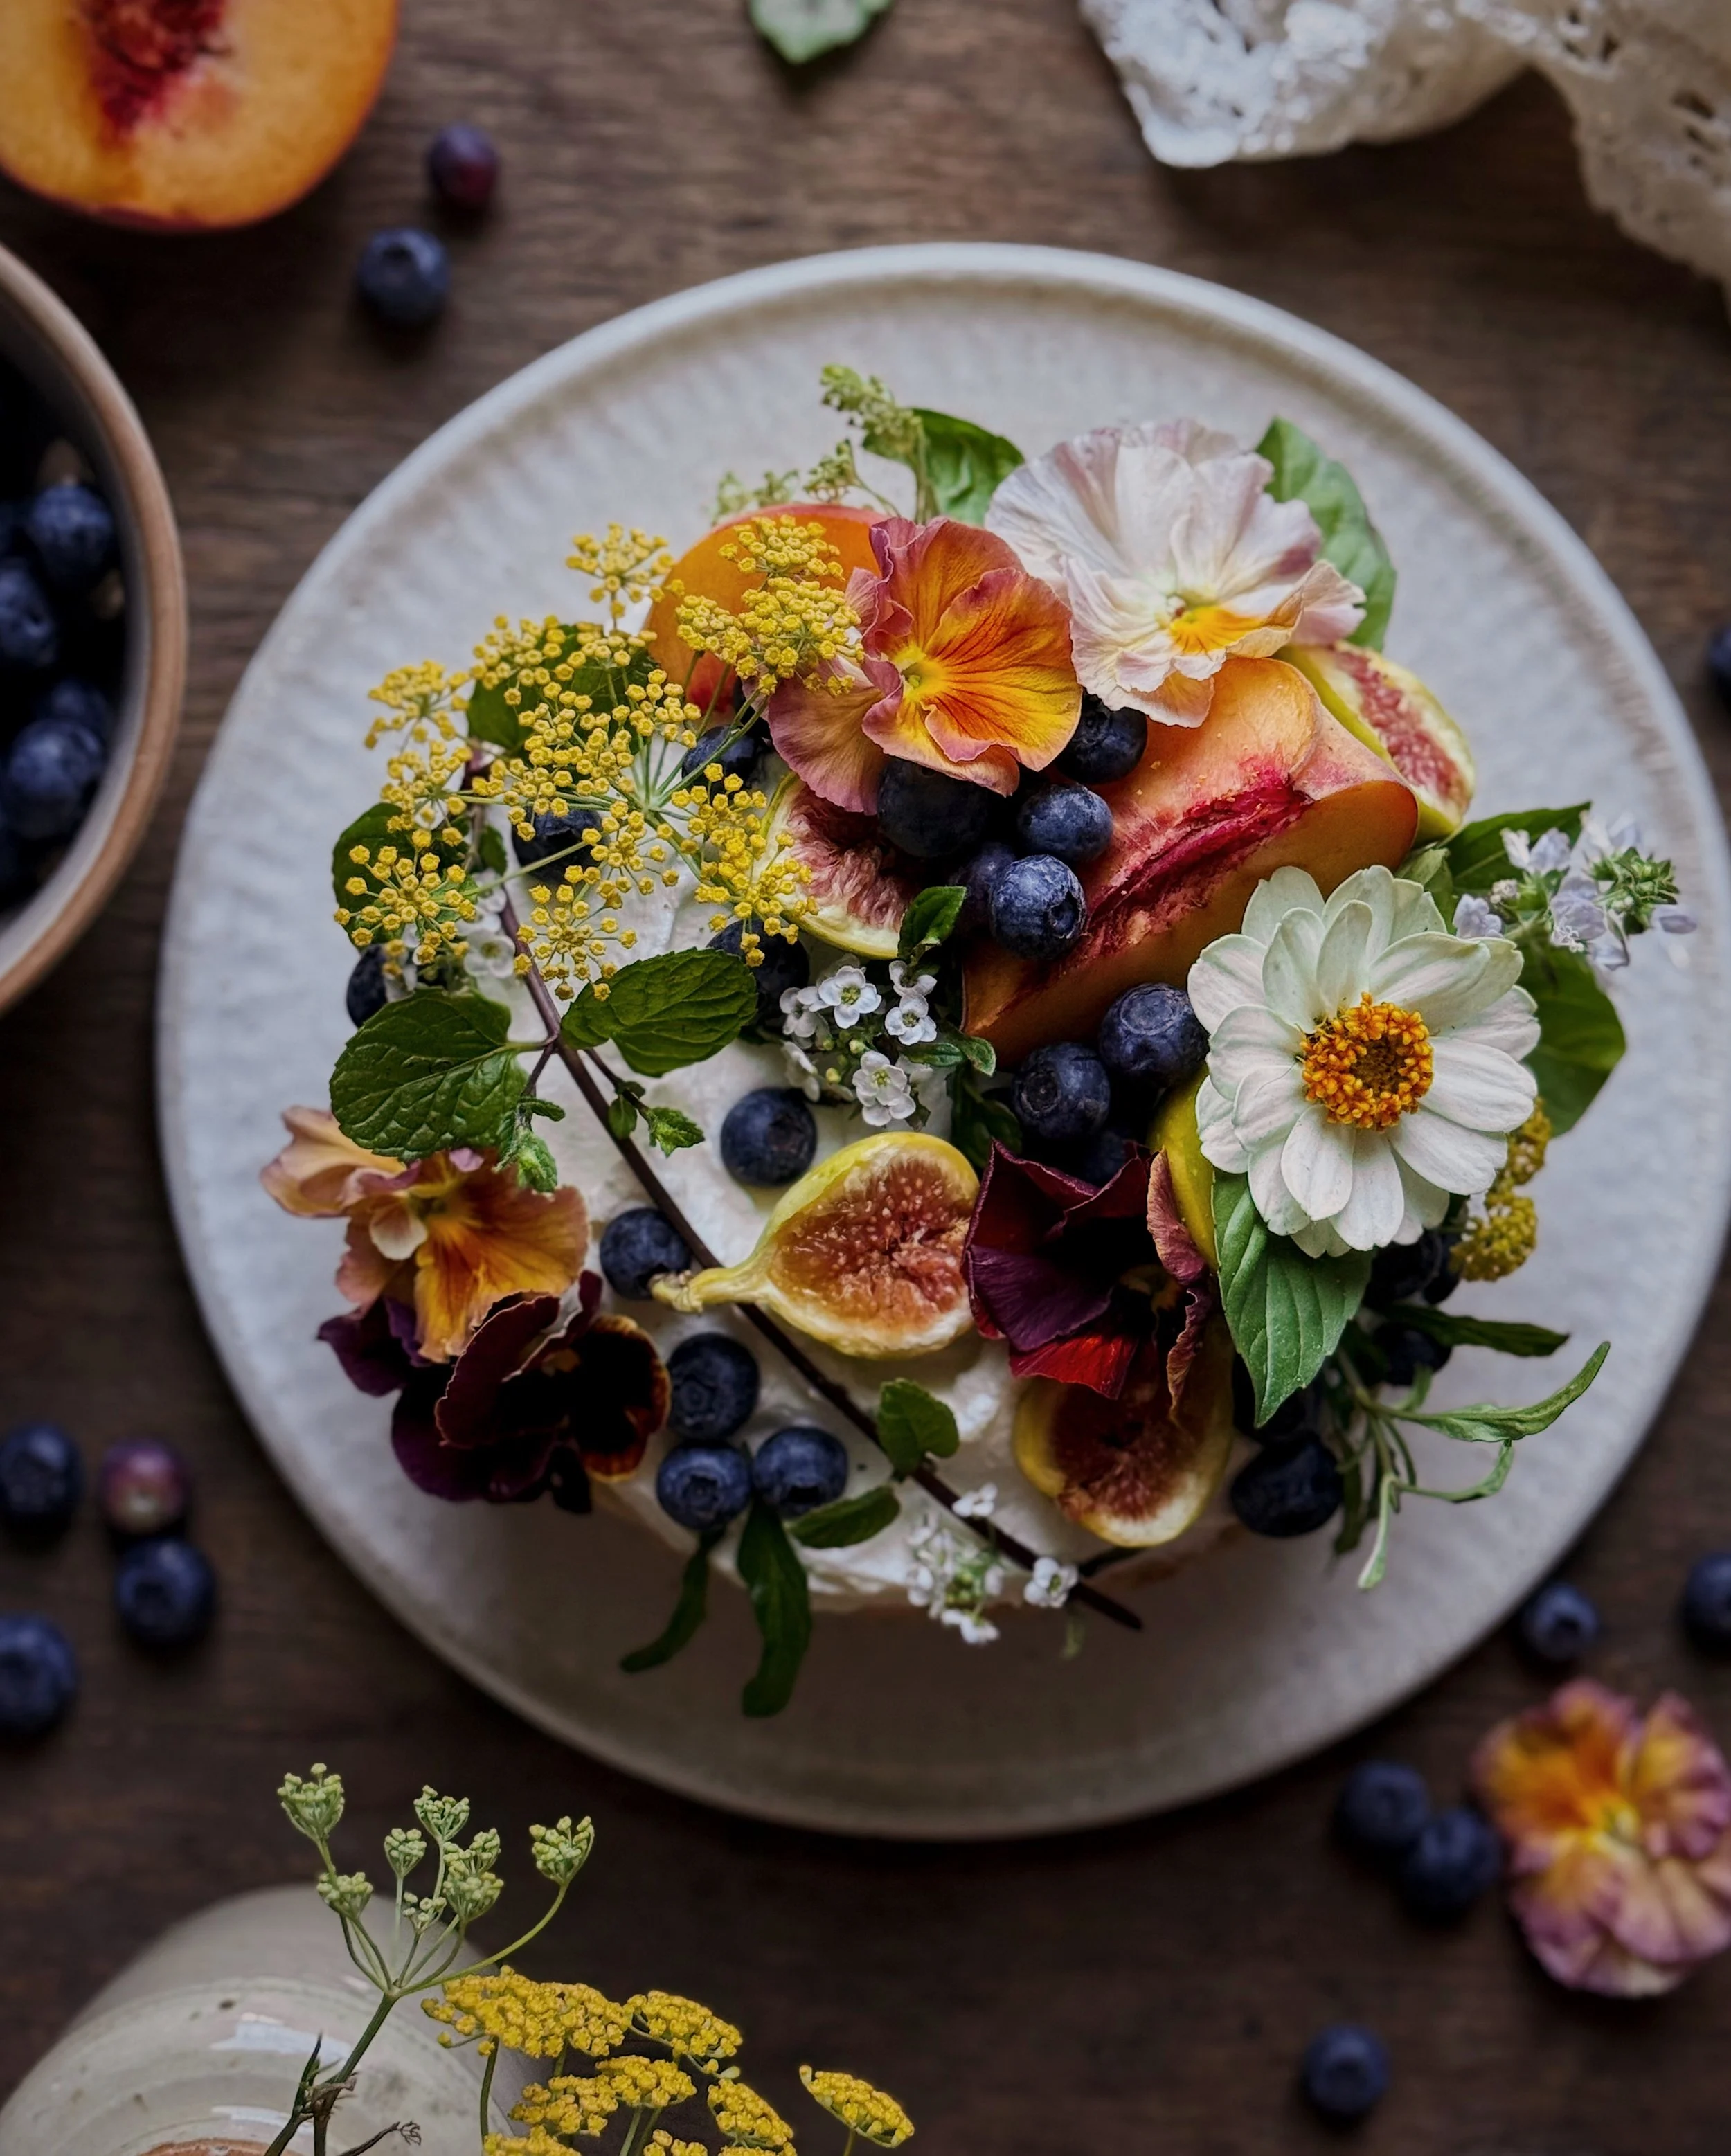
Recipe: Miso Garlic Butter Noodles with Lobster Tails

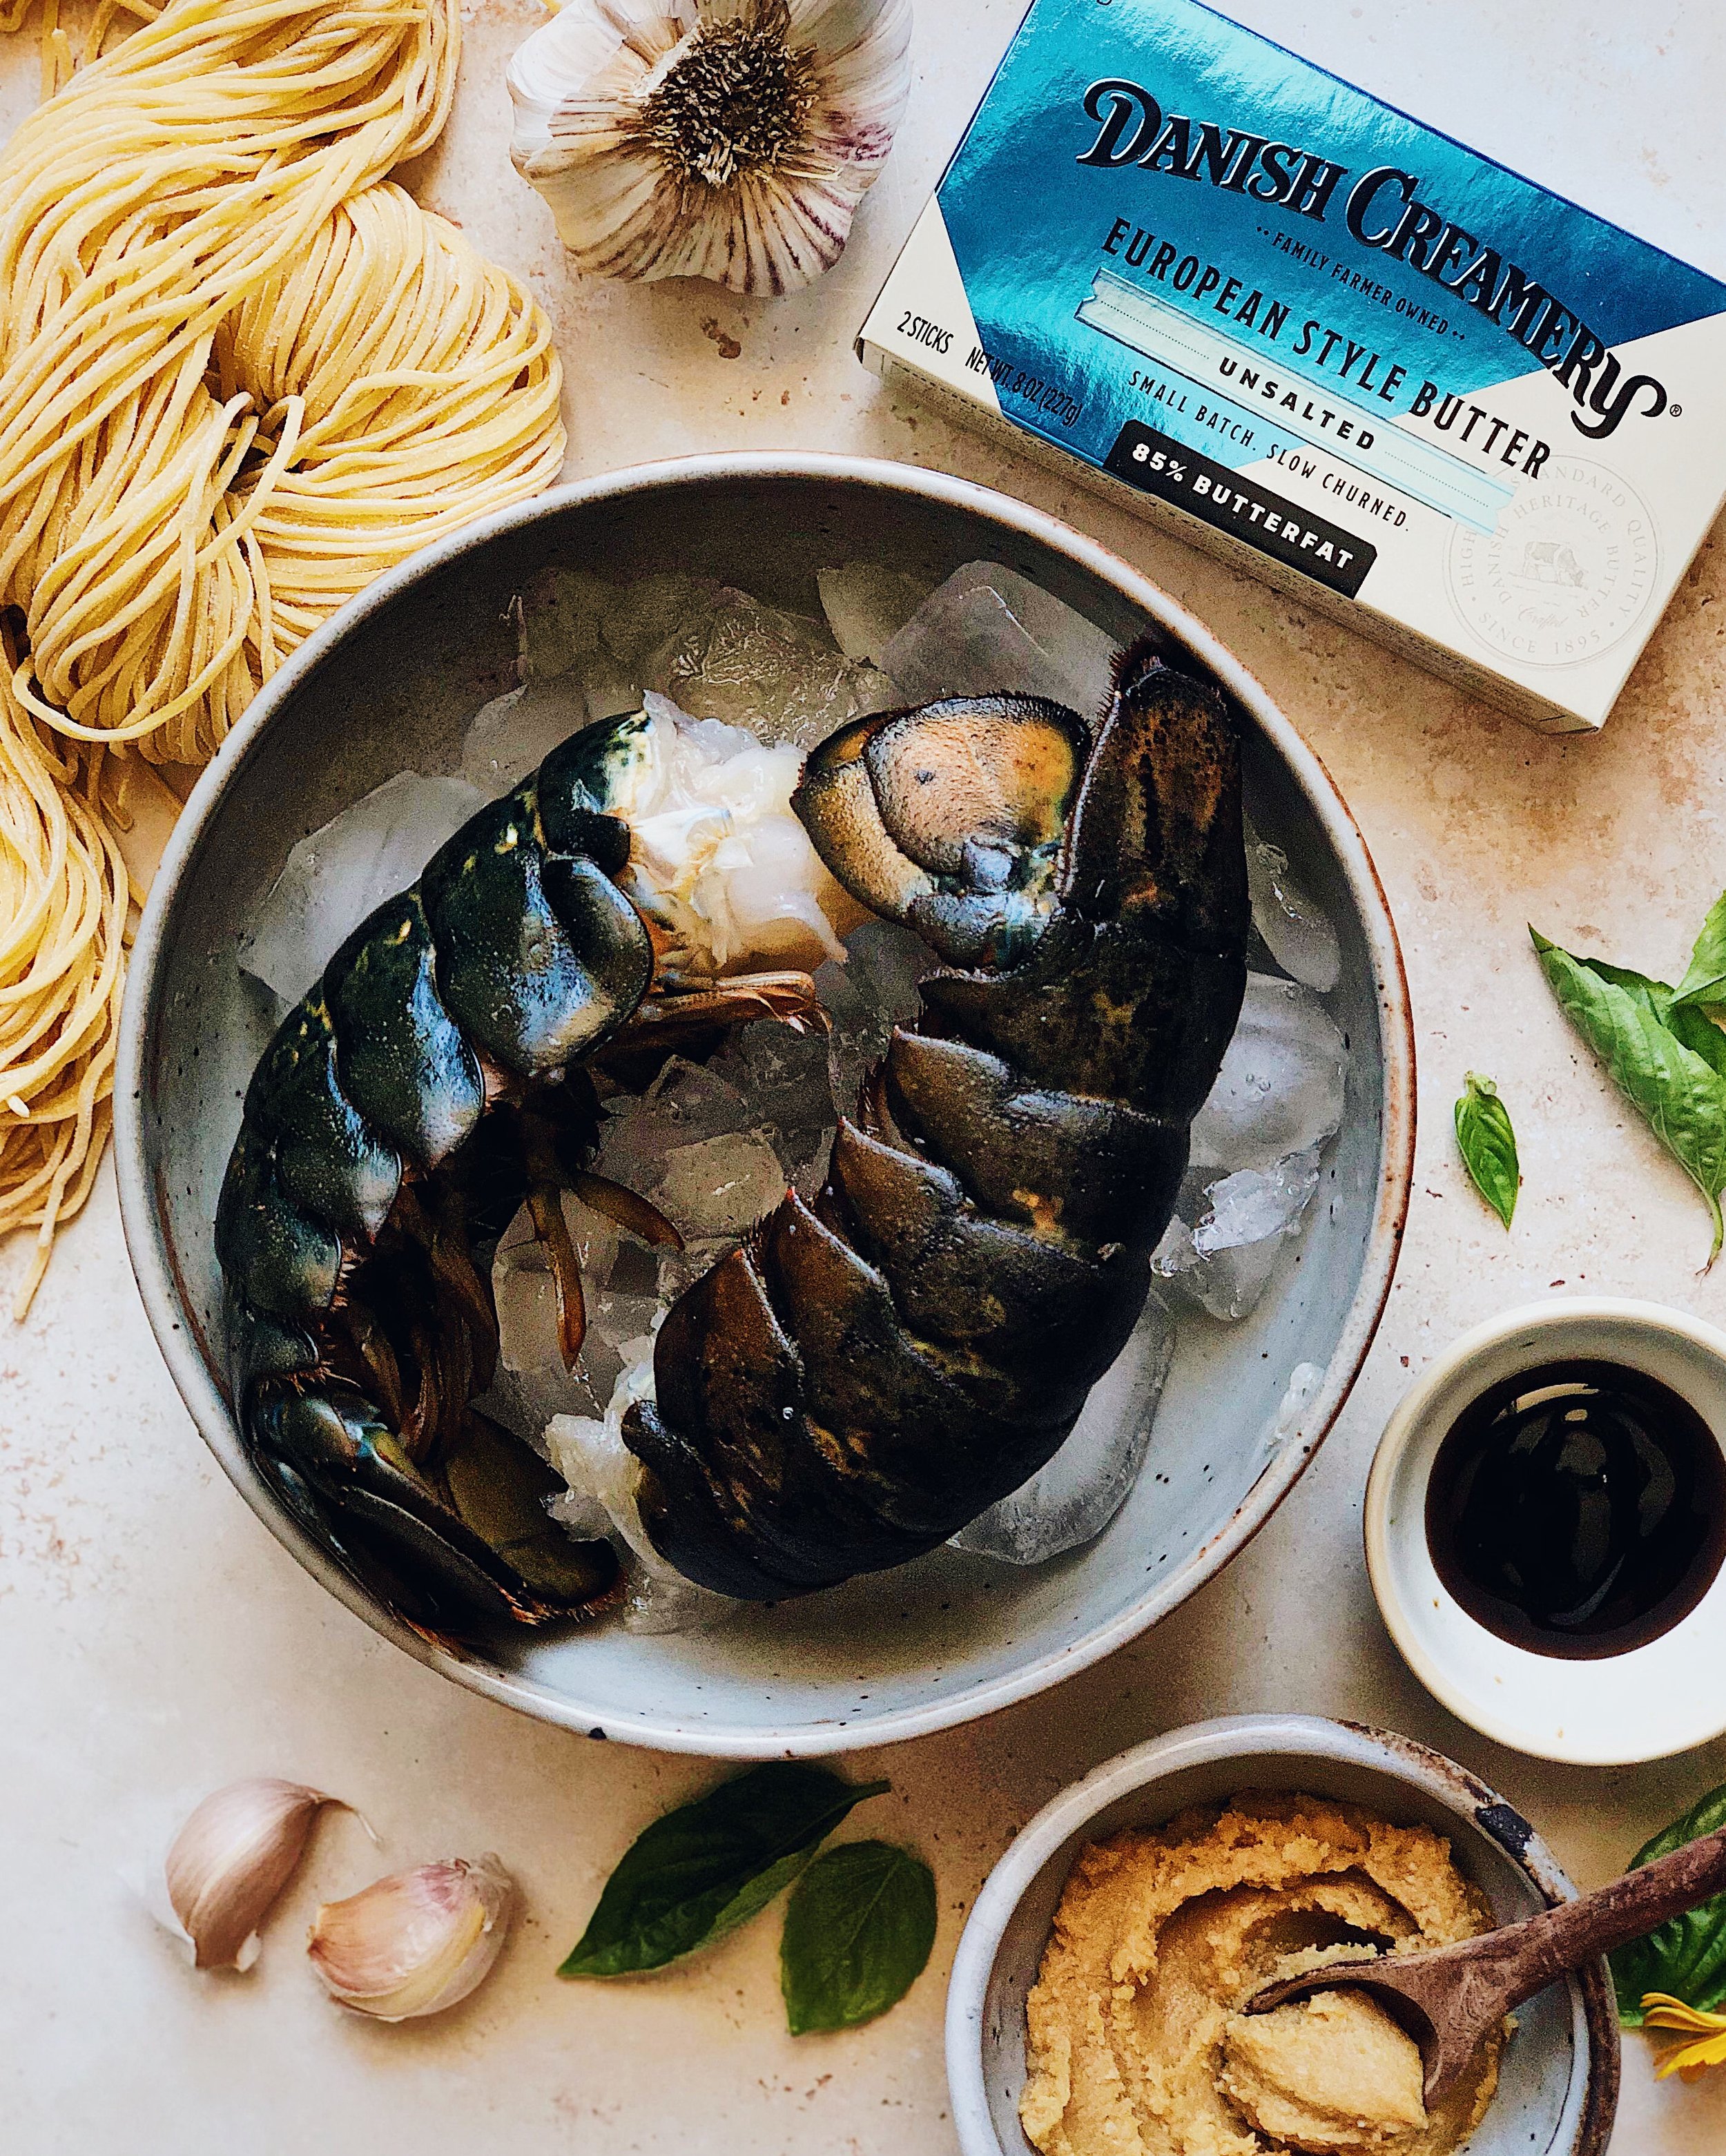
For this recipe, I partnered with Danish Creamery and created a dish that feels completely luxurious and indulgent, yet is actually simple and quick to make. A wonderful, umami-rich miso butter with a sweet undertone is infused with lots and lots of garlic and this forms the sauce that coats every strand of noodle before the whole lot is topped with pan-seared lobster tails slathered in the extra miso garlic butter. It’s good for when you want to make a home cooked meal that feels special but you don’t actually want to spend that much time on it. 

This noodle recipe combines two amazing and easy Asian-American dishes: Vietnamese-American garlic noodles and Japanese-American miso butter pasta. I make a lot of fusion food because often when I think about what I feel like cooking, I think of two things I’m craving and then explore what it would be like to combine them. And when I realized how well these dishes would overlap, it was way too obviously meant to be to pass up. 

Garlic noodles were actually invented by a Vietnamese chef right here in San Francisco and it was one of the first dishes I had after moving in to the city over 10 years ago (though not at the original restaurant). At the time, I was still terrified of driving downtown and still not all that into Asian food; I was still in my phase of wanting to binge on all the Western foods I didn’t get to have very much of when I was growing up. But my new landlady at the time recommended a Vietnamese restaurant right in our neighborhood and I fell in love with their garlic noodles. I think that was really a turning point in my exploration of food—especially Asian x Western fusion food.

This dish doesn’t require a whole lot of ingredients so it’s important that the ones that are in it are good. Ultimately the foundation for the sauce here is butter, and I used Danish Creamery European Style Unsalted Butter, which is slow-churned in small batches for a velvety texture and rich flavor. This extra time and extra care make the butter so extra delicious. As I folded it in with the mellow, slightly sweet miso, I knew things were gonna be good! And then allowing that miso butter to melt slowly over low heat with lots and lots of chopped garlic to get it infused with that garlic flavor—absolutely dreamy!

Here are some notes about the short list of key ingredients you’ll need to make this dish:

  • White Miso: White miso is the most mellow and mild of the types of miso you would find at a specialty foods store or Asian supermarket. It is made of fermented soybeans like other misos but also has rice and barley. It’s important to use the right miso here as the mellowness and sweetness of white miso is what you want to make that subtle but luxurious miso butter. I would not recommend substituting other types of miso, which may be too salty.

  • Butter: This recipe utilizes Danish Creamery European Style Unsalted Butter and the starchy water from parboiling the noodles to create a very simple emulsified sauce for the noodles. Danish Creamery’s European Style butters contain 85% butterfat (which is more than most other European style butters) and that’s what helps make  the sauce for this recipe rich and dreamy.

  • Garlic: This isn’t one of those recipes that just uses a couple cloves of garlic! When I say “garlic noodles” I mean it. This recipe uses a whole head of garlic—about 10–12 cloves—and gently infuses garlic flavor into the miso butter over low heat before the whole mixture is tossed with the noodles to coat them. Don’t worry about chopping them up super fine, I think being able to see the bits of chopped garlic is welcomed in this dish. 

  • Noodles: I used fresh Chinese style enriched egg noodles to make this dish. These noodles come in the refrigerated section of Asian supermarkets and they only need to be parboiled very quickly in boiling water to rinse off the excess starch before they can be incorporated into a stir fried noodle dish like this. You could definitely also use spaghetti; in that case I recommend cooking it until about 1 minute short of al dente.

I got the idea to top my miso garlic butter noodles with lobster from a night market that pops up in the SF Bay Area; one of the stalls served up a split open lobster on garlic noodles but I don’t really understand how you’re supposed to eat it with no shell cracker and when you’re at an event where most people eat standing. So instead of getting it there, I created my own version that I could enjoy in the comfort of my own home. I opted to just use lobster tails because I thought they’d be much less intimidating than working with a whole lobster; I wanted this recipe to be genuinely easy in hopes that you’ll try it!

Some alternative versions:

At the core of this recipe is delicious and easy miso garlic butter noodles! Feel free to leave out the lobster entirely, and the result will be a plate of the most flavorsome dream for lovers of carbs and garlic. Just reduce the amounts for the butter, miso, and garlic to about 75% if you decide to serve just the noodles alone. 

You could also substitute shrimp in place of the lobster tails. Skip the step of parboiling the lobster and instead cook them in a hot pan on each side, just until they change color and start to curl. Follow the rest of the recipe as written, then add the shrimp after the noodles are coated in the sauce and give everything a few extra tosses.

How to Make Miso Garlic Butter Noodles with Lobster Tails

Ingredients

1 stick Danish Creamery European Style Unsalted Butter, softened to room temperature
1/4 cup white miso paste
2 6–7 oz lobster tails, fresh or completely thawed
10–12 cloves garlic (about 1 head), roughly chopped
3 tbsp oyster sauce
8–10 oz fresh Chinese-style thin egg noodles
Thai basil, for garnish (optional)
2 tbsp tobiko, or other fish roe (optional)
4 lemon wedges, for serving (optional)

Procedure

In a small bowl, combine the butter and miso paste and mix together until smooth and homogenous. Set aside.

Use a sharp pair of kitchen shears to split each lobster tail lengthwise.

Bring a large pot of water to a boil. Add the lobster tail halves and boil for about 3 minutes or until shells are bright red and meat has started to firm (they should not yet be cooked through). Pull them out of the boiling water and carefully pat away excess water with paper towels. Set aside to continue to dry off.

Add noodles to the boiling water and parboil for 1 minute, or according to package instructions. Reserve about 3/4 cup of starchy water before draining the noodles. Rinse noodles thoroughly in cold water to remove excess starch and prevent overcooking. Set aside to drain thoroughly. 

Heat a large skillet or wok on medium heat. Add about a tablespoon of the miso butter mixture, swirl to coat the bottom of the pan, then add the lobster tails, cut side down. Sear for about 1 minute, or until lobster meat has some browning on the surface.  Turn off heat, flip tails over, cover, and allow the residual heat from the pan to cook the lobster tails through, about 1–2 minutes. Remove them from the pan. If there is charred residue inside the pan, safely wipe it off using tongs and a damp paper towel.

Add the remaining miso butter mixture into the pan and set heat on low. Once it starts to melt, add chopped garlic. Cook garlic on low heat, stirring constantly to allow it to infuse the butter, for about 5 minutes, or until the edges of the garlic start to turn golden. Turn up the heat to medium-high;  immediately add oyster sauce, stir to combine, then add noodles and about 1/4 cup of the reserved cooking water. Toss vigorously to combine, adding more water a little at a time if needed to help the sauce coat the noodles. Once sauce is distributed evenly, continue to stirfry until there is no longer excess water.

Use tongs to transfer noodles to a serving dish. Top with lobster tails, then scoop the remaining fried garlic mixture from the pan and spoon it on top of the lobster tails. If desired, garnish with Thai basil and scoop small mounds of tobiko over the lobster tails before enjoying immediately.

Thank you so much to Danish Creamery for sponsoring this recipe! Visit their website to learn more about their legacy of carefully-crafted Old World-quality butter made with milk from family farms since 1895.

A Festive Champagne Brunch Done My Way

As the weather is finally starting to cool over here in San Francisco and we’ve finally started to get some much-needed rain, it finally feels right for me to shift my creative brain towards thinking about the festive season. It’s at this time of year that my mind is pulled to two extremes—I either want to be cozied up at home, warming my house with the smell of things baking in the oven and simmering on the stove, or traveling off to snowy places with charming town squares illuminated with holiday lights. Now that I’ve started busting out the fall-scented candles, I’m daydreaming about styling big platters of food and finding excuses to invite friends over for bubbly (but also about the prospect of actually getting to travel to someplace festive for the holidays this year). I am not big on family gatherings, but I do love so much the opportunity to celebrate small things with the people who are dear to me, and while that’s something we should do all year round, there is something about crisp cool air and gloomy skies that makes me crave that togetherness in my home.

For this blog post, I got to partner with Champagne Taittinger; founded in 1734, they are one of the last remaining family-owned and operated champagne houses. I am sharing an idea for a festive brunch idea to pair with Taittinger’s Les Folies de la Marquetterie, a wine that was created to be a tribute to autumn and those feelings of being at home. It mirrors a fall palette in its golden color and has delicate bubbles that remind me of the twinkling lights of the European Christmas markets in my daydreams. To me, it tastes very bright at first and then has a finish that is kind of oaky; in the tasting notes, it says it is “full-bodied and fruity on the palate with golden peach flavors leading to a finish with light woody notes”. It is a full flavored and complex champagne, so they recommend that it be paired with something robust like roasted meats.

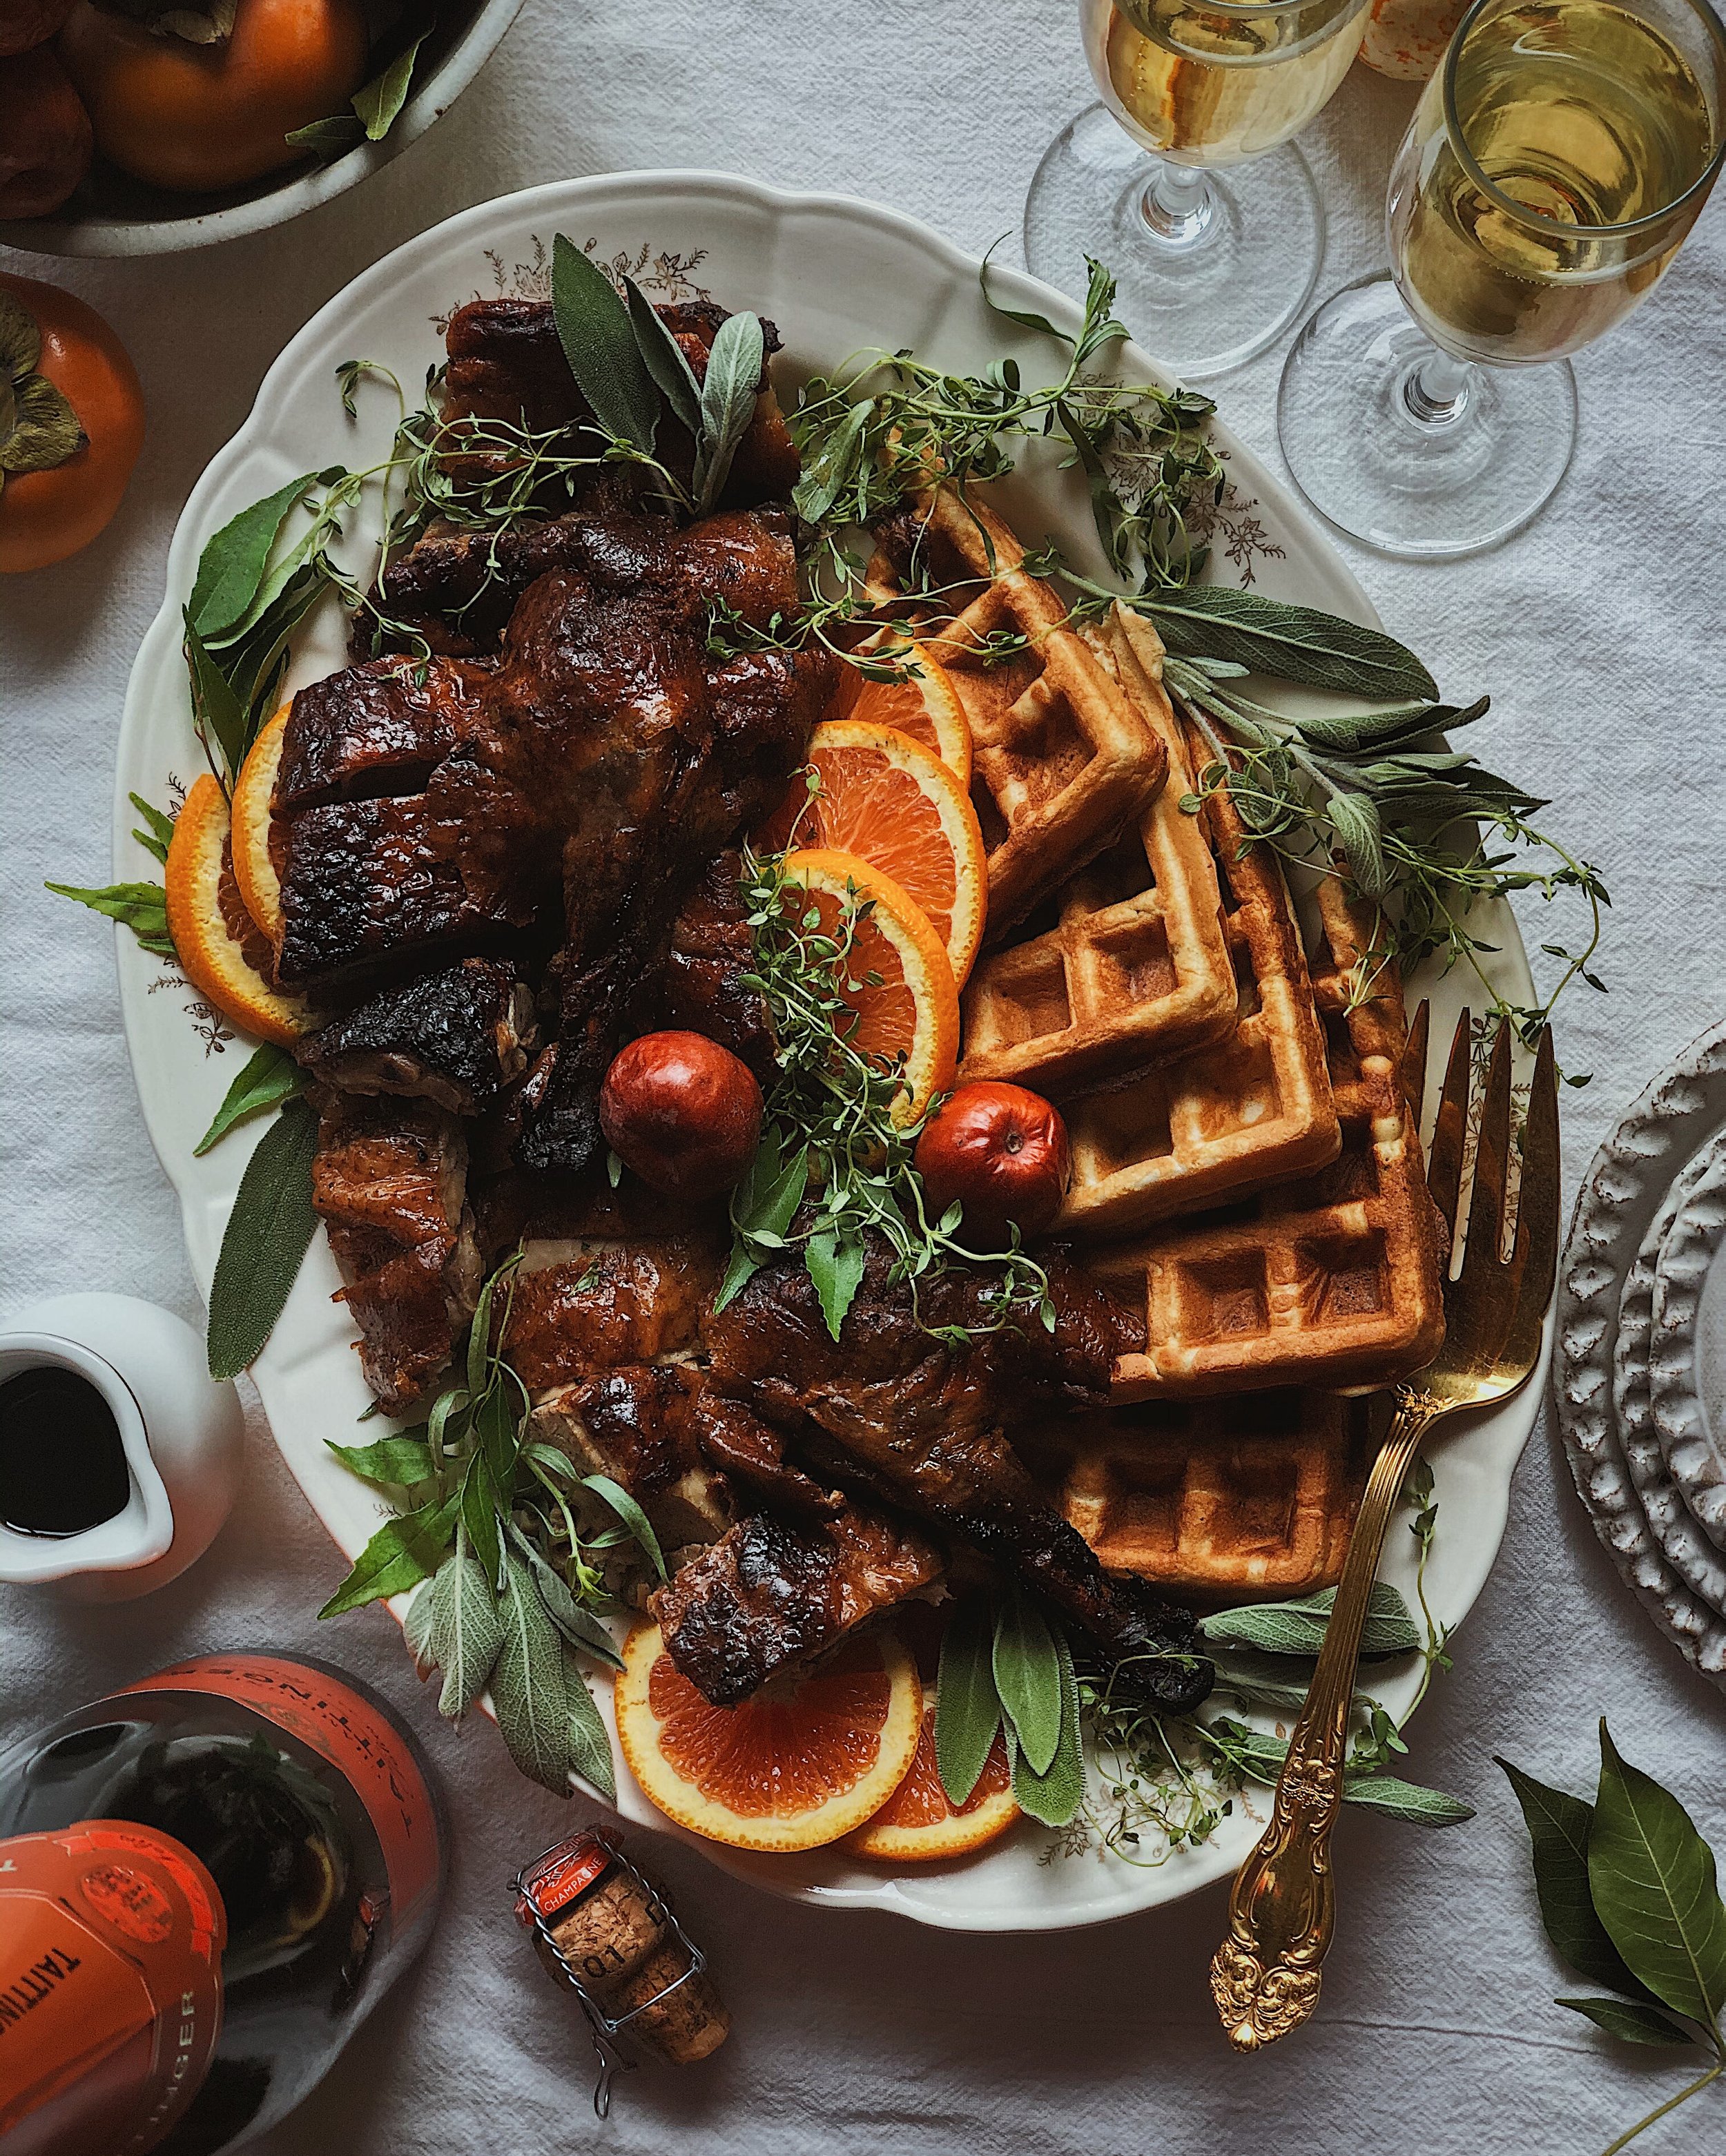
I paired Taittinger’s Les Folies de la Marquetterie with Cantonese roast duck from a local restaurant and homemade waffles with scallions and lap cheong (sweet Chinese sausage) in the batter. The combination of duck and waffles was inspired by a brunch restaurant in London that I visited during Christmastime in 2019, so when I think of a festive brunch, I think of this combination! I thought it would be fun to style them together on this big vintage platter that I recently found on one of my antiquing hunts and I filled it out with slices of cara cara oranges, fresh jujubes, and lots of fresh herbs.

When you think of champagne pairings, you probably do not think of Cantonese roast meats. However, I recently came across this article on Food52 about why champagne goes with Chinese takeout. The article goes into how the two are perfect for one another because the bubbles of champagne allow you to better savor foods that are greasy by cleansing the tongue with every sip and its acidity provides balance when you are eating foods that are savory-sweet. So, although a Cantonese roast duck was probably not top of mind when roasts were noted as the recommended food pairing for Les Folies de la Marquetterie, I saw an opportunity to present a food from my childhood and my culture in a different light. And what I learned from that article was totally true! The succulent duck tasted sooo delicious with the champagne; taking a sip of it in between bites made each bite feel as if I was tasting the yummiest duck for the first time. 

I think most Westerners do not see Cantonese roast duck as a delicacy because of its typical presentation—I am talking about the ones you see hanging in the windows of bakeries in Chinatown or in the hot deli of Asian supermarkets—but for me, it is very much a special occasion food. If you go to one of these at Chinese New Year, they will be absolutely packed with uncles and aunties trying to order their siu ngap (roast duck) and siu yuk (roasted pork belly with crackling skin). Getting a roast duck was always a special treat when I was young, and I loved everything about it from savoring the fattiest parts of the skin that the rest of my family didn’t want to the soup my parents would make by simmering the bones with pickled mustard greens afterwards. Now that I am grown and living in an area with so many local shops that sell them, I can get a roast duck whenever I want and I can make whatever sides I want—even waffles!—but it will always feel like a special occasion when I bring one home.

I was thrilled that Taittinger was willing to give me the opportunity to share this idea of pairing Chinese roast duck with their beautiful champagne. As you may know if you’ve read the captions of many of my Chinese food posts on my Instagram, I have been actively trying to present the foods of my culture in a way that showcases its complexity and deliciousness, as well as its worth. For too many too often, Chinese food is only known as cheap and ugly, despite its rich history and the sheer volume of possibilities it brings to the palate with all of its regional nuances. I am always so grateful to work with a brand that supports my efforts to rewrite the narrative of Chinese food in America and it means so much to me that Taittinger allowed me to showcase their special festive offering alongside a nostalgic dish. I am so proud to work with a brand that has such a rich heritage and prestige of its own, yet is still so open to diverse ideas. 

Truth be told, I am not an expert when it comes to sparkling wines and their pairings, but duck is prominent in French cuisine just as it is in Chinese cuisine, and both cultures have iconic ways of preparing it that are absolutely delicious. So to me, sharing the duck dish that I grew up with as a pairing with this lovely champagne made lots of sense. No one would question pairing champagne with duck confit or duck à l'orange so this meal is my Chinese-American spin on that. If you are like me and colder days put you in the mood for celebrating things big or small, I hope you will consider making one of Taittinger’s champagnes a part of your celebration, and I hope that this post inspires you to think outside of the typical pairings to bring along a dish that is special to you.

Thank you so much to Champagne Taittinger for sponsoring this post!

Recipe: The Easiest Char Siu Bao

charsiubaohack1.jpeg

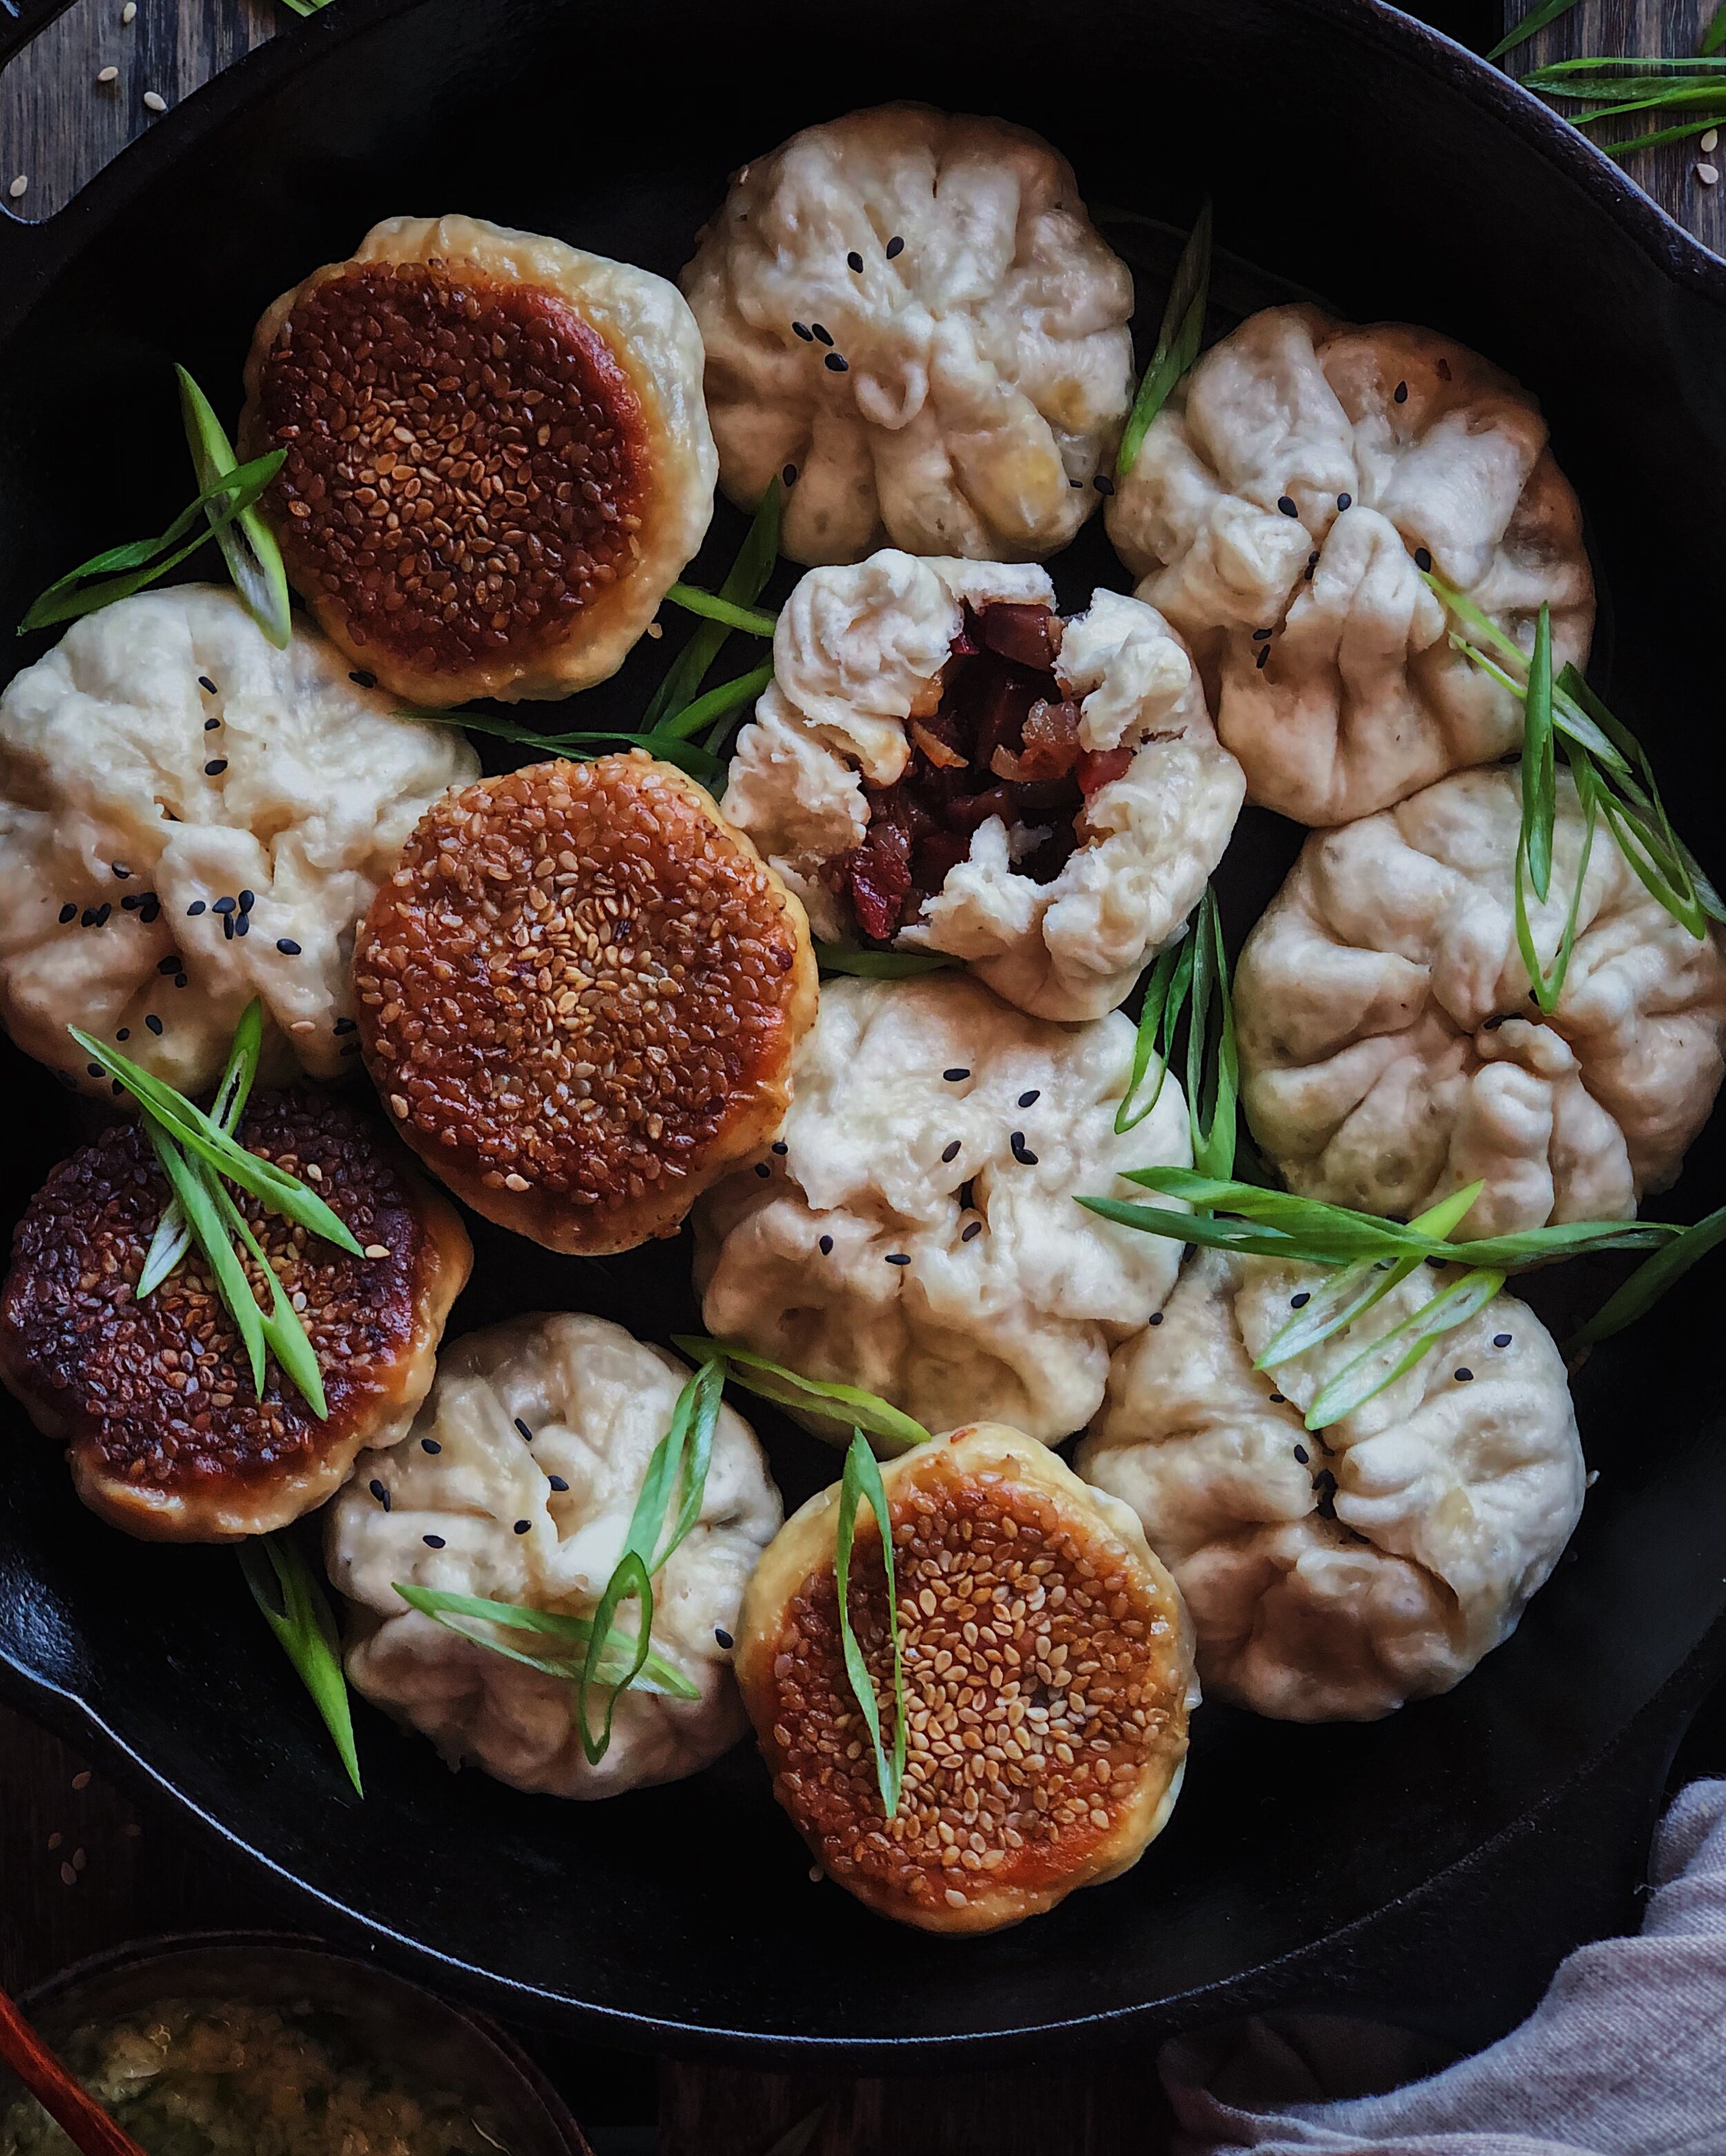
This is the easiest way to make char siu bao ever. Folks in the US might know char siu bao, or Cantonese sweet bbq pork buns, from dim sum or from a Chinese bakery. When you just say char siu bao in America, it is usually referring to jing char siu bao, which is the steamed variety. That is the kind that has a fluffy white exterior and comes in the bamboo steamer basket on the dim sum cart. But char siu bao actually comes in a different forms—some are baked with a glazed sheen on top and sometimes you can get char siu wrapped in puffed pastry. In all cases, you are referring to char siu—which is Cantonese style sweet roasted pork—wrapped inside some dough.

These little bao are a hybrid between char siu bao and sheng jian bao. Sheng jian bao are Shanghai pan fried dumplings. If you’ve ever had the popular soup dumping xiao long bao where the soup bursts out of the dumpling wrapper, sheng jian bao are a more doughy pan-fried version of that. The filling is stuffed in raw dough and then placed in a skillet to crisp up the bottoms, and then steam is trapped in the same pan to steam the rest of the dough until it is cooked through. Instead of the soupy or juicy pork filling that is common to sheng jian bao, I filled mine with the filling you would find in a char siu bao. That’s why I am calling them a hybrid between the two; it’s the filling of char siu bao and the cooking method of sheng jian bao.

charsiubaohack5.JPG

Despite the long-winded explanation of what they are, these bao are super easy to make. For this idea, I must give credit to @dumplingclubsf on Instagram; I once shared a story about how my mom would make donuts with canned biscuit dough, and she told me about how her mom used to make bao out of it! How brilliant! I was so very intrigued by this hack that I had to try it for myself.

charsiubaohack2.JPG
charsiubaohack3.JPG

These are the key ingredients you will need to make these easy char siu bao:

  • char siu: This is Cantonese style sweet bbq pork. I have a recipe for how I make mine here; this would be a great way to use the leftovers. However, I crave char siu plenty more often than I feel like making it, so buying is perfectly fine and intended for this hack of a recipe. You can get it at most Cantonese bakeries and restaurants—anywhere where you see a roast duck hanging in the window. You can also get it at Asian supermarkets which have a hot deli section inside; it’s typically sold by weight.

  • canned biscuit dough: You guys know the ones; the kind where you have to peel off some of the cardboard can and then press a spoon along the crack to get it to explode open. The plainer the dough the better; don’t get one of those new fancy varieties if you can avoid it. However, the one I got when I shot the photos for this ended up being one with little pieces of butter dispersed throughout the dough so it looked a little unsightly when rolled out and raw but it still worked perfectly fine.

Please don’t ask me how to pleat these dumplings though! I think you can tell from the photos that I didn’t really know what I was doing. I tried watching and following some YouTube videos and I just haven’t gotten the hang of it. But they will taste so good and their crispy bottoms will look so impressive that I think it won’t really matter much if you suck at pleating just as much as I do. Just try to gather the dough around the filling and create a seal. Don’t stress—this recipe is meant to be easy and fun!

And by the way, these taste great with my ginger scallion garlic oil. You can find the recipe for that here!

charsiubaohack5.JPG

How to Make the Easiest Char Siu Bao

(Makes 16 bao)

Ingredients

1/2 lb char siu bao, diced
1 tbsp hoisin sauce
1 tbsp date syrup or honey
1 tsp shao xing wine (or dry sherry)
1 16oz can biscuit dough
flour for dusting
1 tbsp cooking oil
~1/4 cup white sesame seeds
black sesame seeds, for garnish (optional)
1 scallion, sliced, for garnish (optional)

Procedure

To make the filling, mix together the char siu, hoisin, date syrup, and wine. Set aside.

Separate the canned dough into the individual biscuit pieces, and then split each piece in half. Then, working one at a time, roll each piece of dough on a floured surface into a 4-inch circle; try to get the edges thinner than the center. Scoop about 1 tablespoon of filling in the middle and then gather the dough up around the filling and pinch closed at the top. Dip the bottom in a little saucer of water and then dip in a plate of white sesame seeds so the entire bottom of the bao is covered in sesame seeds. Repeat with the remaining dough and filling.

Use a skillet large enough to avoid crowding. Heat the oil on medium heat. Place the bao in the skillet (sesame side down) and cook until the sesame seeds and bottoms are golden brown. Add 3/4 cup water into the skillet and cover. Allow to steam for 8 minutes, or until the water has almost evaporated. Remove the cover and leave on the heat just a little bit longer to allow the bottoms to become dry and crispy.

Garnish with some black sesame seeds and scallions, if desired.

Mala Glass Noodle Salad with Steak, Smashed Cucumbers, and Egg Ribbons

Chinese salads are not big bowls loaded with leafy greens like what you think of with Western salads. They are more often cold appetizers featuring just one marinated crunchy veggie. (Btw, “Chinese chicken salad” is not really a Chinese salad, it’s Chinese-American!) Smashed cucumber salad may be the most iconic example of these crunchy veggie cold dishes that we have instead of salads. It can sometimes be found with mala chili oil and other times without, but either way, it is incredibly refreshing for summer. I wanted to take this classic salad and turn it into a full meal that would be perfect for a hot summer evening (even though it is cold and gloomy in SF), and this is what I came up with!

This salad has:

  • smashed cucumbers, marinated in the classic rice vinegar based dressing with lots of zingy garlic

  • glass noodles for a satisfyingly bouncy texture

  • egg ribbons for airiness and savoriness

  • Chinese five spice-rubbed steak

  • cilantro and radish microgreens for freshness and herbaceousness

  • toasted sesame seeds for the finishing touch

  • mala chili oil for that numbing spicy heat that I am obsessed with!

Not a boring salad by any means! Click here to get the recipe on the Pete and Gerry’s site!

MalaGlassNoodleSalad_Vertical1.JPG

Thank you so much to Pete and Gerry’s for sponsoring this recipe!

My Basic Jook Recipe

porkbellycongee.JPG

There are plenty of recipes out there for rice porridge, commonly known as congee, or what my Cantonese family calls jook. I am mostly recording this basic jook recipe down for myself, because I know how I like to make it but I sometimes forget things like: How much was the right amount for our 2-person household? How much water did I start off with? How far in advance of dinner do I need to start it, again…? Getting old sucks, and one of the worst things about it for me so far has been forgetting all the simple little things that used to be so easy for me to recall.

To me, a good basic jook has a silky feel to it. Something that goes down easy without a lot of chewing but isn’t a completely homogenous puree either. Some people like theirs as more like a soupy water with cooked rice floating in it, but that’s not for me. I also like making sure that there is a pleasant mild flavor to it when eating it all on its own, even though a variety of toppings is an absolute must for eating jook in my household. Pickled vegetables, white pepper, and soy sauce where the most common toppings from my childhood. But instead of those, I really went all-out in the photo above to lure you in— And it worked, right?

The jook in the photo features red braised pork belly that I made using Omnivore’s Cookbook/Maggie Zhu’s recipe here. There’s also a poached egg, radish shoots, pea shoots, chopped scallions, crushed chicharrones, and some slices of red Fresno chili. I also served it with a side of you char kueh/youtiao/Chinese donut, which I buy at the Asian supermarket and always keep stashed in my freezer. The best part of eating jook is tossing in a few slices of the fried dough, letting them get soggy, and then eating a big scoop of the soggy donut and jook all at once.

How I Make Basic Jook/Congee

(Makes 2 dinner portions)

Ingredients

1/2 cup jasmine rice
2 cups bone broth
2-4 cups water
2 inches ginger, peeled
2 tbsp shaoxing wine
2 tbsp fish sauce
salt

Procedure

Combine rice, bone broth, and 2 cups of water in a large pot and turn heat on high. Finely grate ginger directly into the pot so it catches all the juice. Add shaoxing wine and fish sauce. Stir everything together.

Bring to a boil and then reduce heat to low. Cover and simmer for 1 hour, stirring occasionally to make sure nothing sticks to the bottom. If jook looks too dry, add water 1/2 cup at a time along the way. Continue simmering until jook reaches desired consistency. Season to taste.

Serve with yummy accompaniments.

Need a faster recipe? Check out my shortcut Chicken Jook with Ginger-Scallion Oil recipe, using storebought cooked rice and rotisserie chicken (sponsored recipe).

My Best 9 of 2020

I rounded up my best 9 photos from 2020 on Instagram—not based on the greatest number of likes received, but the photos that I was the most proud of this past year. Here’s a little more detail about the dishes in the photos I chose.

Gochujang Fried Chicken Bao

gochujangbao.jpg

You can get ready-made lotus leaf bao at Asian supermarkets. I always have some handy in my freezer, and when I want to use them, I place them on pieces of parchment paper and steam them in my bamboo steamer.

To make the spicy fried chicken, I cut chicken thighs into small pieces and then coated them in a mixture of beaten egg and soy sauce, and then rolled them in corn starch. After deep frying, I tossed the crispy chicken pieces in this bottled sauce*, tucked them into the steamed bao, and garnished with sesame seeds and sliced scallions.

*This was a client’s product but this recipe was not sponsored.

Avocado and Burrata Toast

avoburratatoast.jpg

I made these celebratory toasts to mark the 2-year anniversary of my Instagram account. I used four-grain sourdough from an awesome little local bakery called Fox and Lion Bread. I topped them with:

  • sliced avocado

  • gobs of burrata

  • pickled carrot ribbons (recipe here)

  • curly scallions (slice scallions lengthwise and soak in iced water)

  • pea shoots

  • everything seasoning

  • edible flowers from my backyard garden

Viet-Cajun-Inspired Vermicelli Bowl

vietcajunnoodlebowl.jpg

Frozen shrimp became a stable in my freezer during lockdown, and I always keep rice vermicelli in my pantry. You can tell that I made this when I was really trying to limit my grocery trips and had run out of fresh garlic, because my nước chấm dressing features a last-resort use of bottled fried garlic that really was not the same. To assemble the rest of the bowl:

  • Soak rice vermicelli in boiling water for 5 minutes. Rinse in cold water and drain.

  • Pat shrimp dry and toss in cajun spices and a bit of brown sugar. Sear in a cast iron skillet on both sides to get that namesake blackened shrimp look.

  • Prep your choice of herbs and greens. All of mine were grown in my garden! I used: mint, red shiso, sorrel, chard, mixed microgreens, and scallions.

  • Add other produce odds and ends that you have on hand! I used cucumbers and pickled carrot ribbons (recipe here) because I had them.

Vegan Jackfruit Tacos & Homemade Pink Tortillas

jackfruittacos.JPG

To make corn tortillas from scratch, I simply follow the ratios from the tortilla recipe on the bag of Maseca brand masa harina**. For 8 pink tortillas, I combined 1 cup of white masa harina, 2/3 cup hot water, a pinch of salt, and a little bit of beetroot powder; kneaded it together; and rested under a damp towel for 20 minutes before I divided them evenly into 8 balls. I cut open a gallon-sized ziplock bag to use to prevent the dough from sticking to my tortilla press. This is the cast iron tortilla press I use**; I usually press and then rotate the dough a couple of times to get a nicely rounded, thin tortilla. Then I cook them on a super hot griddle pan.

Canned green jackfruit in brine or water is a common item in Asian supermarkets, but lately it has become so popular as a vegan shredded meat substitute that they even have it at Trader Joe’s. I don’t think it tastes like meat, but it does have a nice texture for tacos and holds on to seasonings well. I squeezed out the liquid, simmered with a mole-inspired sauce, and shredded it up.

Make Your Own Fresh Spring Rolls Night

springrollplatter.JPG

This was one of my ideas for turning dinner into an interactive experience during lockdown. You can get rice paper sheets in various sizes at Asian supermarkets; I like to get the smaller ones so each roll is just a couple of bites. Serve at the table with a big platter of boiled shrimp, fresh veggies and herbs, and rice vermicelli…or whatever you have lying around that is fresh and easy to roll up! Take turns soaking the rice paper briefly to soften it, roll up your fillings, dip, and eat! I found that my leftovers of homemade Korean ssamjang made for an awesome dipping sauce for fresh rolls, even though that’s obviously not a traditional accompaniment to these Vietnamese-inspired rolls. Get the recipe for my ssamjang here.

Easy Semi-Homemade Donuts

flowerdonuts.jpg

My mom taught me how to make these semi-homemade donuts out of canned biscuit dough when I was a kid; I have no idea where she got this brilliant idea because she did not grow up with access to this type of canned product. But all you do is cut or poke a hole in the middle of each raw biscuit, then deep fry. Just keep the oil temperature a little lower than you would for other deep-fried foods because the dough can burn fast! I love that this dough is more on the savory side than normal donut dough, so it balances well with the glaze.

To make the glaze, I used this recipe by my friend Kristina. Then I slowly took my time decorating with chopped pistachios and edible flowers collected from my backyard garden.

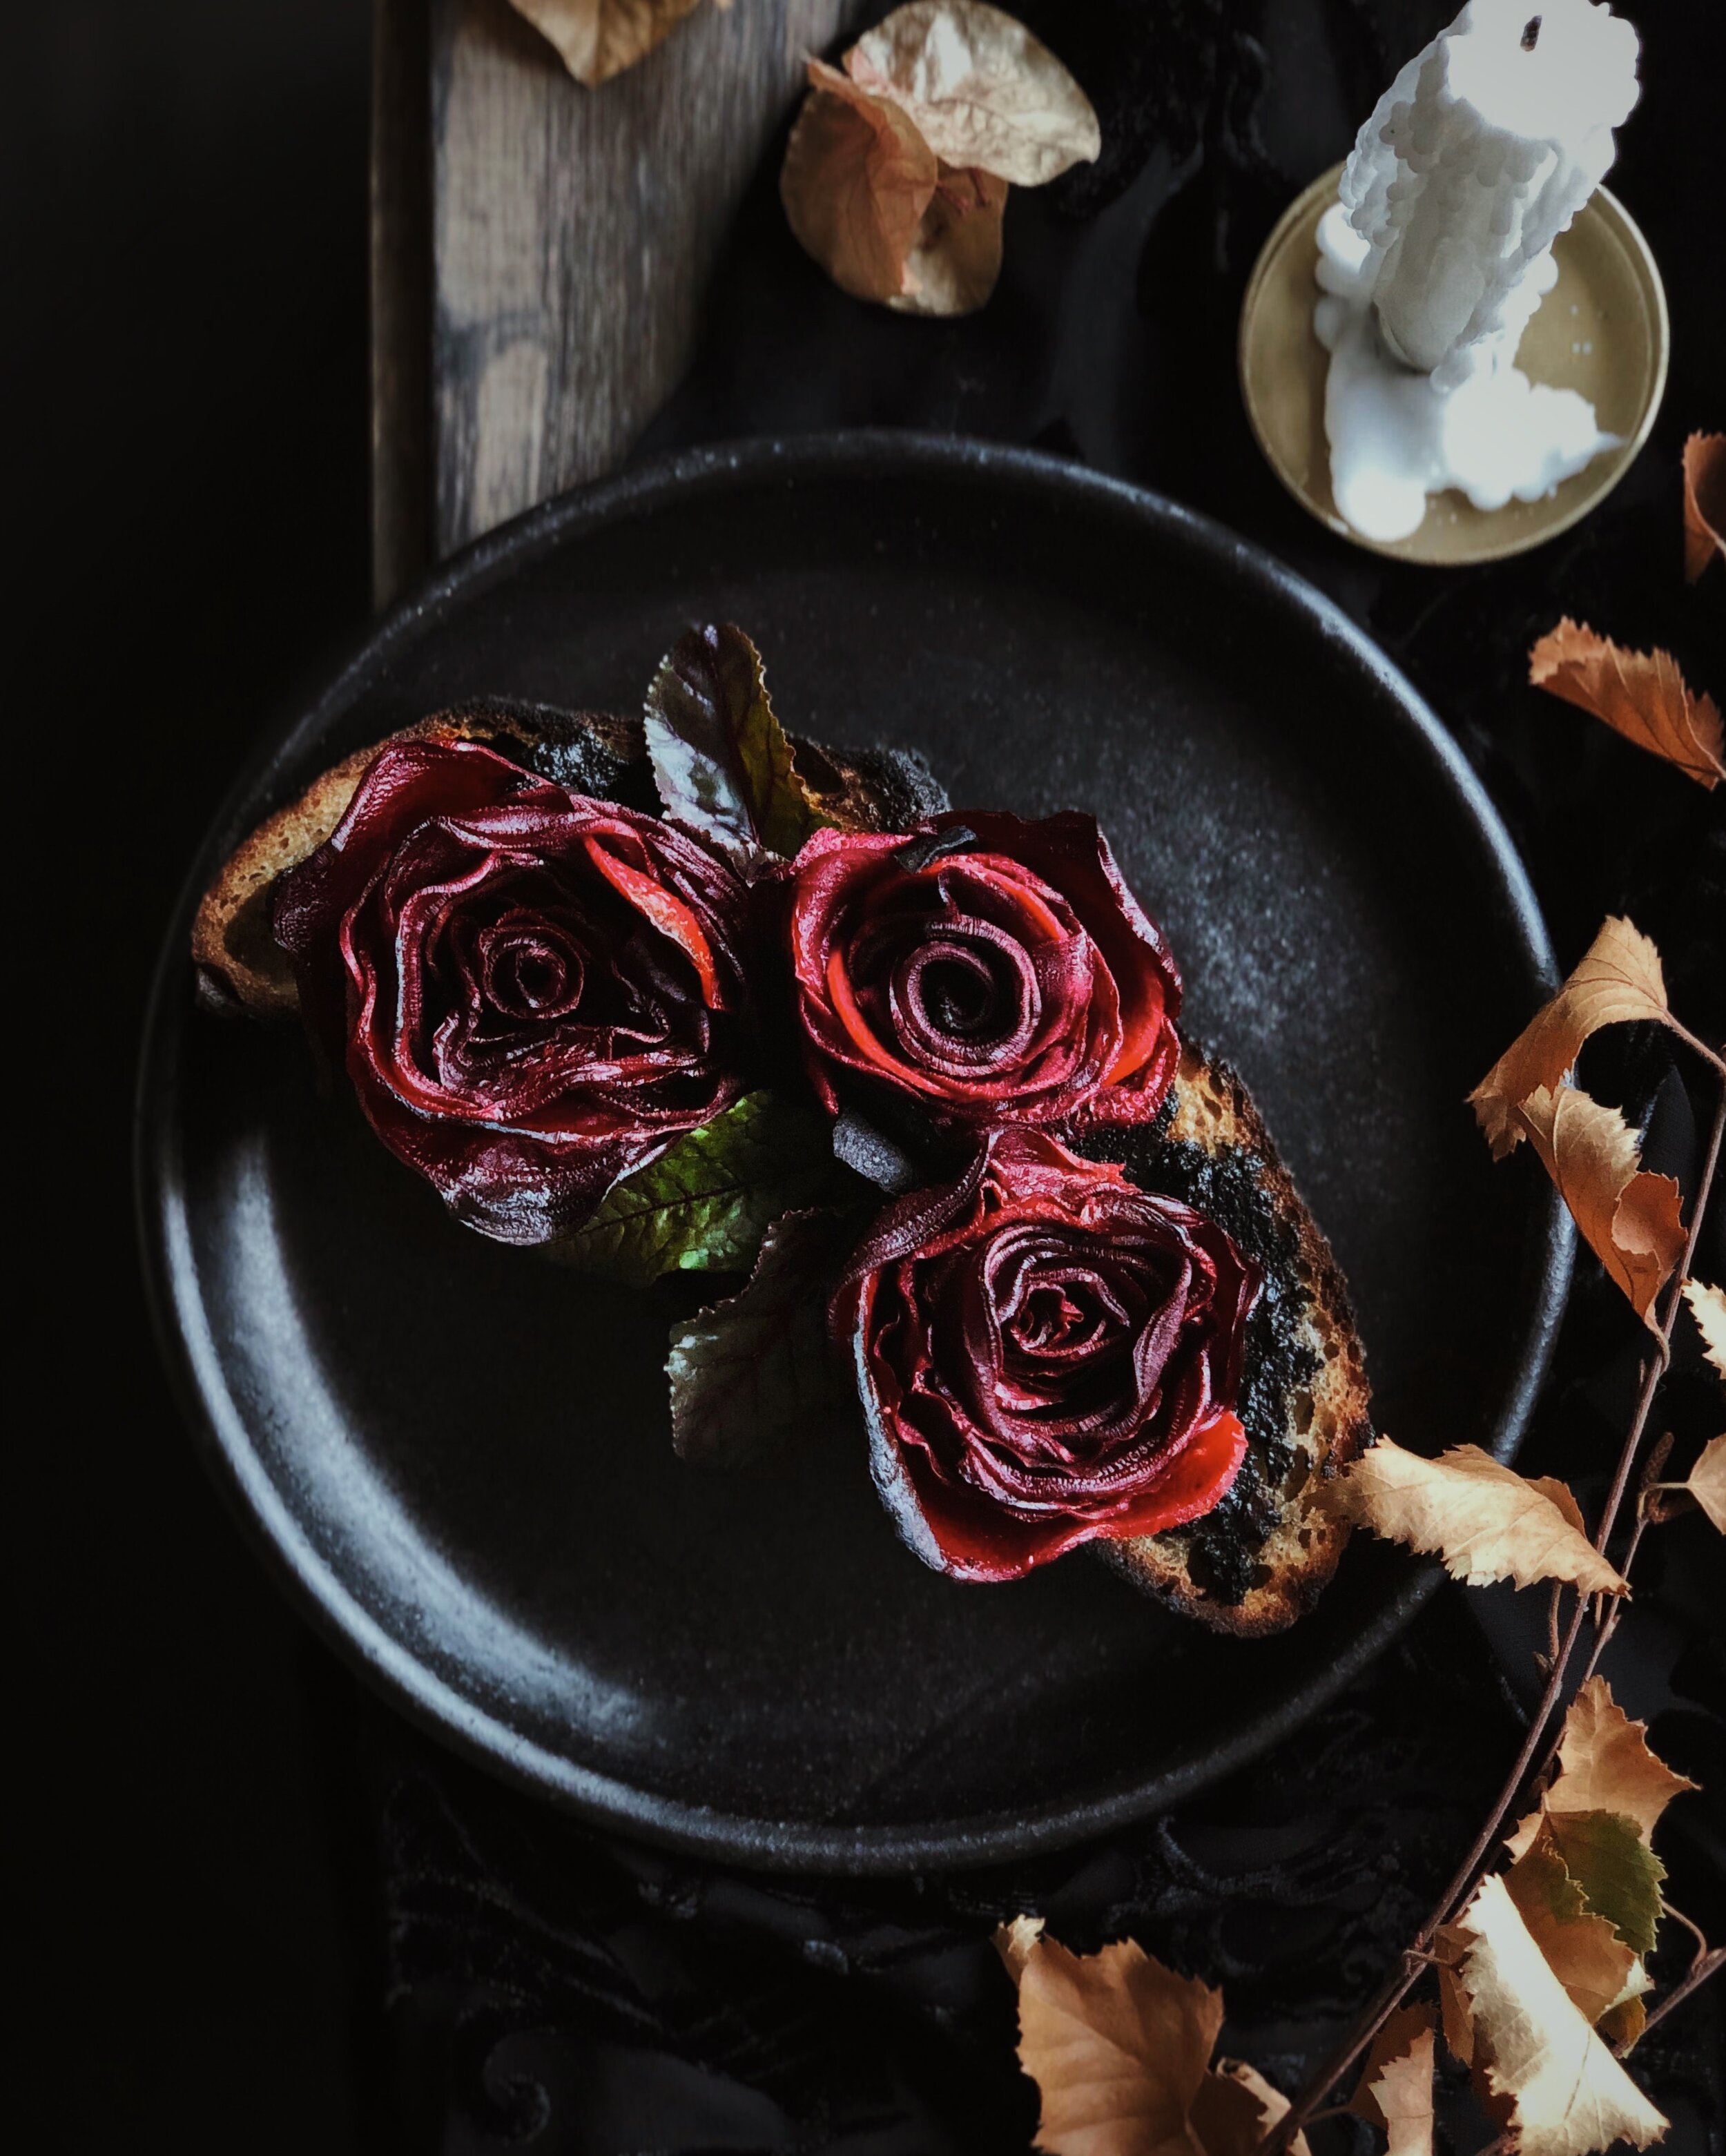
Roasted Root Vegetable Roses on Toast

halloween_toast.jpg

For Halloween, I made this toast and styled the photo inspired by Miss Havisham from Great Expectations (or maybe the “Helena” music video by My Chemical Romance?). The spread is a mix of miso and black sesame tahini and the roses are thinly sliced roasted beets and sweet potatoes. The original idea and recipe for the roses is by Amiee Twigger, and can be found here—I love how realistic and pretty they turned out! The chard leaves came from my garden.

Malaysian Snack Platter

malaysianplatter.jpg

I was given the opportunity to participate in a sponsored campaign where home chefs shared dishes that celebrated their heritage. Getting to partner with a company that encourages bloggers to stay authentic and share stories from diverse cultures is such a big deal, and felt especially significant this past year. I made this platter where I reimagined Malaysian classics in mini, bite-sized form, inspired by nasi lemak and other memories from my visits to the country where my parents were born. I included:

  • acar, or Malaysian-style turmeric pickled vegetables

  • mini chicken satay on cocktail picks; recipe for my satay marinade here

  • peanut sauce; instructions for how to make it using leftover satay marinade here

  • coconut rice balls; you can find my coconut rice recipe here, but omit the butterfly pea tea and mold into bite-sized balls

  • sliced onion, green beans, and cucumber

  • shrimp chips, red skinned peanuts, and salted egg fish skin

  • fried anchovies and sambal ikan bilis

  • dragonfruit and rambutan

  • boiled 6.5-minute egg

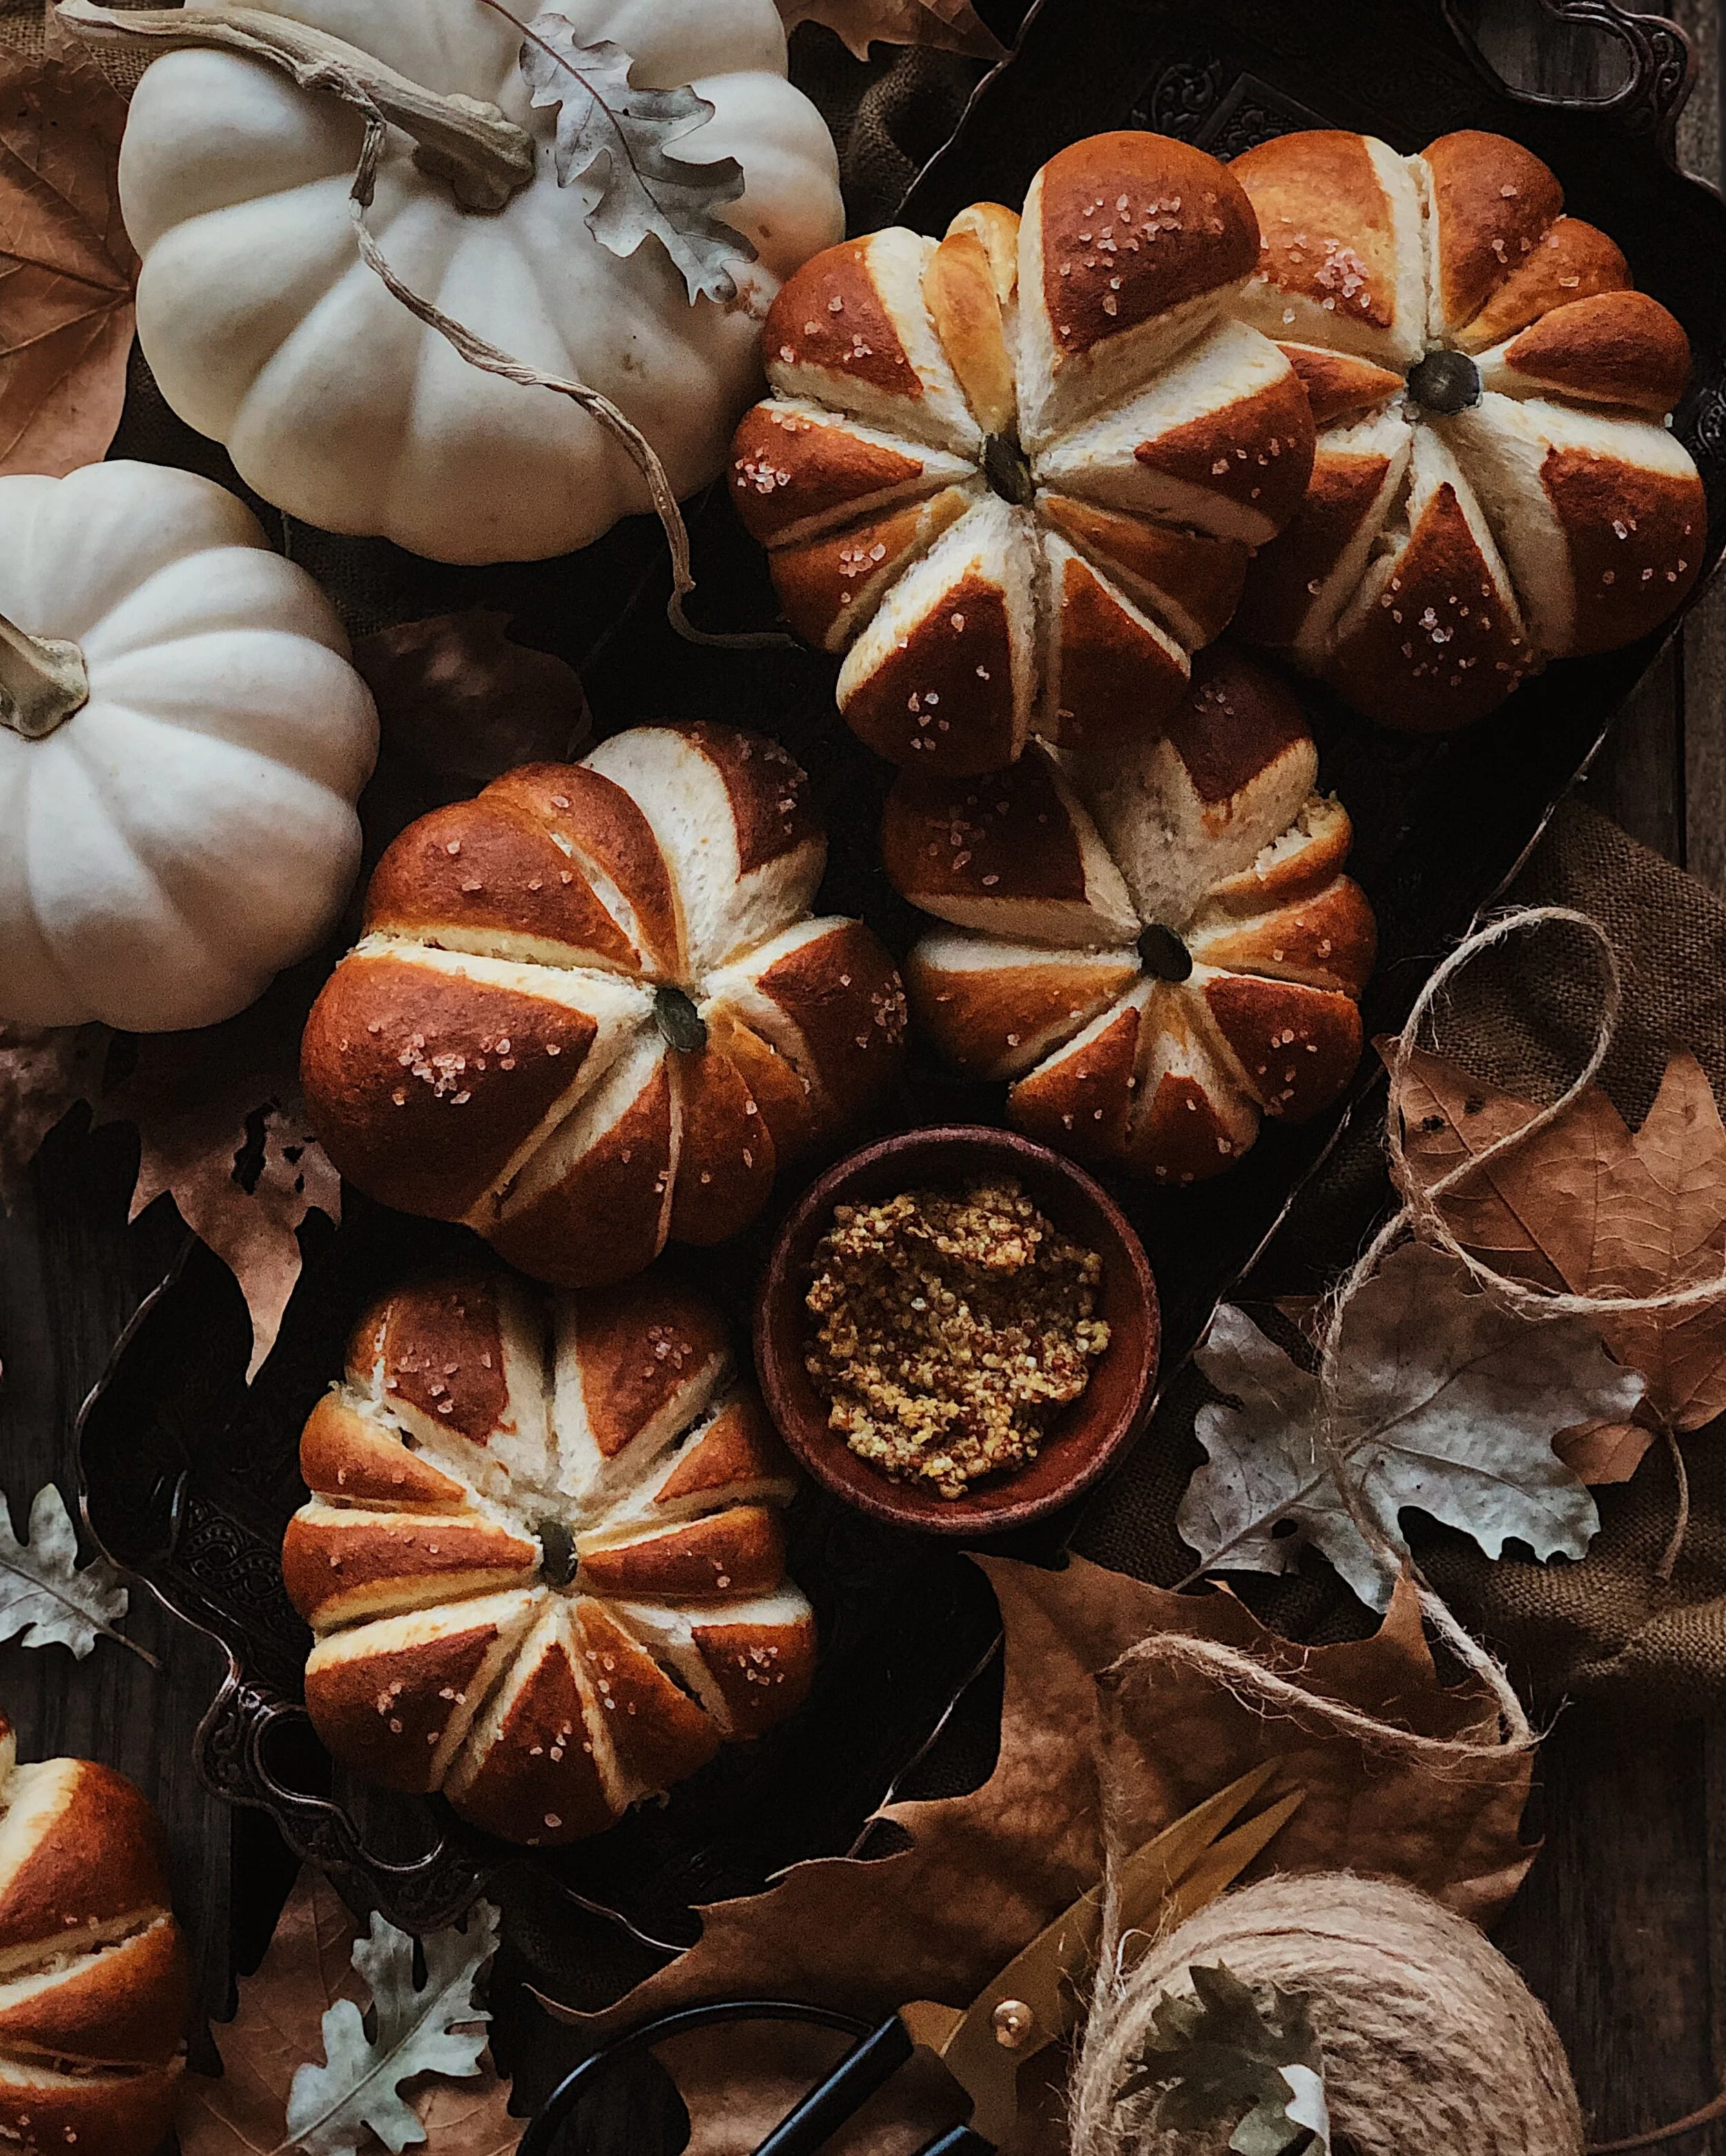
Pumpkin-Shaped Pretzel Buns

pumpkinpretzelbuns

In 2020, I overcame my intimidation from yeast-based dough recipes and got really into make pretzels of different shapes and sizes. You can find my recipe for these pumpkin-shaped pretzel buns here.

Thank you so much for supporting my content this past year!
What type of content to you want to see more of in 2021?

Shortcut Mala Cumin Lamb for Biang Biang Noodles

BiangBiang5.JPG

To be clear, these are not your traditional or typical Xi’an cumin lamb noodles. If you are looking for a recipe for those, I am afraid you have come to the wrong place (especially since this is not really a recipe at all). I love those noodles too, and have very fond, special memories of trying them for the first time at Xi’an Famous Foods during a solo trip to New York, being blown away about how they somehow exceeded the hype.

But while this recipe is obviously inspired by those flavors, I personally don’t like the idea of trying to replicate a specific restaurant dish at home. Maybe that’s just me. Restaurant cookbooks are gorgeous to look at, but I never buy them. I am happy to accept the reality that the force of my home gas range is never going to replicate that of a restaurants, my 0 days of professional culinary training is not going to produce the same outcome as those who have studied and devoted their lives to the culinary arts. And anyway, I like (liked—before Covid) the idea of going to a restaurant to eat dishes that are wholly different from what I can cook myself at home.

So I am calling this my Cumin Lamb Noodles, but they are very different cumin lamb noodles from what you’ve likely to experienced in a restaurant before. They are a sort of hybrid of a Xi’an-inspired dish and the texture of bolognese but also heavy on the mala (numbing spicy) associated with Szechuan cuisine. Using ground lamb means not worrying about sliced meat getting tough and overcooked, and it almost becomes a part of the sauce—something that can cling to those wide swaths of noodles. I use this storebought mala hot pot mix (link) for the base of the sauce because I am not an expert at Chinese spice blends in the slightest and this is a shortcut recipe, after all.

I really do recommend that you make your own wide biang biang noodles for this (recipe here) but if you are too lazy or don’t have time, I totally get it. Due to their short-lived nature, I have never seen biang biang noodles sold at the Asian grocery store before, so if you are looking for a storebought alternative to use with this sauce, I recommend buying fresh pappardelle.

The recipe below is awkwardly vague because I really don’t believe in measuring when it comes to sauces for noodles. Let it guide you in your interest in making a Xi’an x Szechuan x bolognese hybrid, but be sure to adjust the seasoning to your taste.

BiangBiang7.JPG

Awkwardly Vague instructions for Ground Lamb Cumin Noodles

Ingredients

3/4 lb ground lamb
1/2 small onion, sliced
lots of chopped garlic
lots of cumin
salt
a squeeze of tomato paste
~ 1 oz Szechuan mala hot pot base (like this one)
a heaping tablespoon of gochugaru
avocado oil
cilantro, for garnish
raw hand pulled noodles

Procedure

In a wok, heat oil and stirfry onions. Add lamb and garlic. Season with pinch of salt, lots of cumin. Squeeze in some tomato paste and mix everything together.

Heat some oil (1/6 cup-ish) in separate pot until almost smoking.

At the same time, turn down wok to low heat and cook biang biang noodles in pot of boiling water as described in the noodle recipe.

Add cooked noodles on top of lamb.

Add Szechuan hot pot sauce and gochugaru. Pour hot oil on top of gochugaru.

Toss to combine. Garnish with cilantro.

BiangBiang4.JPG

Recipe: Biang Biang Noodles (Hand-Pulled Noodles)

07331D00-31AF-4958-9427-06161A606FB5.JPG

If you are here, you probably already know something about biang biang mian—delicious hand-pulled, hand-torn wide noodles that are delightfully chewy and a wonderful blank canvas to capture spicy mala flavors. Legend has it that the Chinese character for biang is the most complicated to write, and that it will break any kind of Chinese input method if you try to type it.

To be honest I am not an expert on biang biang noodles; all I know is how I personally like them, and I wanted to figure out a way to go about making them that was easy for me. For example, I wanted to be able to use my stand mixer for the kneading, especially since the dough is a little tougher compared to, say, a simple bread dough. I also wanted to produce a method that allowed me to have fun actually stretching the noodles by hand and banging (or bianging?) them against the counter. So I tested and tested until I got something I was happy with.

My version is adapted from Woks of Life and Strictly Dumpling, so I want to make sure to give them credit. And the image above was inspired by this photo by My Homestyle Life.

BiangBiang1.JPG
BiangBiang3.JPG

If you are looking for a sauce to accompany these noodles, might I recommend something with loads of chili oil and fragrant ground lamb? You can find out how to make that here.

BiangBiang4.JPG

How to Make Biang Biang Noodles

This recipe makes 2 large servings.

Ingredients

1 3/4 cup bread flour*
1/4 cup all purpose flour
1 tsp kosher salt
3/4 cup hot water
neutral oil

* I tested various combinations of bread flour + AP flour for this and found these ratios to produce my ideal texture for the noodles. Can you do all AP flour? Probably! But the noodles will not have the same chew that I like.

Procedure

Whisk together flours and salt in your stand mixer bowl. Fit the stand mixer with the dough hook. Turn on to the lowest speed and slowly add the water.

Knead dough on medium-high for 10 minutes, then check the texture. If the dough is very sticky, add 1/2–1 teaspoon AP flour. Continue kneading on medium-high for 10 more minutes. At this point, the dough should feel firm and should not be sticky at all. Try to pinch and pull away a small amount (see photo above). Dough should not snap right away, but should not feel totally stretchy either.

Knead a few times by hand to form a smooth ball. Return to the mixing bowl and cover bowl with a damp cloth (no greasing necessary yet). Allow to rest for 30 minutes.

Divide dough into 6 portions. Avoid handling each portion too much but shape it into a small log, about 4 inches long. Place logs on your largest baking sheet and pour some neutral cooking oil over them. Make sure each log is thoroughly coated in oil. Cover with plastic wrap and rest for 1 hour or until the dough feels soft and pliable.

(After one hour, I place a large pot of water on the stove to bring to a boil while I am stretching the noodles. If there is other prep work I need to do for the sauce, I do it all in this time too, so everything is ready to go the moment the noodles are cooked. Click here for the sauce recipe that you see in the photos.)

Work one log at a time, and keep the others covered. On a lightly floured surface, roll the log into a rectangle that is about 3 inches tall and 2 inches longer than a chopstick. Use a chopstick to press two perforations into the rectangle, dividing it into 3 even sections (see photo above). Grab each end and gently stretch the dough, occasionally whacking it into compliance against the counter top. The perforations made by the chopstick will begin to form tears in the dough as you stretch. When the dough is thin enough or you feel you can’t stretch any further, tear along these lines to make one long noodle. Drape the noodle over the oiled baking sheet and cover with plastic wrap while you make the other noodles.

Lower the noodles carefully into the water and then immediately start agitating them with extra long chopsticks to avoid them clumping together. Keep them moving in the water for 90 seconds (2 minutes if they feel on the thicker side) and then immediately transfer them to the sauce, and toss to combine.

If you want to make the noodles in advance, I recommend keeping the rested dough in log form, coated in oil and tightly covered. Store in the fridge and bring up to room temp before stretching. Once the noodles are formed, you don’t want them to sit for long, and they need to be served immediately after boiling.